I’d never really thought much about closets, to be honest. Whether that’s because I don’t generally wear things that need to be hung up, or that even if I did I wouldn’t, isn’t important right now. What happened was that I ran across a closet organizer product and showed it to Kate. In my defense, recreating one didn’t look that hard at the time. And probably isn’t, actually, if you have the right tools and know what you’re doing. But I’m getting ahead of myself.
The basic idea of a closet organizer is that most closets don’t use their space efficiently. Hangers, for example, are typically at a height to accommodate longer garments. Have mostly shirts? Too bad, it’s wasted space.
If you have a lot of closets, or if you don’t have much worth hanging up, this isn’t a particular concern. In our case, the fact that we were wasting maybe a third of the available space in our closets was less than ideal.
Most people, if they care about their closet space at all, will just buy a solution.
We had a complicating factor in our testbed, otherwise known as the second bedroom, however. The entrance to the attic happens to be in that closet’s ceiling. Which meant that a closet organizer either needed to be designed with that in mind, or be entirely removable. Neither of which described most of the commercial closet organization products, so we were doomed to a custom job whether we liked it or not.
Rather than starting from scratch, I borrowed ideas from other closet organizer systems – hanging two rows of dress shirts, one on top of another, for example. I didn’t think building one of these would be that hard, which is almost funny in retrospect. I won’t go into detail on how to build one, because anyone who’s handy can figure that out. Basically you build a narrower bookshelf with fewer shelves, then hang things off its side. No big deal, right?
Well, there are a number of things I wish I had known ahead of the project.
- Melamine Plywood is Heavy. Also, Sharp.
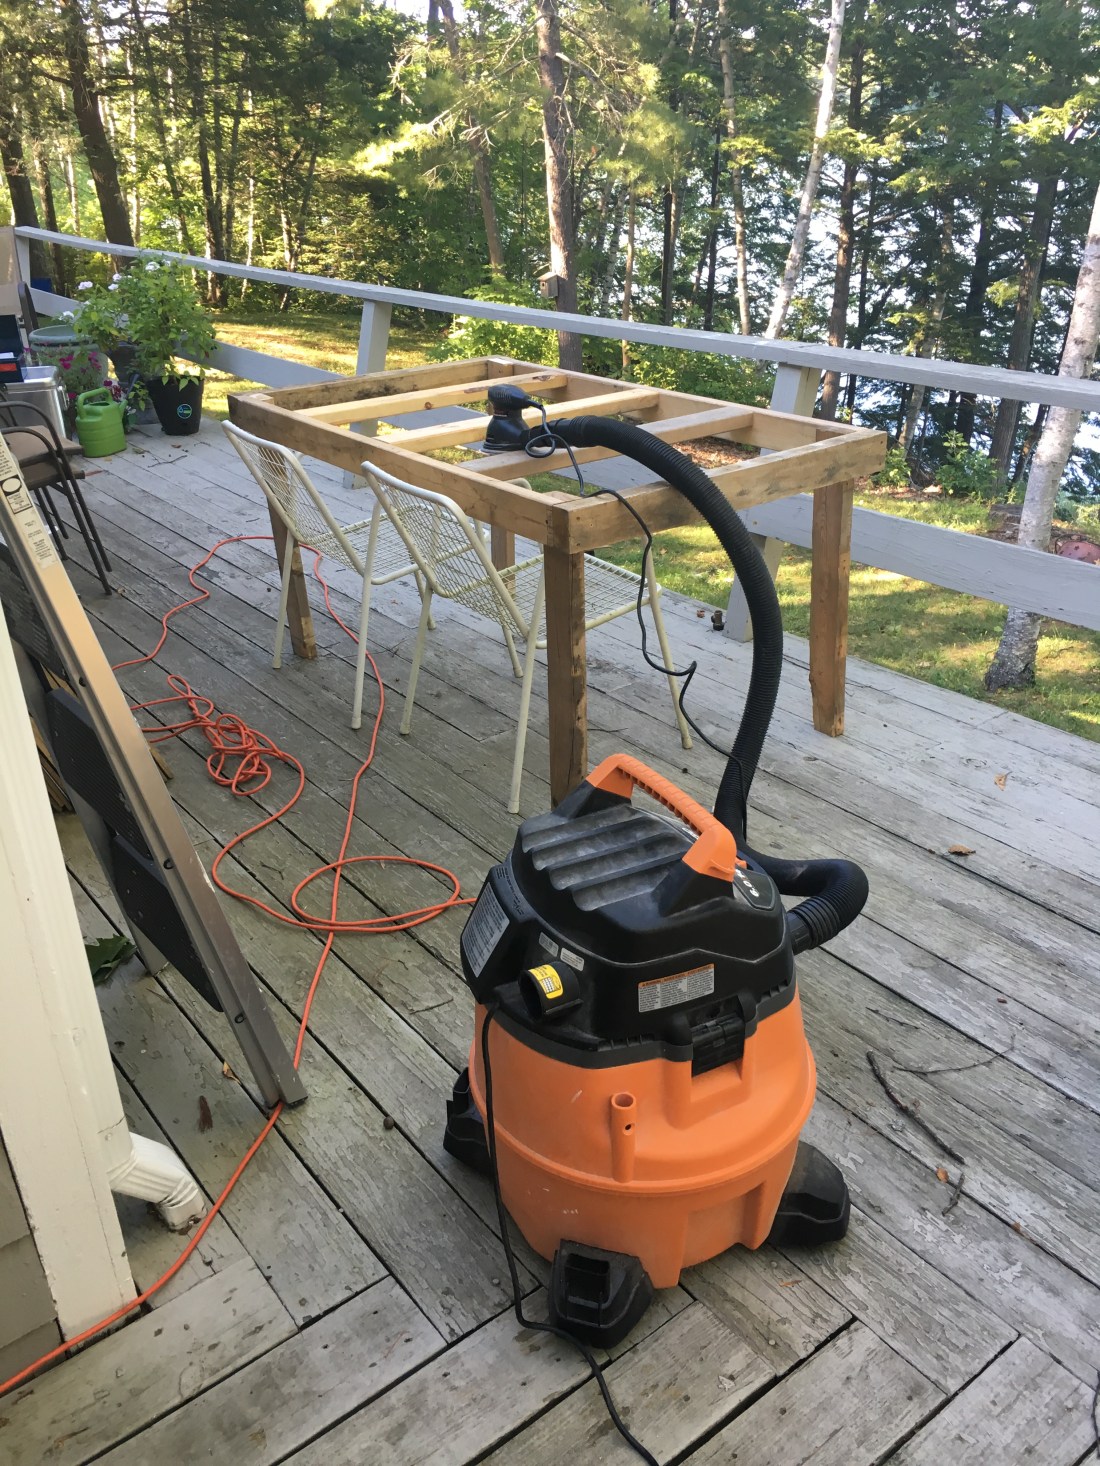
Some people build closet organizers out of expensive hardwoods, but given the fact that we didn’t know how long it’d be in there as we are planning on remodeling, we were going with plywood from day one. Given that, we opted for melamine – a white plasticky material – coated plywood. The good news is that it looks clean, is easy to maintain and you don’t have to paint it. The bad news is that a 3/4” 4×8 sheet of melamine plywood is heavy. Heavy and unwieldy enough that if you’re working by yourself, as I usually am, it’s a pain to even get a full sheet up on to sawhorses for the initial cuts. As for the sharpness, let’s talk about clamps. -
You Need a Lot of Clamps
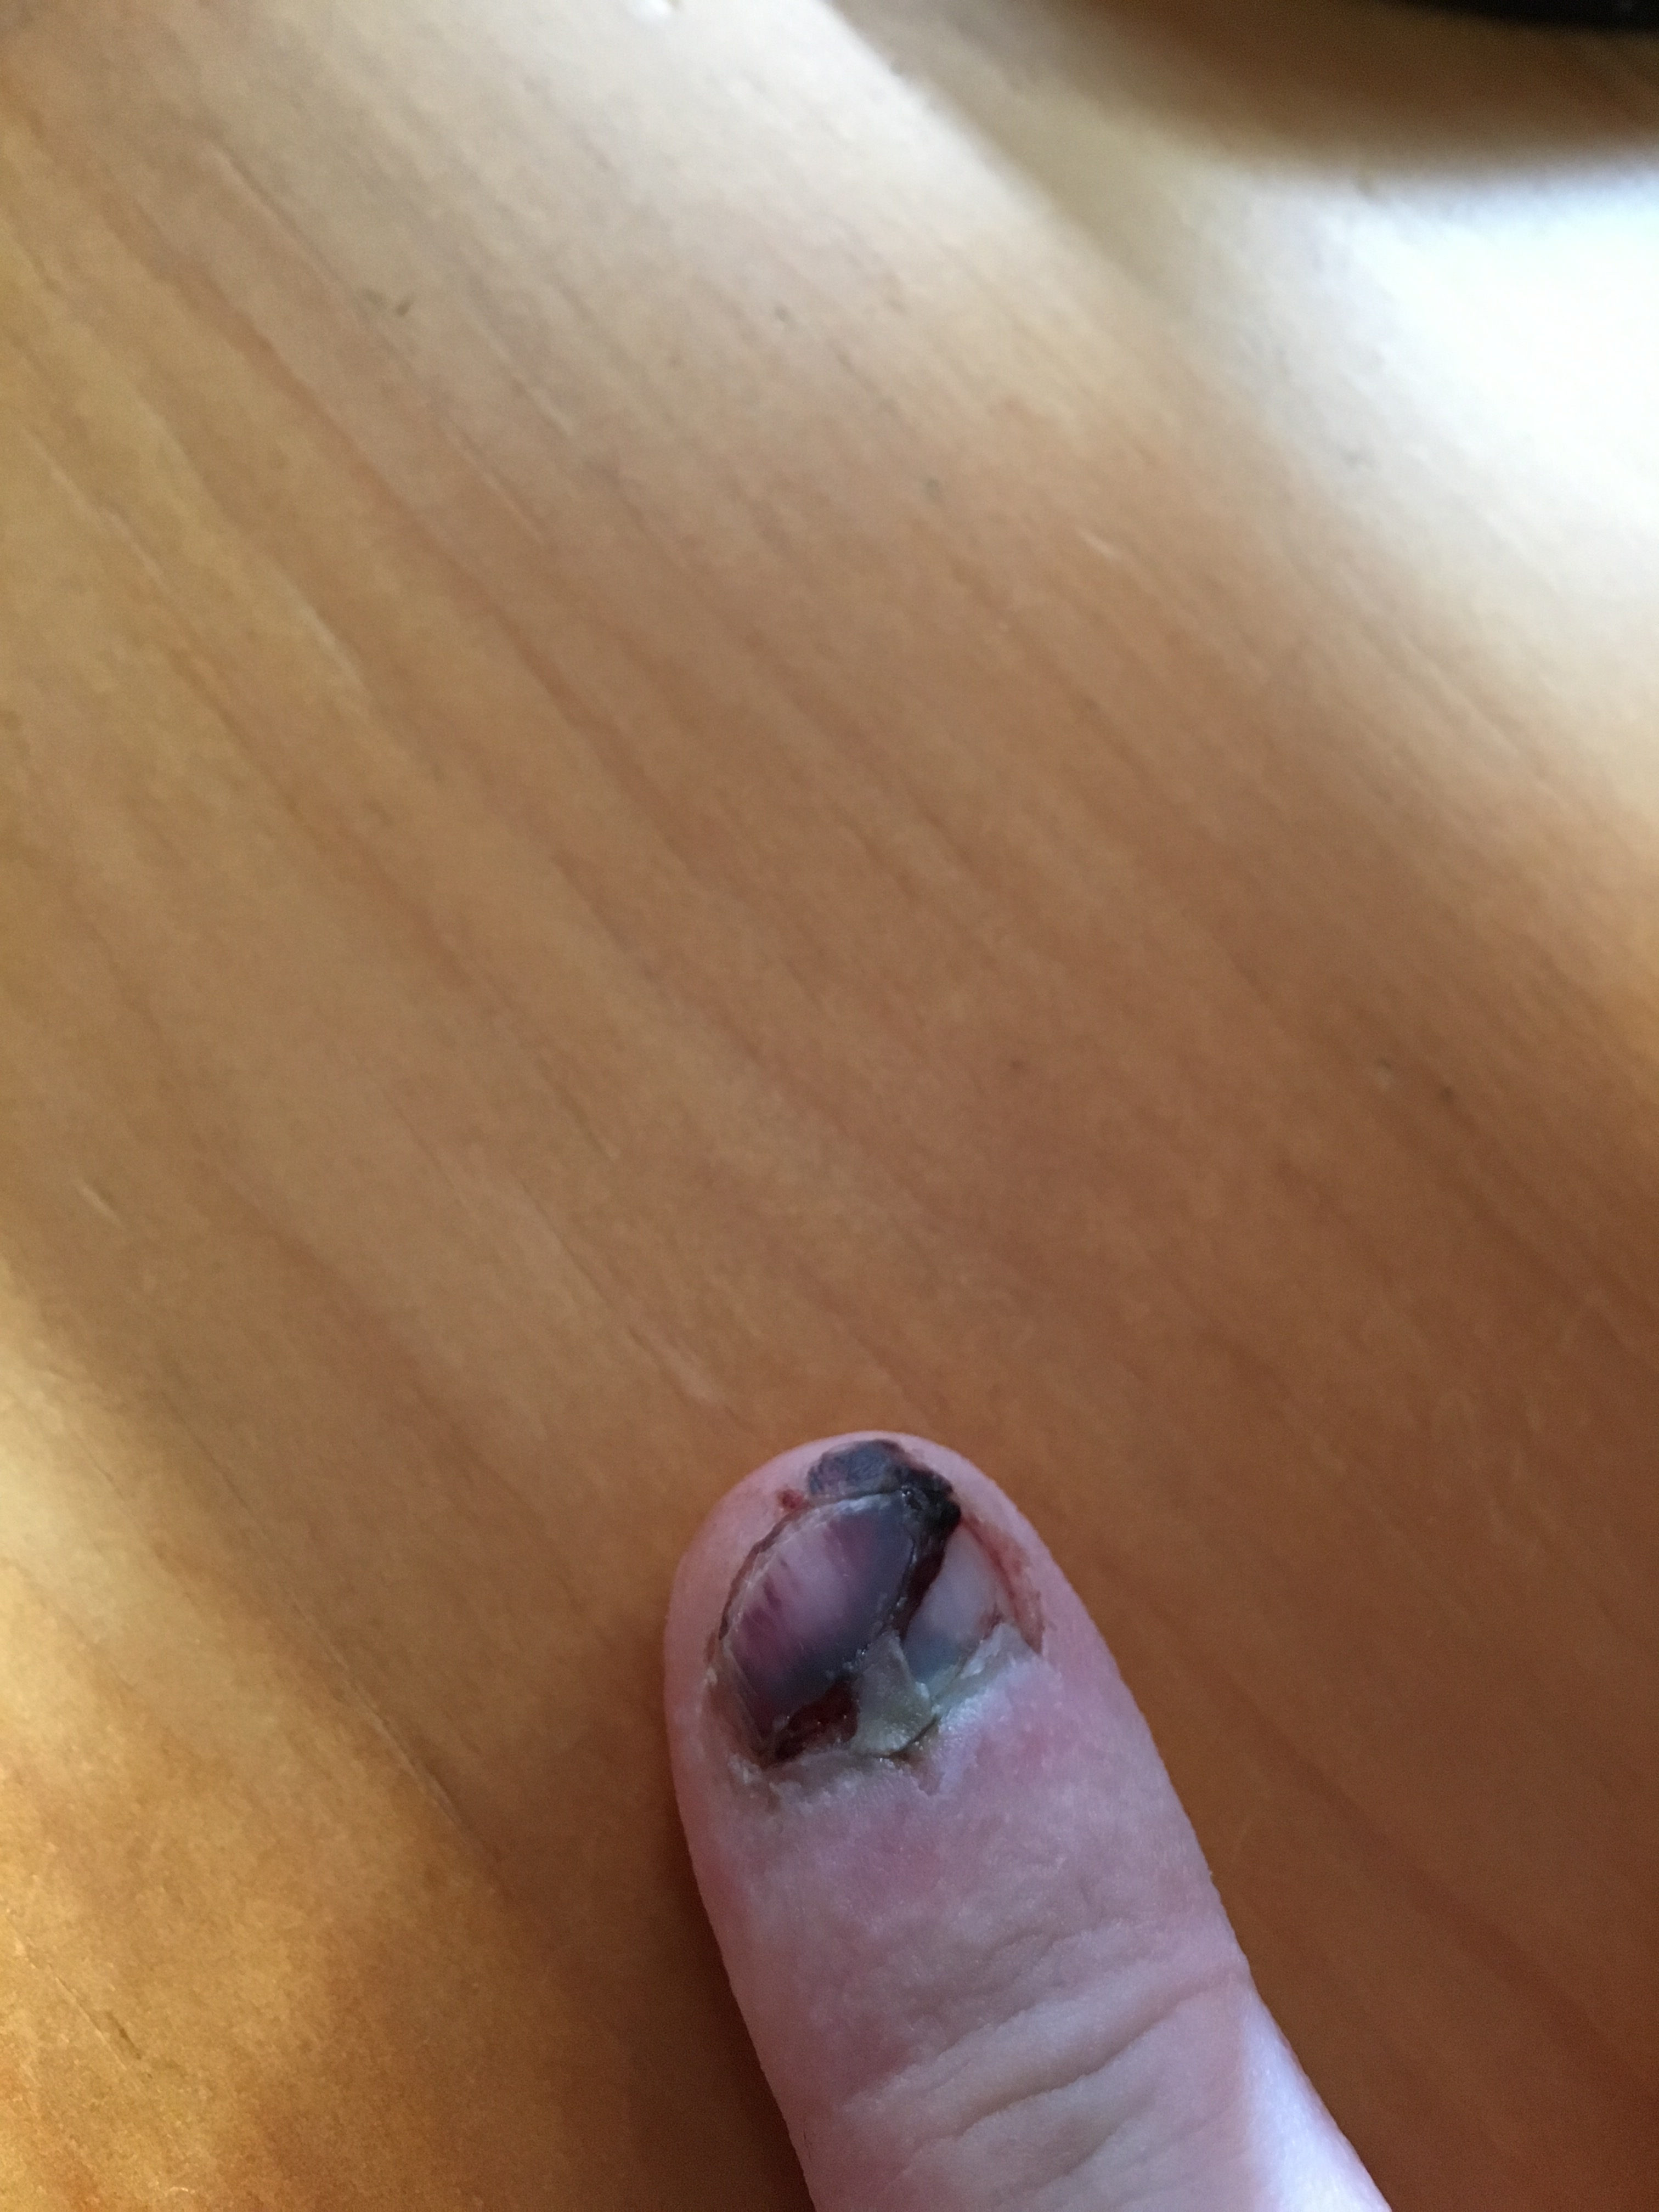
I have a fair number of clamps, but most of them are smaller and of no use in clamping bigger projects. In total, I had three 36” clamps that I could use to build the center console which was six or so feet high and had seven shelves. Ideally, each shelf would be clamped front and back during the glue in – 14 clamps in my case. When you have three clamps total, you’re looking at two to three days minimum just to glue in the shelves with three clamps – time which I did not have. Instead I tried using my three clamps to glue up the completed console – twice. The first time, the lack of clamps holding everything in place meant that it collapsed, knocked over a sawhorse and snapped one half of the console in half (which was the cause of much later woe). The second time, it was still unstable and collapsed again. This time I couldn’t get my hand out in time and four shelves and half of the console fell on the tip of my index finger, with the sharp melamine edge slicing the nail on my right index finger in half. I was fortunate to not lose the tip of my finger entirely, though I still don’t have much feeling in it. Melamine is sharp. The third time, I bought a few more clamps and was successful. Depending on your definition of “successful.” Basically, have all the clamps. -
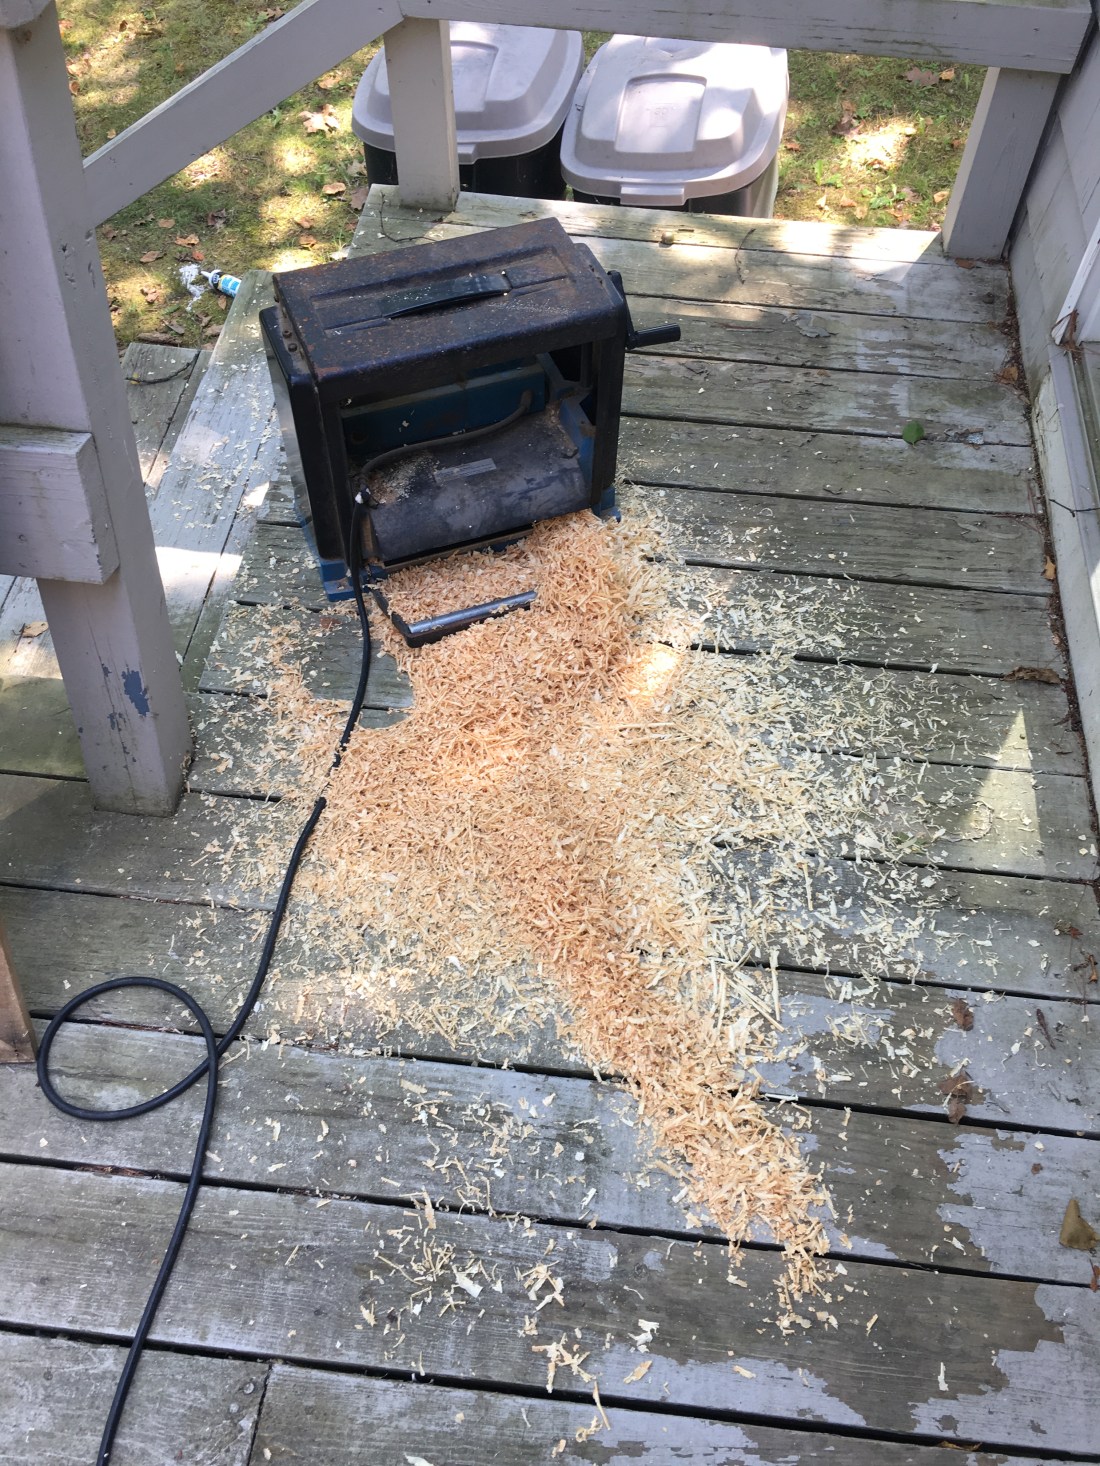
Check Your Router Bit Width
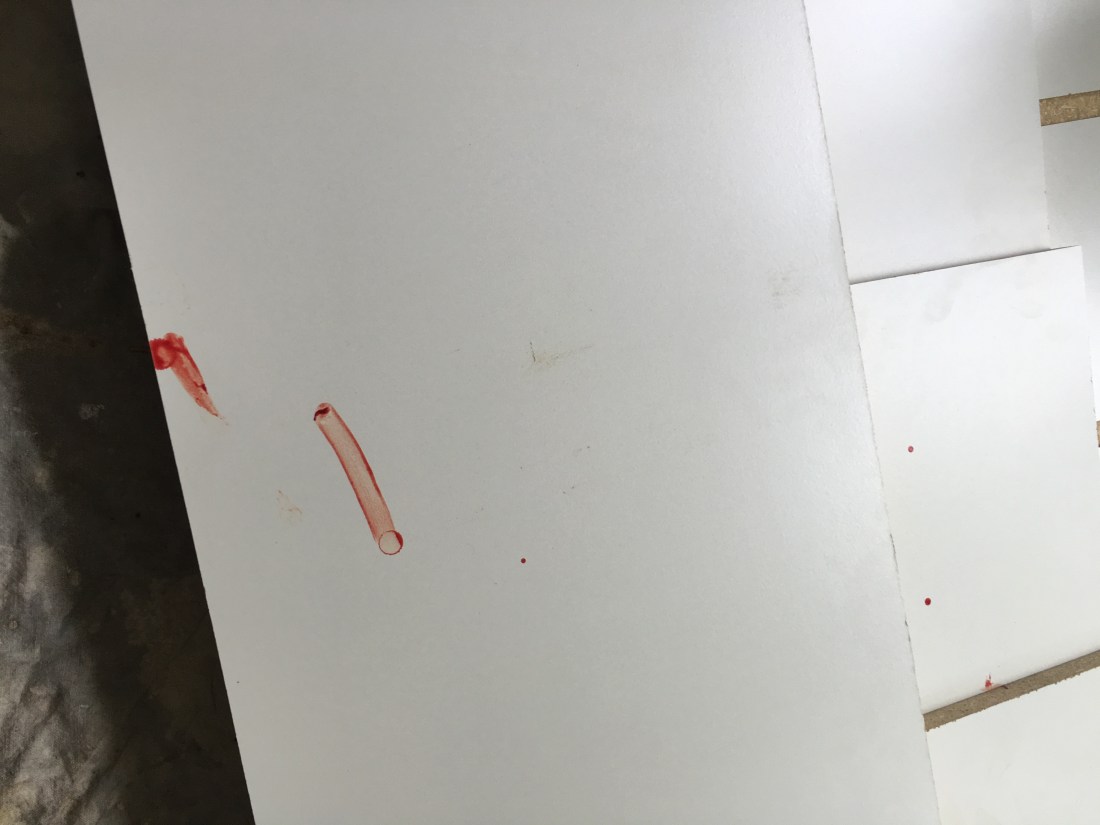
While I initially considered using a jig to drill holes for pins to make the shelving movable, given the requirement that the shelving system be removable in case of a need to access the attic, I decided on a fixed central console for the closet organizer. To accomplish this, I decided to cut dados (“a groove cut in the face of a board, into which the edge of another board is fixed”) and glue the structure together. Given that the melamine plywood was 3/4” thick, this meant I’d need a 3/4” router bit, which I ordered from Amazon. It showed up, and I cut a few dados with no issue. Trouble was, it was actually 11/16” – a sixteenth shy of what I needed. Generally when people have issues with router bit sizes for dados, it’s that the bit is larger because the plywood is actually smaller than claimed. This was the opposite. I ended up having to drive down to Rockler to get another 3/4” router bit, and recutting the dados. Sometimes this worked. Other times, the second pass cut was slightly too big as you can see in the picture above. -
A Table Saw is Helpful
The workroom in our basement is tiny, which is why I haven’t prioritized a tablesaw. For this project, that would have been much simpler. I have a homemade cutting guide that I can use, but making straight eight foot cuts into plywood with a circular saw is a pain even with a guide. Add in all of the repetitive smaller cuts you have to make for things like shelves and it’s would have been a lot easier and faster if I had a table saw. You can make it work with just a circular saw, at least to my level of dubious competence, but I don’t recommend it. -
Glue Goes Through Drop Cloths
One of the few things I did correctly on this project was realize before I started that if I’d assembled the bulk of the closet organizer in my tiny basement shop, I would never be able to get it out of there. Between its small size and the fact that it’s at the end of a long narrow hall, anything large built in there stays in there. Instead, I did the glue up in our upstairs hall. Which has a nice carpet in it. A carpet that I responsibly protected with two layers of our painting dropcloth. Which wasn’t enough, as it turns out, because – surprise! – glue goes right through dropcloths. This is where I’m at with that issue. If anyone has suggestions for removing glue from a carpet that don’t involve cutting it (that’s been forbidden), I’m all ears.
The bad news is that the resulting project is charitably described as a mess. More than usual, I mean. Two of the dados were cut too wide thanks to the router bit issue, so the shelves don’t fit tightly. Two other shelves seated improperly thanks to a lack of clamps and aren’t flush, which looks weird. The good news is that, functionally speaking, none of that matters particularly. The shelves will still work fine, as will the clothing rods. Also, the closet has doors – which we took the opportunity to paint – which help conceal my shame. All of which in turn means that our closet will be much more efficient at utilizing the available space, and if you don’t look at it too closely you might not notice how poor the implementation was.
The big question now is the master bedroom closet. Was the lesson a) building this is dumb and a waste of time, just buy one or b) building the first one gives me the experience to get it right the second time around? The answer? TBD.


