
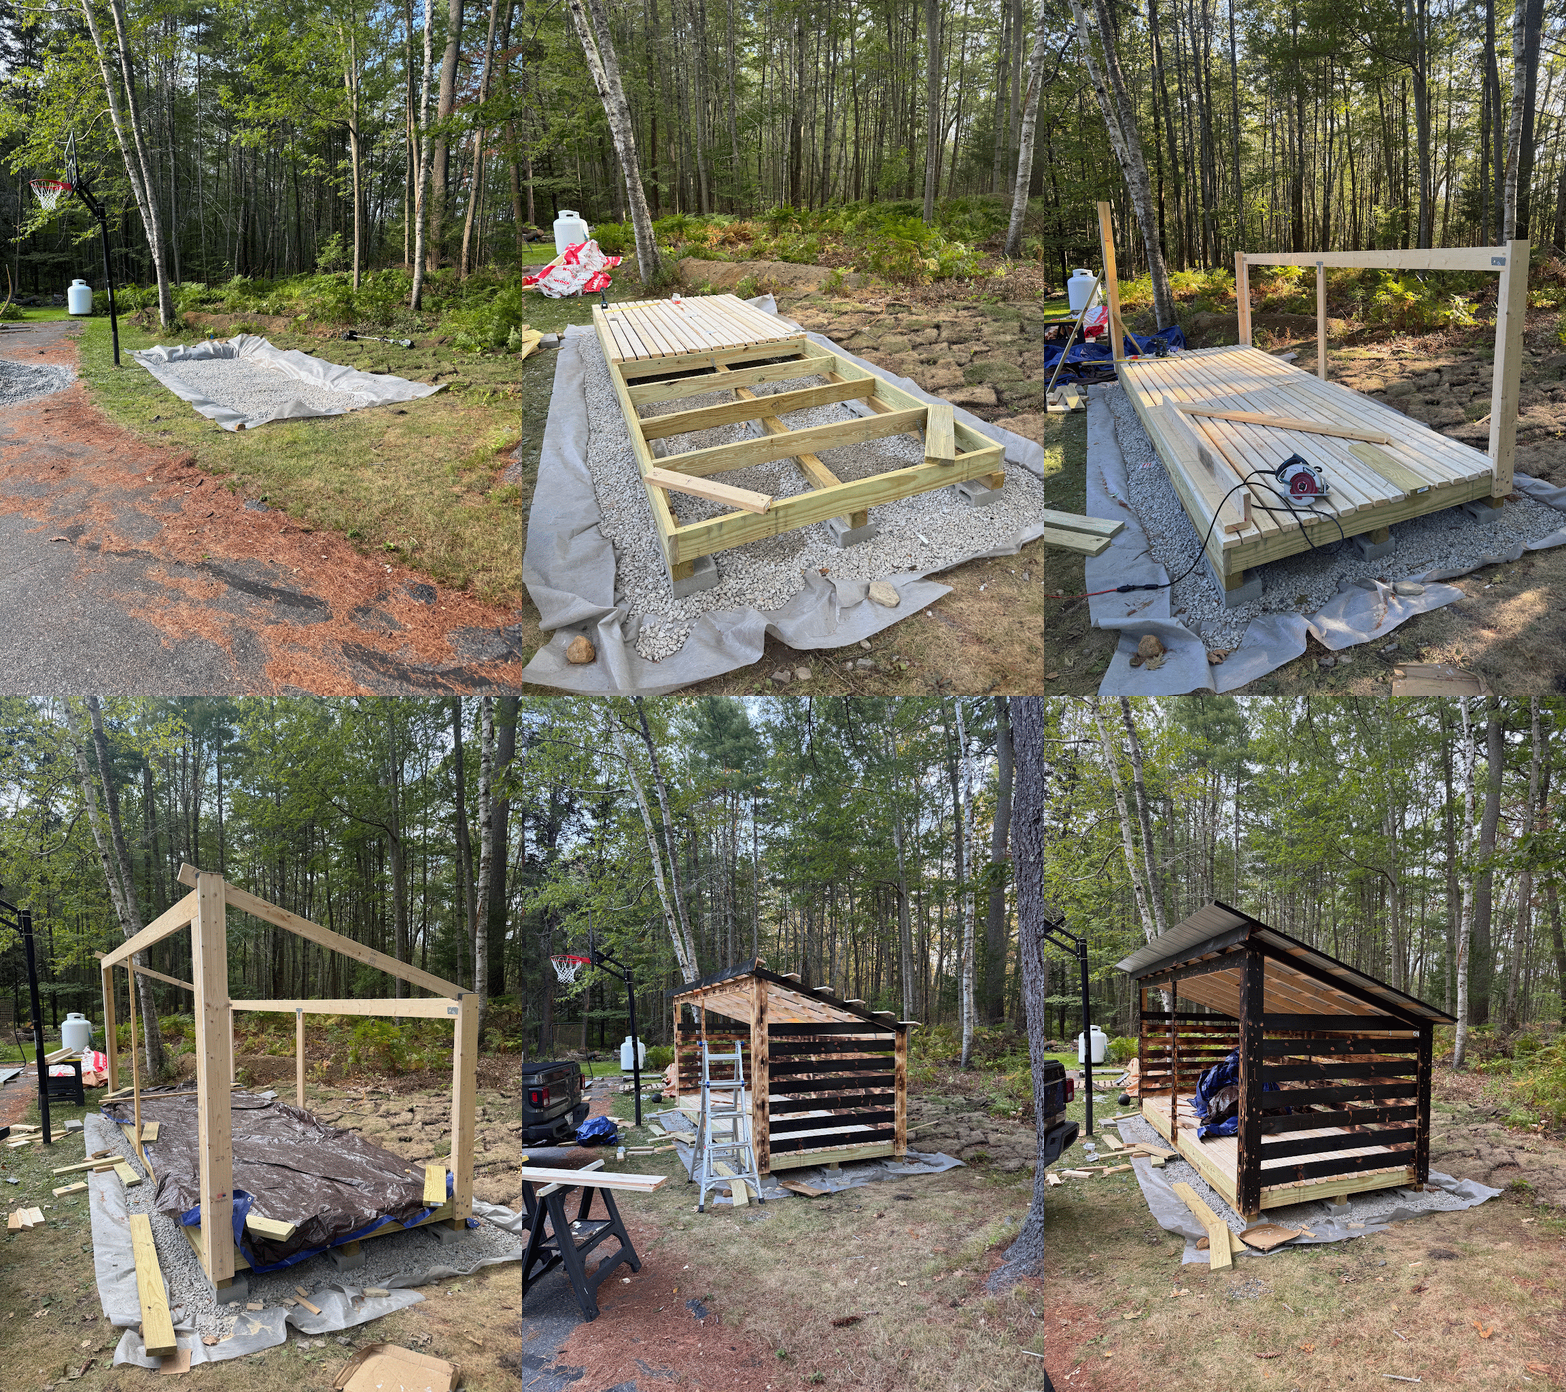
Eleven years ago, I built a woodshed at our old house. Mistakes were made, but overall it did what it was built to do, and I learned a lot in the process. Five years later we moved to the island, and the new house came with its own woodshed.
The shed we inherited had two major issues, however. First, it was too small for our usage. Between the wood stove, the Solo fire pit and most recently our wood fired hot tub, we go through something like five plus cords of wood per year, and this shed stores maybe two. The bigger problem, however, was that it’s simply old and falling apart. I considered trying to shore it up to buy another couple of seasons worth of service, but it’s compromised to the degree that that would be a waste of time.
For two years, then, while we tried to figure out next steps, we simply stored our wood in the driveway. This has been a nightmare for several reasons: the wood isn’t kept dry, it can be impossible to get at in the winter when a foot of snow freezes like a shell on top of the covering tarps and it looks like absolute crap. Also, everything from squirrels to snakes ends up nesting in there.
Anyway, over this past spring we finally arrived at a household consensus not only for what kind of shed to build but where to put it. Mostly so that I didn’t have to generate a cutlist, I picked up a set of plans off Etsy for $20. Instead of a two cord shed, we decided to build a larger four cord shed to accommodate the volume of wood we typically go through.
To do this, we had to move it. Our current shed is right by the door to our great room where the wood stove is, which is convenient for bringing wood in in the winter but inconvenient to load from the driveway. The new shed was too big for that spot, and is instead across the driveway, which means that I’ll have to bring wood around by cart. That’s not ideal, but it will be much easier to load in when the firewood is dropped off.
With all parties finally in agreement, I made plans to get to work this August while on vacation. And that’s when things started to go wrong.
Permitting
Being married to a lawyer means that you have to do everything by the book which means getting literally everything permitted. Even a woodshed. When I contacted the town about getting one for the planned new shed, they told me there was actually no permit for our old shed. Which I assume means that whoever built the shed was neither a lawyer nor married to one.
The town permitting took a month, but otherwise proceeded without incident. Then Kate worried about the vernal pool setbacks – again: lawyer – and that triggered multiple rounds of interactions with the town and state. Shockingly, however, we eventually got the go ahead – the only catch was that I had missed my best window to build, which was a week in which I was on vacation but Eleanor was in camp.
But by carving out a few hours here and there, I gradually got to work. Which brings me to the footprint.
Footprint
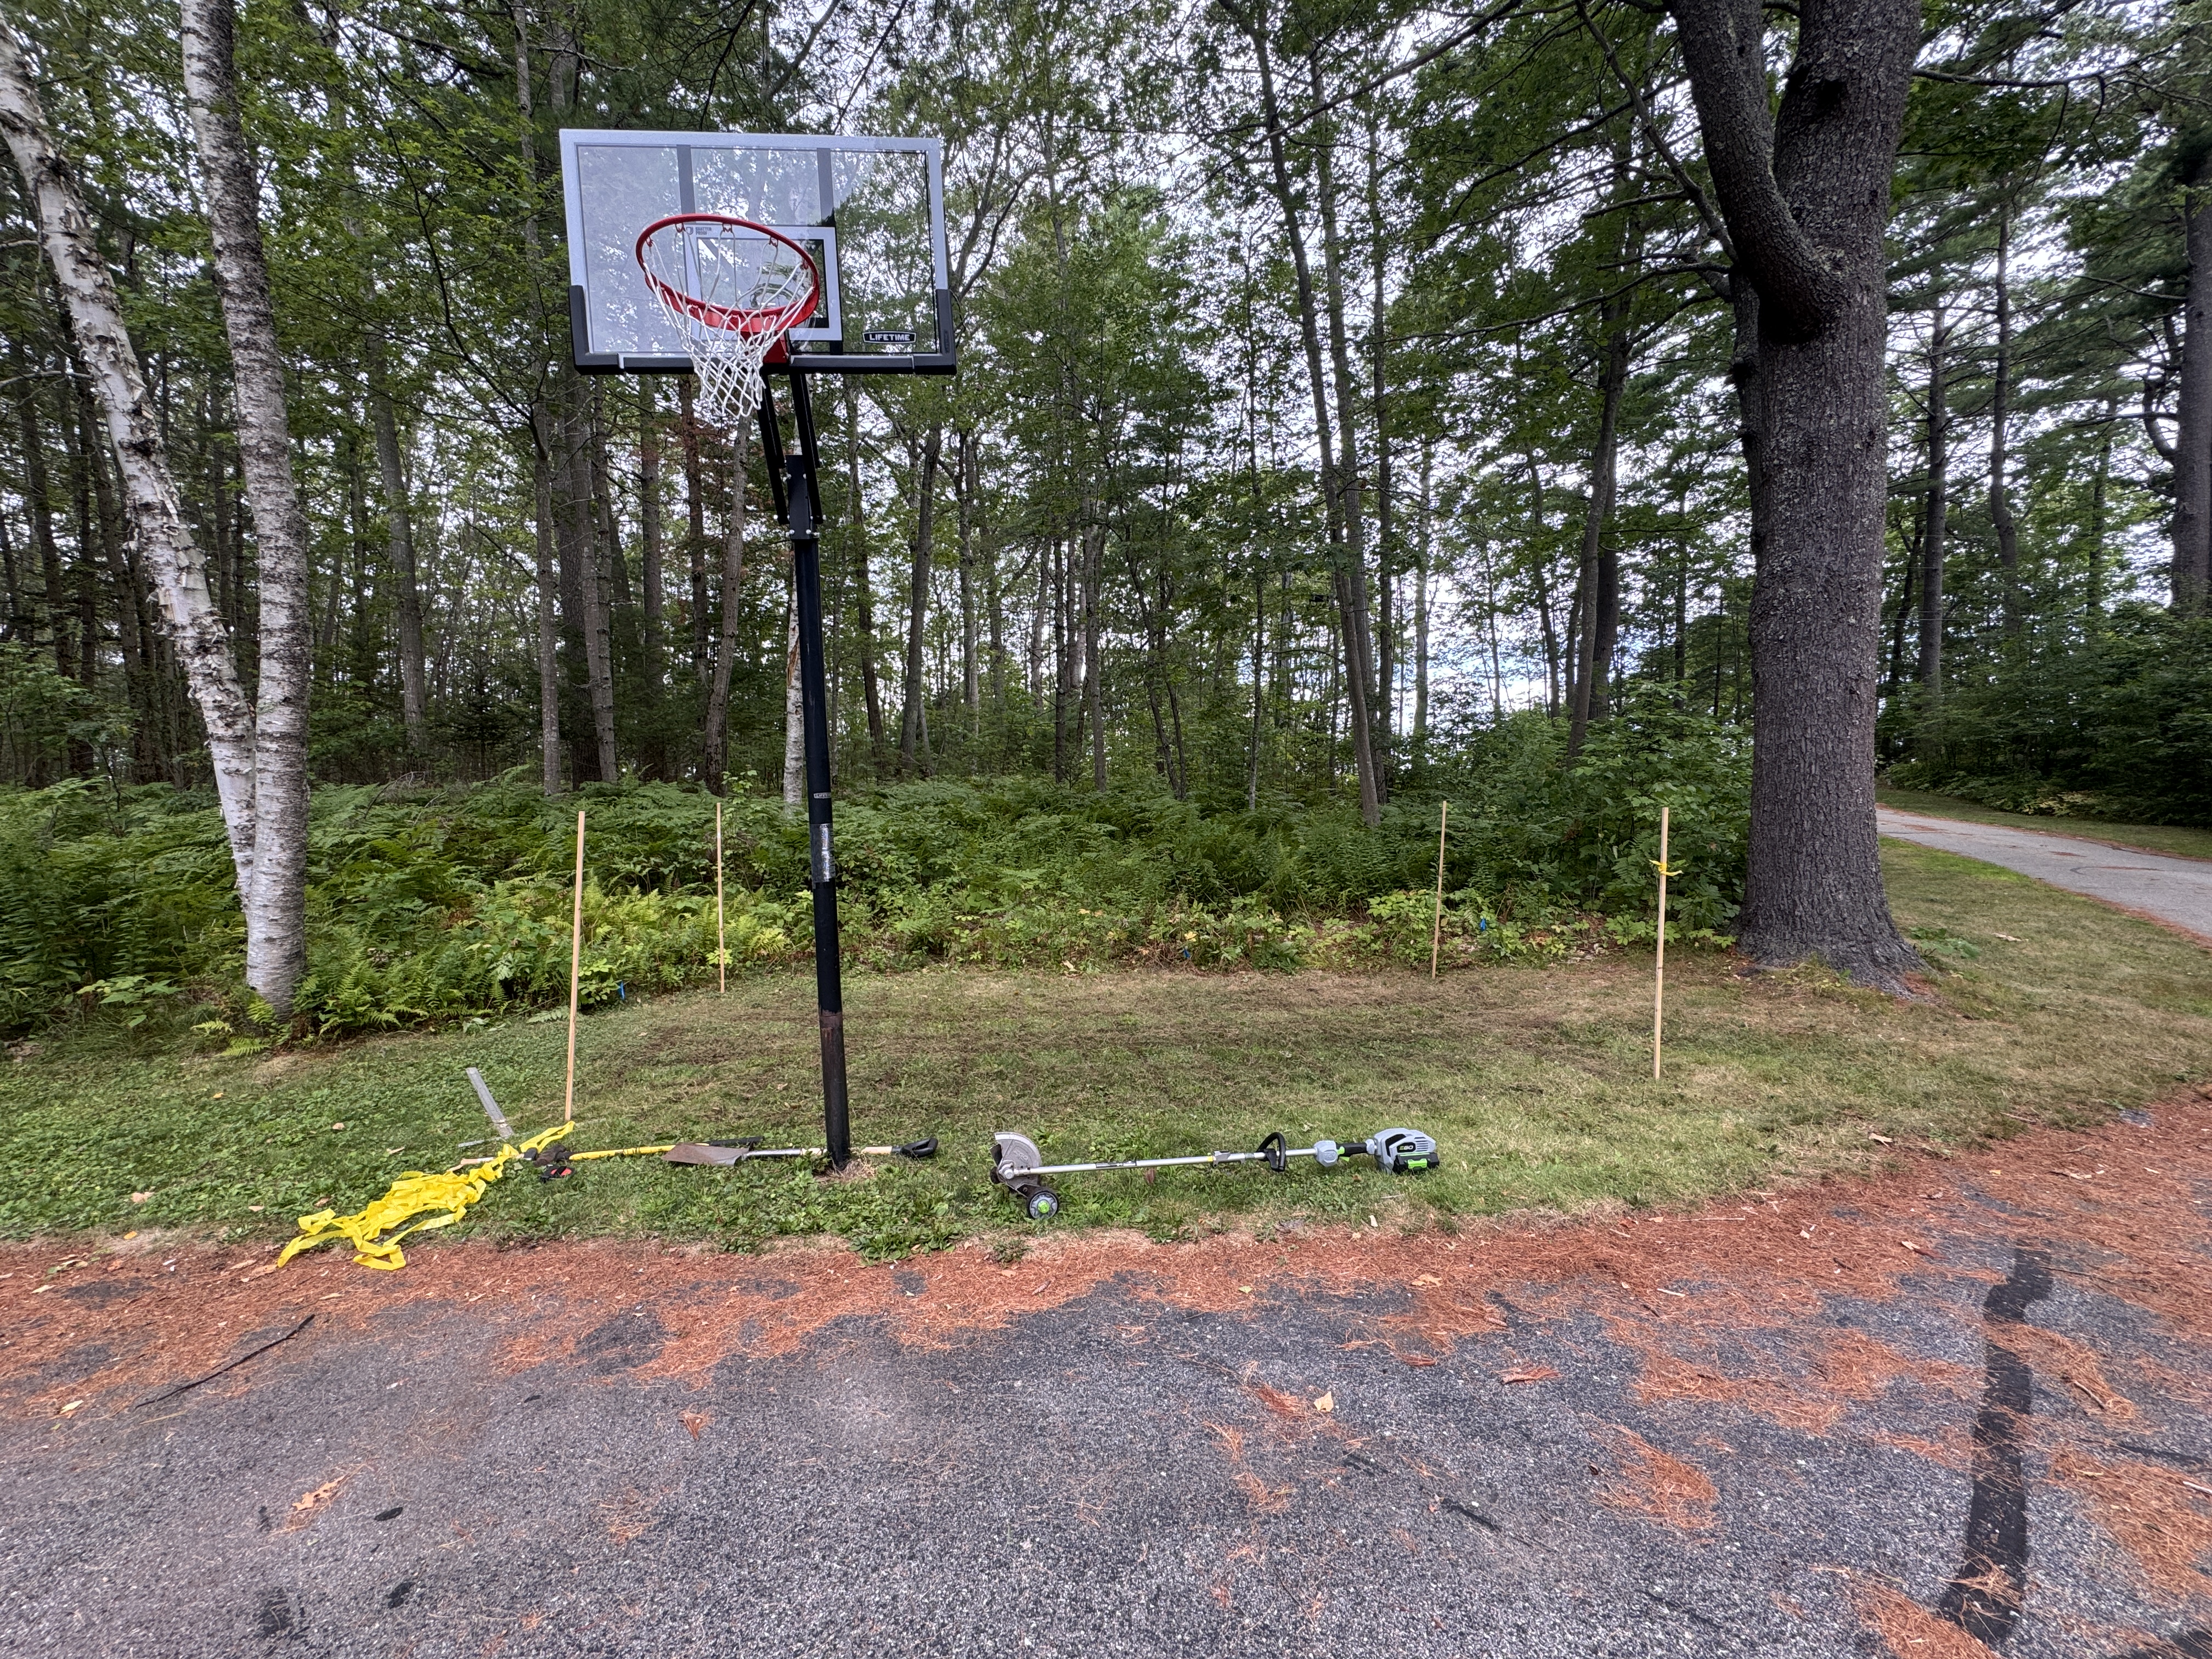
When I built the shed at our old house, I built it on grade, which is to say I dug down ten inches, filled the area with crushed stone and put concrete pavers on top. This was miserable and in my writeup I recommended against on grade in favor of poured concrete footings.
And that was indeed my plan, until I realized that I had no way of knowing definitively where precisely our water line ran. Faced with a choice between an on grade foundation which wouldn’t dig deeply enough to hit the water line (not so much for the fiber line, alas) or concrete tubes that may or may not cut off the water supply to our house, I did what I had told myself last time not to do.
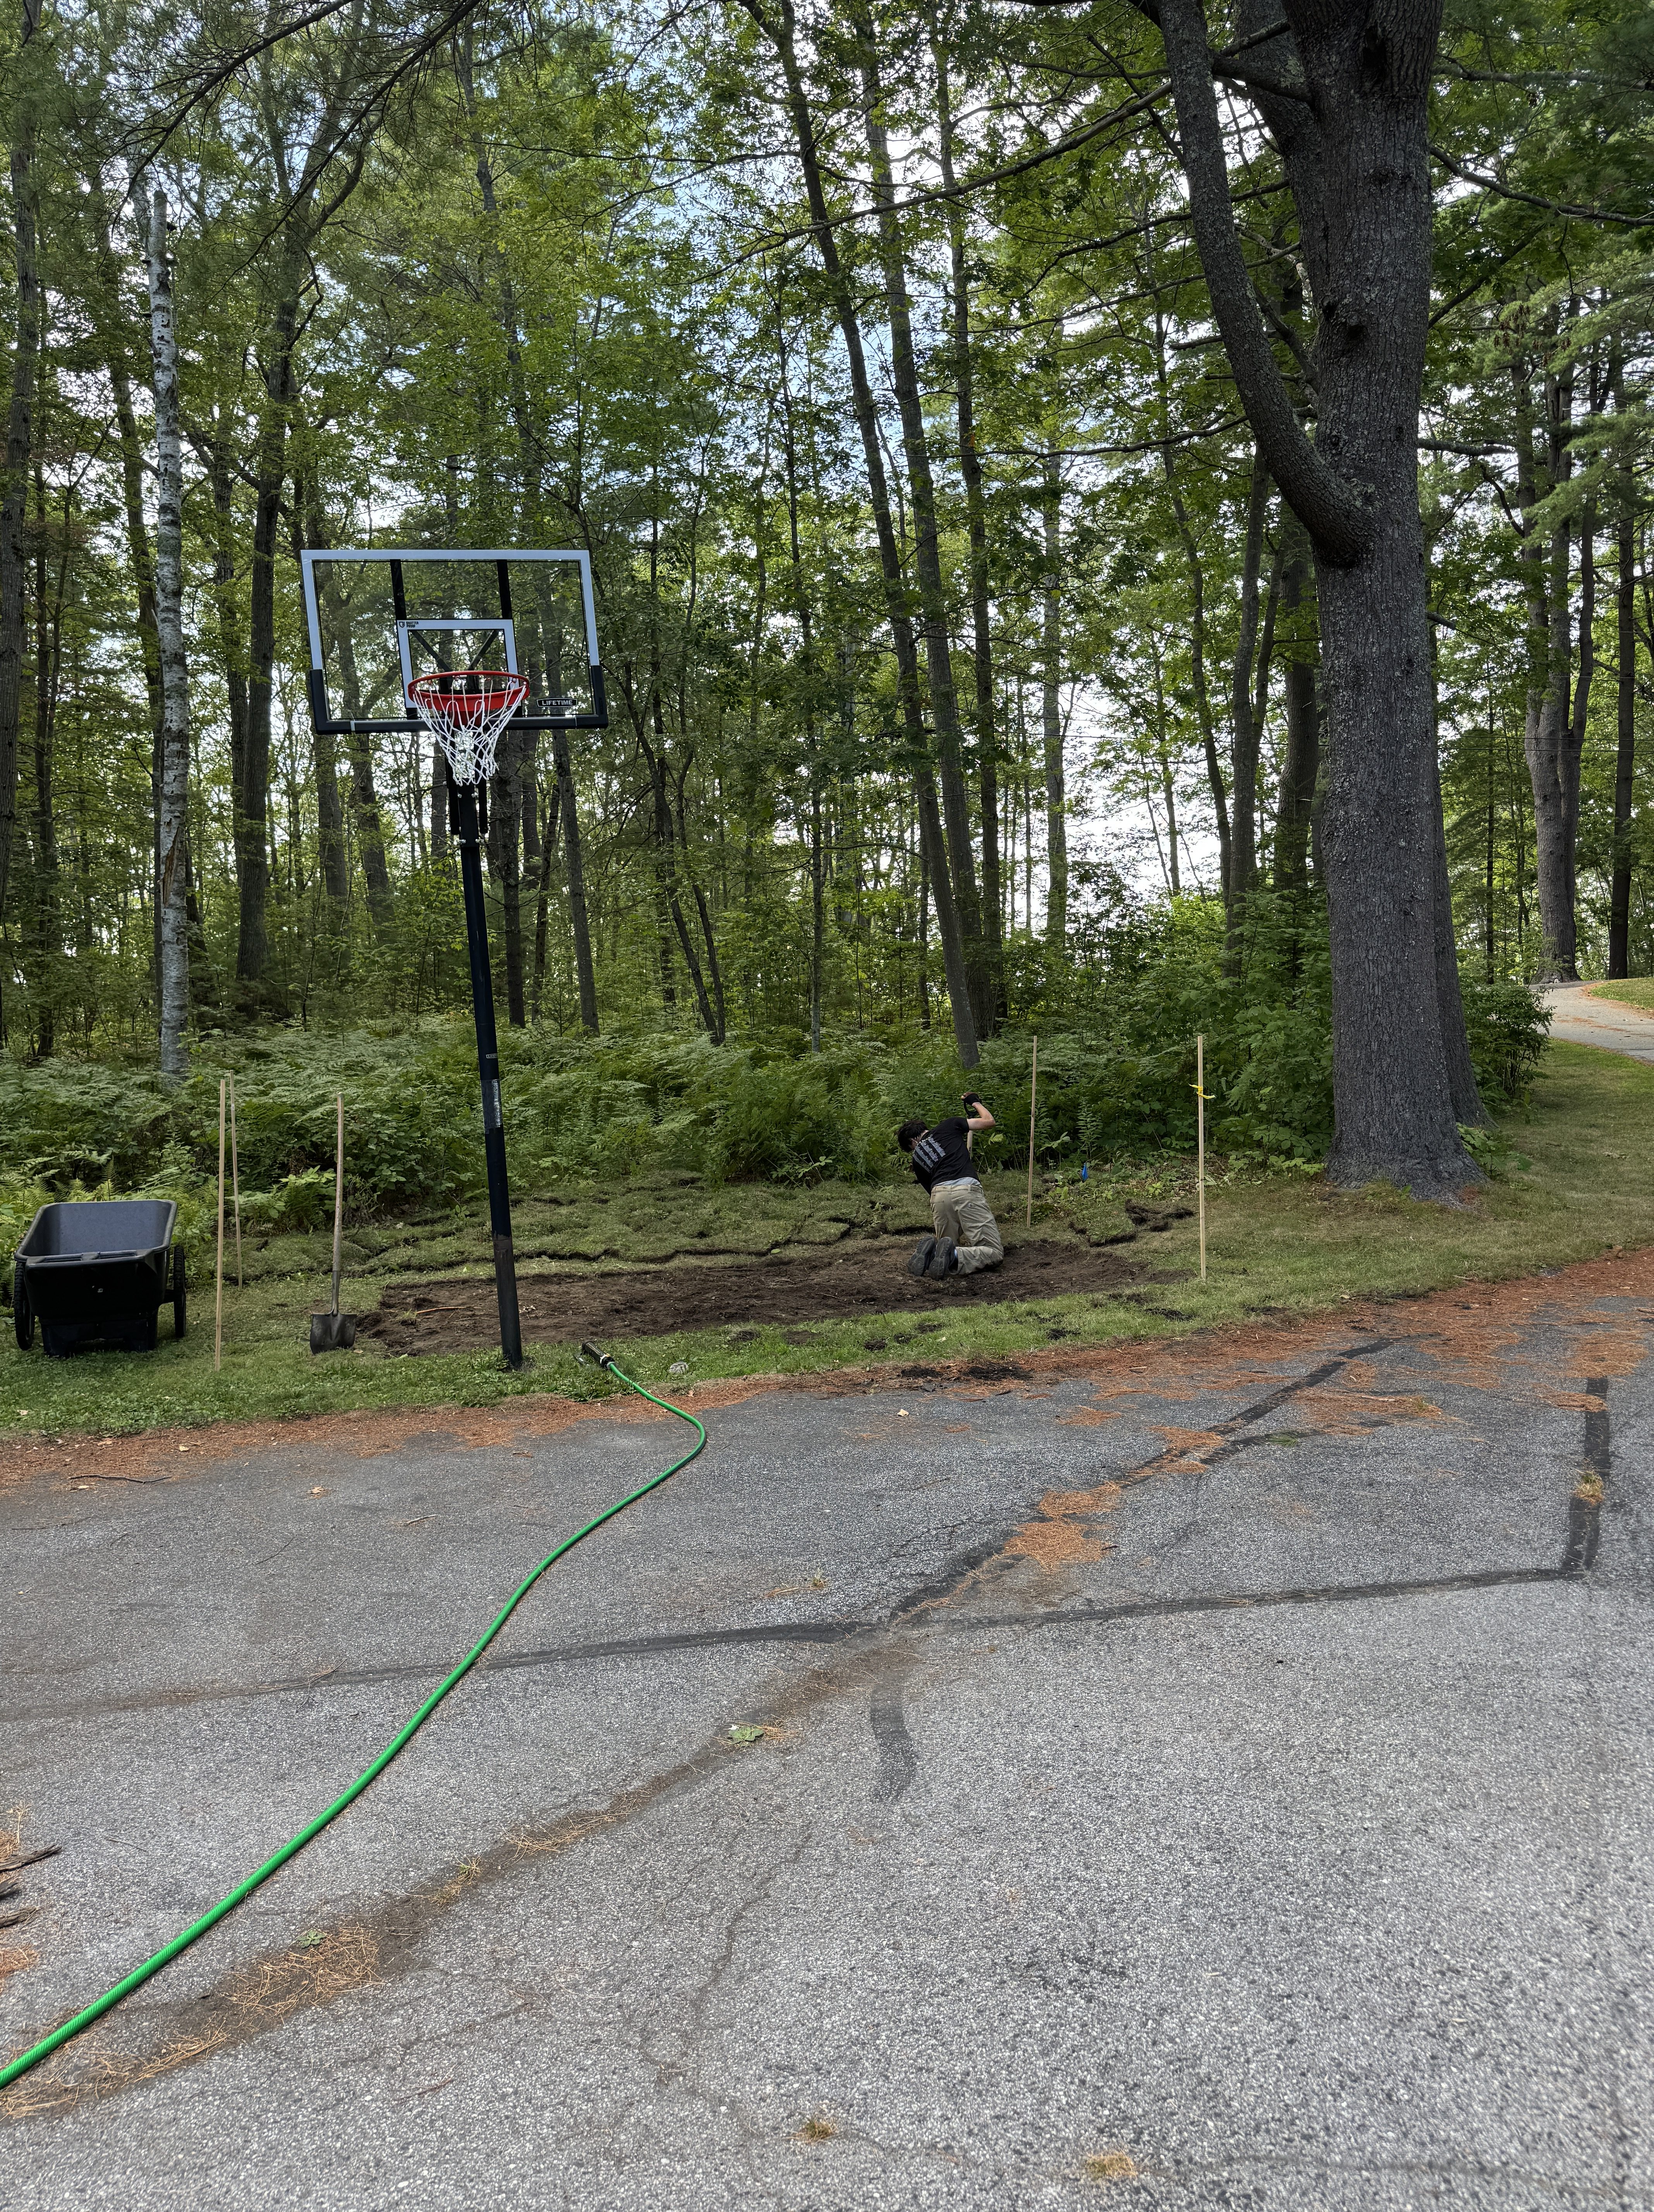
The bad news was that this new much larger shed required a new much larger footprint than the last time I’d gone through this exercise. I had to remove over five cubic yards of dirt, sand and clay and replace it with over five cubic yards of crushed rock. The good news is that my nephew was looking to pick up some pocket money and had a couple of spare days before he headed off to school. Eleanor helped as well, so I at least didn’t have to do this part on my own.
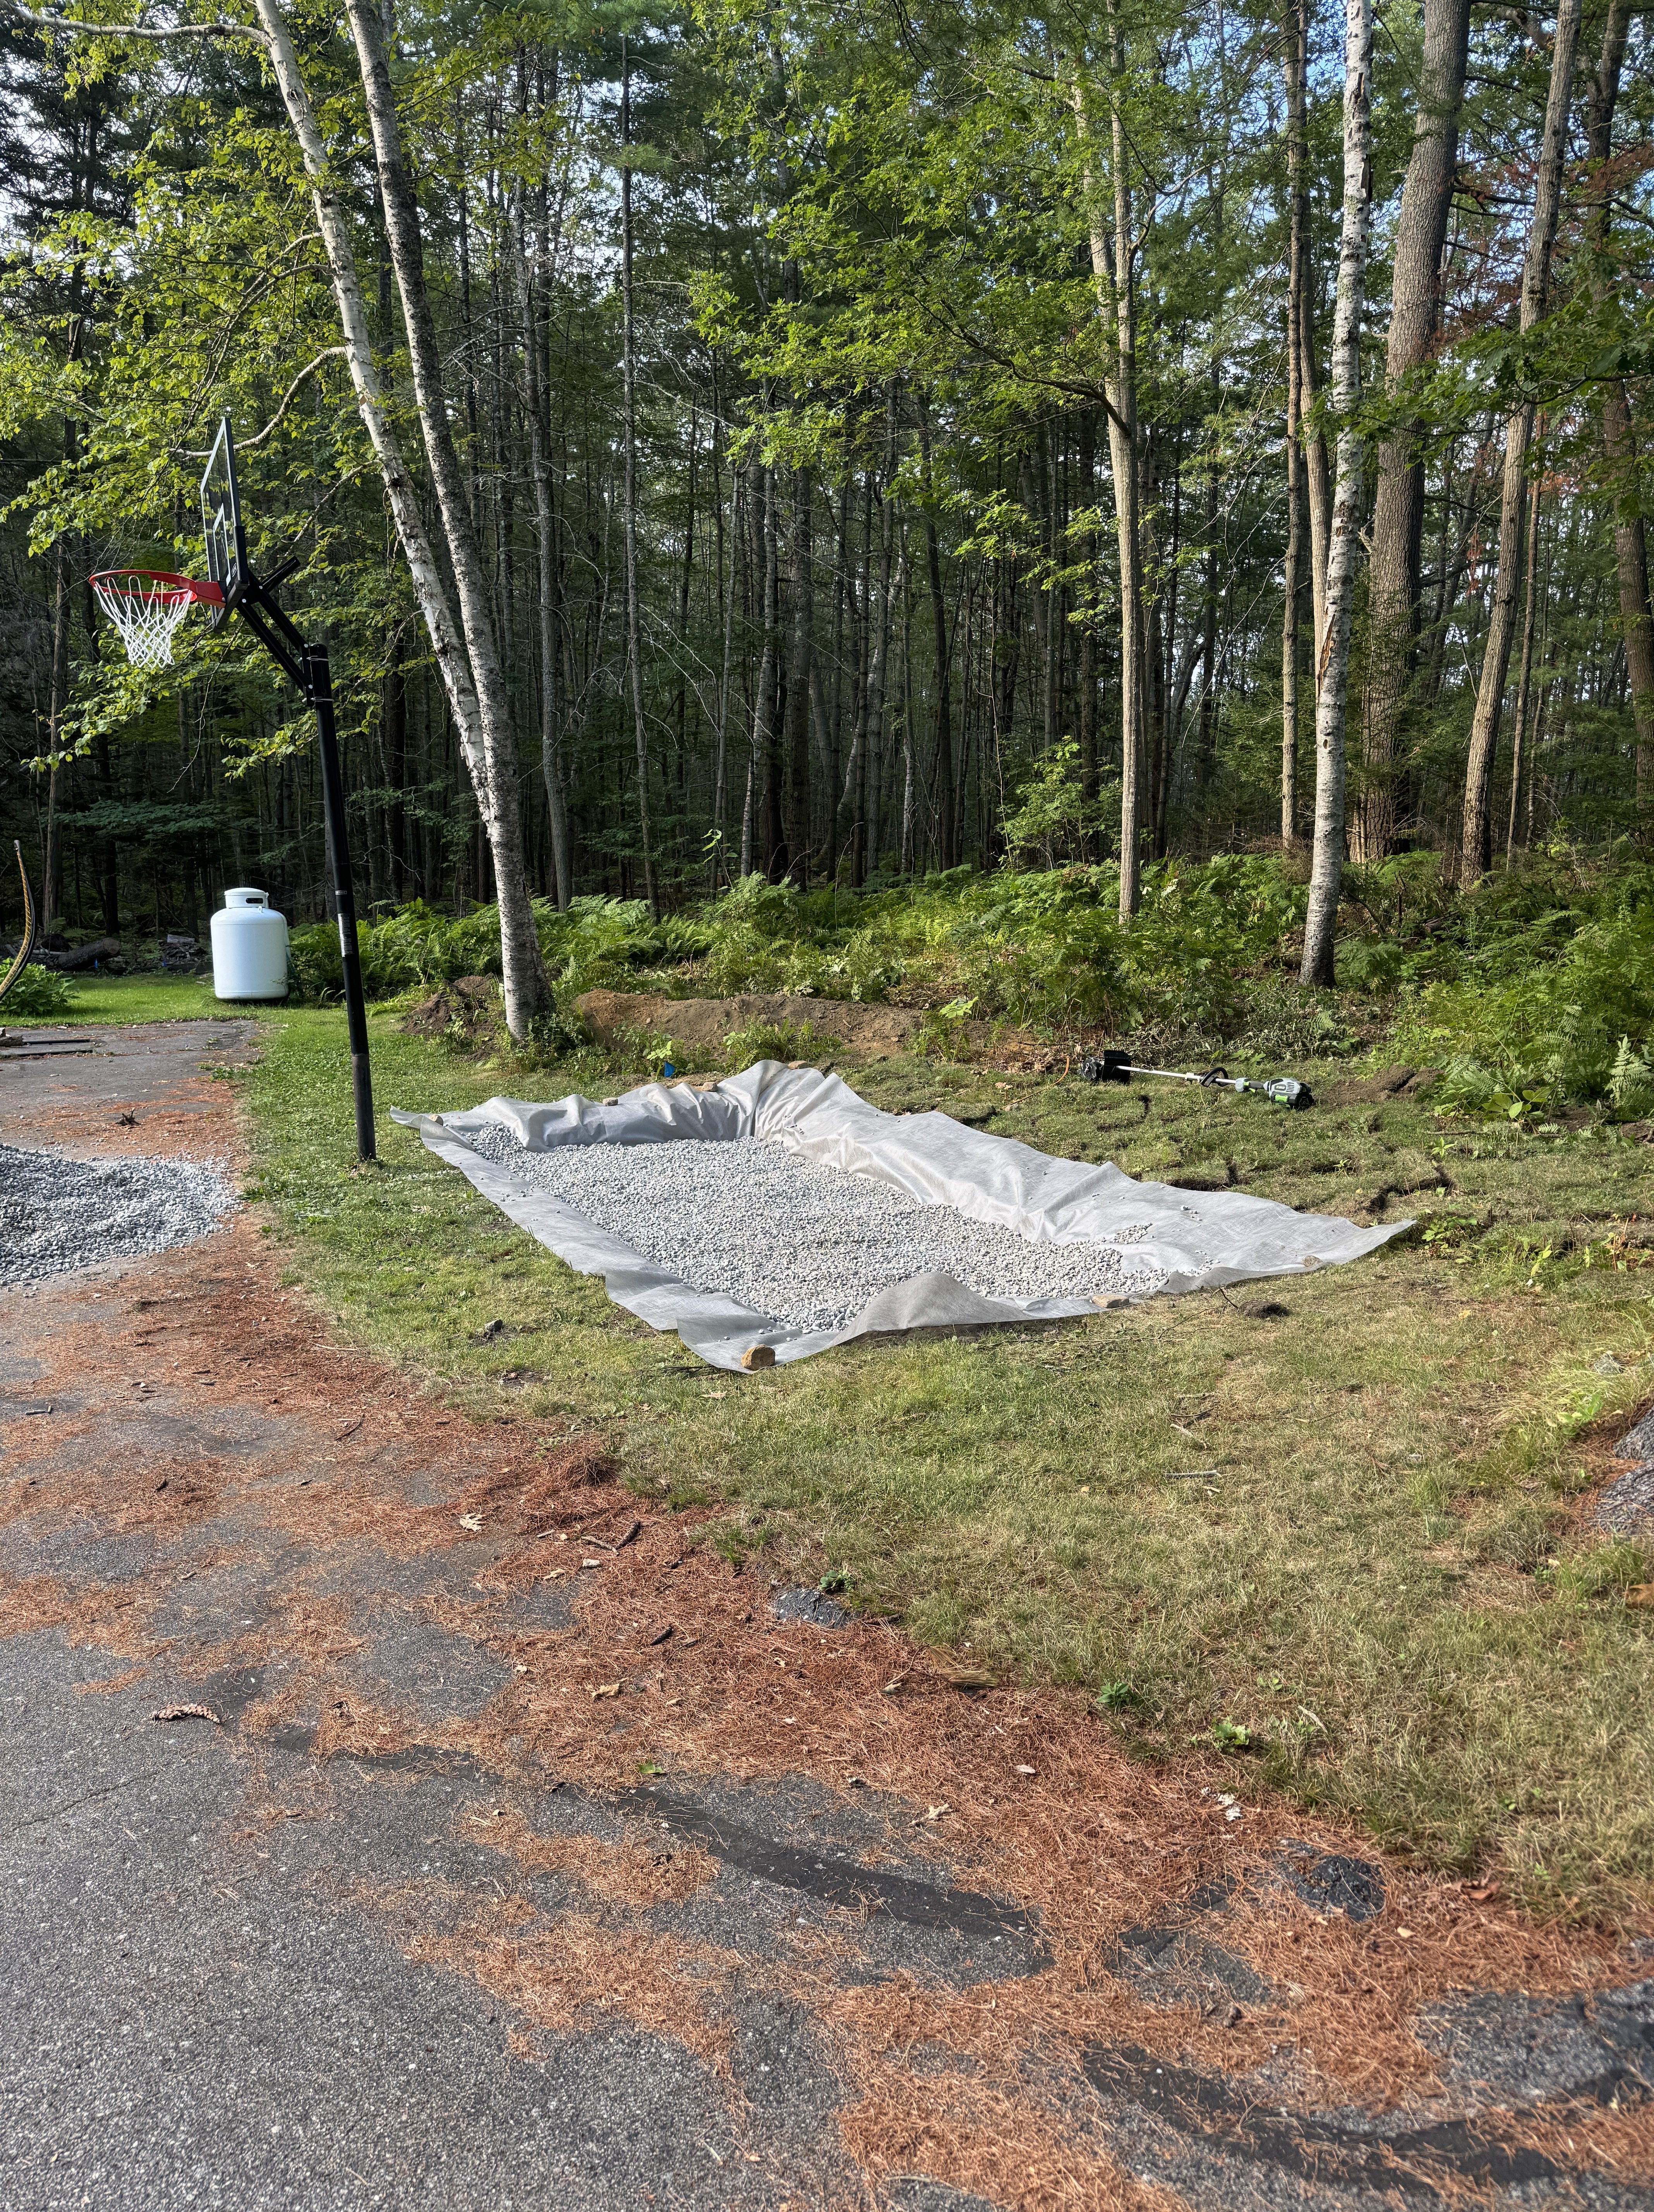
Once the crushed rock was in place, I had to put in the pavers the shed’s skids would sit on. There were fifteen in three rows. Each paver needed to be level by itself, and level with its neighboring pavers and with every other paver on the grade. Long story short, this work was tedious, fiddly and absolutely miserable. But it eventually got done. Next up was building the foundation.
Foundation
The foundation for the shed was three skids of 16’ pressure treated (PT) 4×4’s, on top of which was placed a frame of PT 2×6’s. This was easy enough to assemble, but when I checked it for square it was off by several inches. Which meant a trip to the hardware store to buy a ratchet strap which temporarily succeeded in making my frame square but did so by cracking and ripping out the bottom of one of my end joists. Which in turn meant a trip back to the lumber store to get a replacement 2×6, and to install it I had to essentially take the entire frame apart and put it back together. And when I did that, I checked it for square and I’d somehow made it worse.
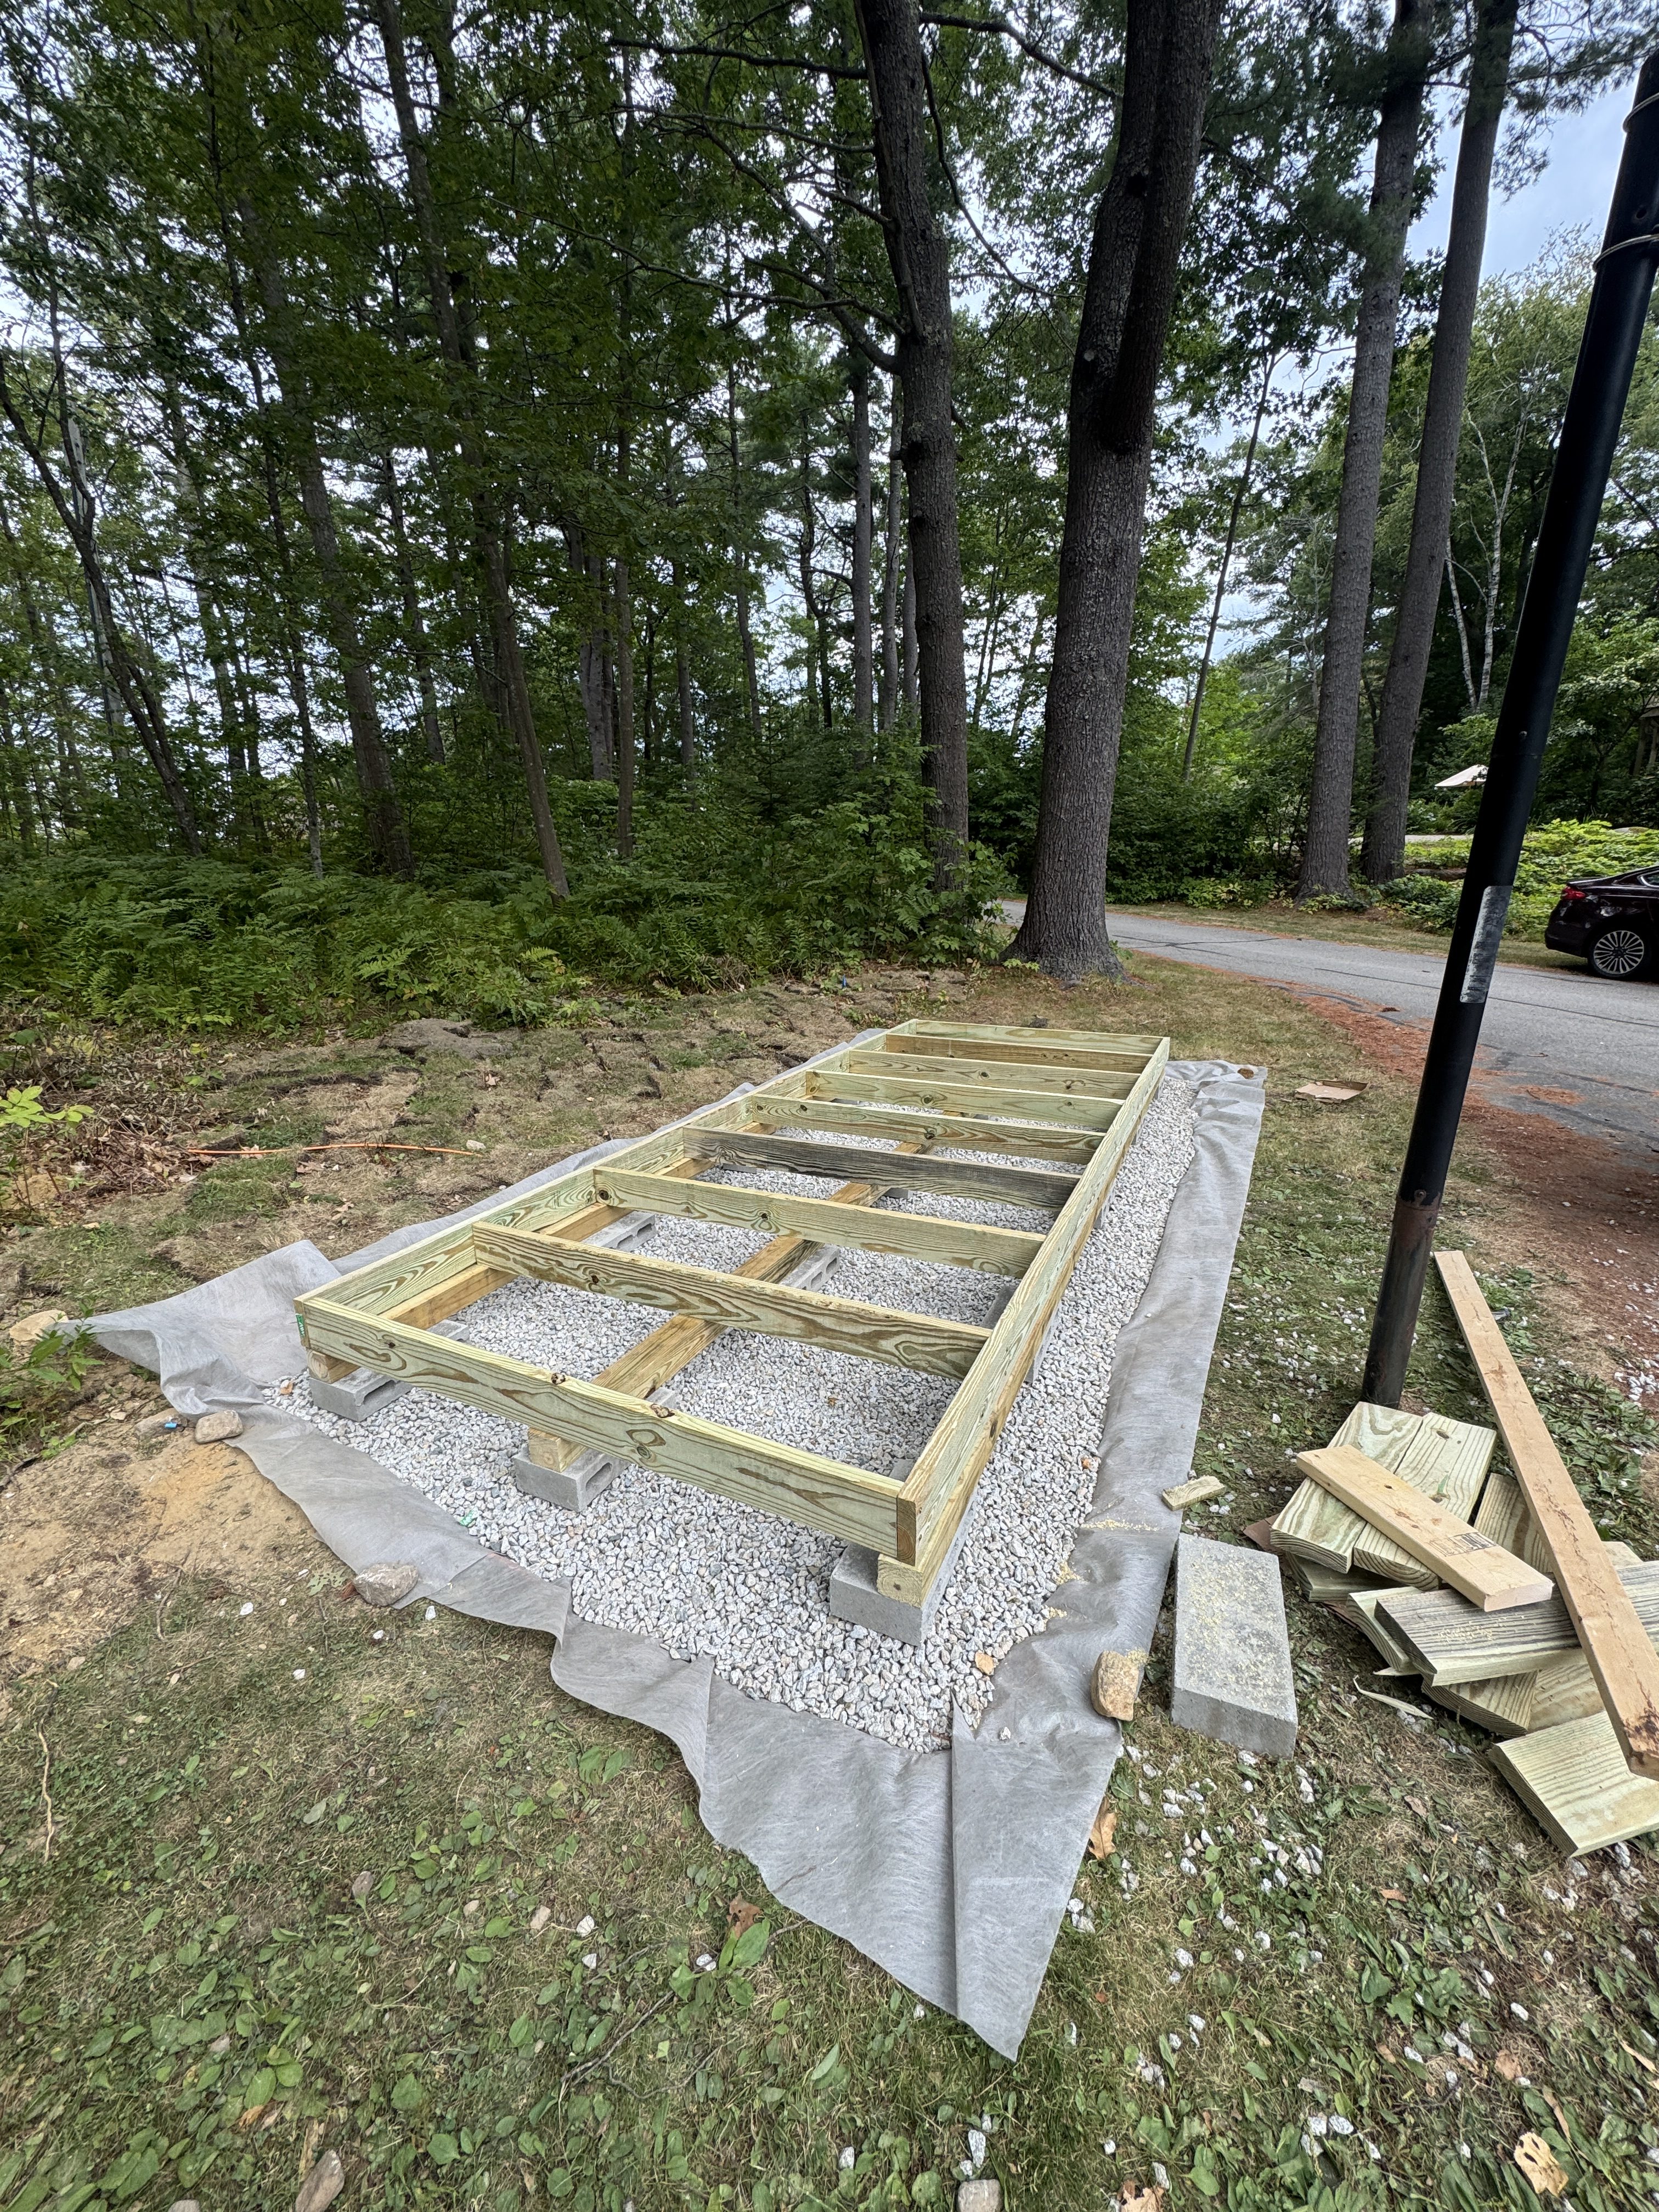
One more application of the ratchet straps – more carefully this time – and some temporary braces and I ended up with a rectangle rather than a trapezoid. As I laid down the flooring – regular 2x4s rather than cedar for cost reasons, and we’ll see how that ages – I could remove the braces and it held square.
Onward.
Posts
Next up were the shed posts, composed of two 2×6’s. I thought it would be a pain in the ass to level and plumb these without a second set of hands and I was right. But using spare lumber as braces, I eventually got all four posts up, then connected by cross-beams.
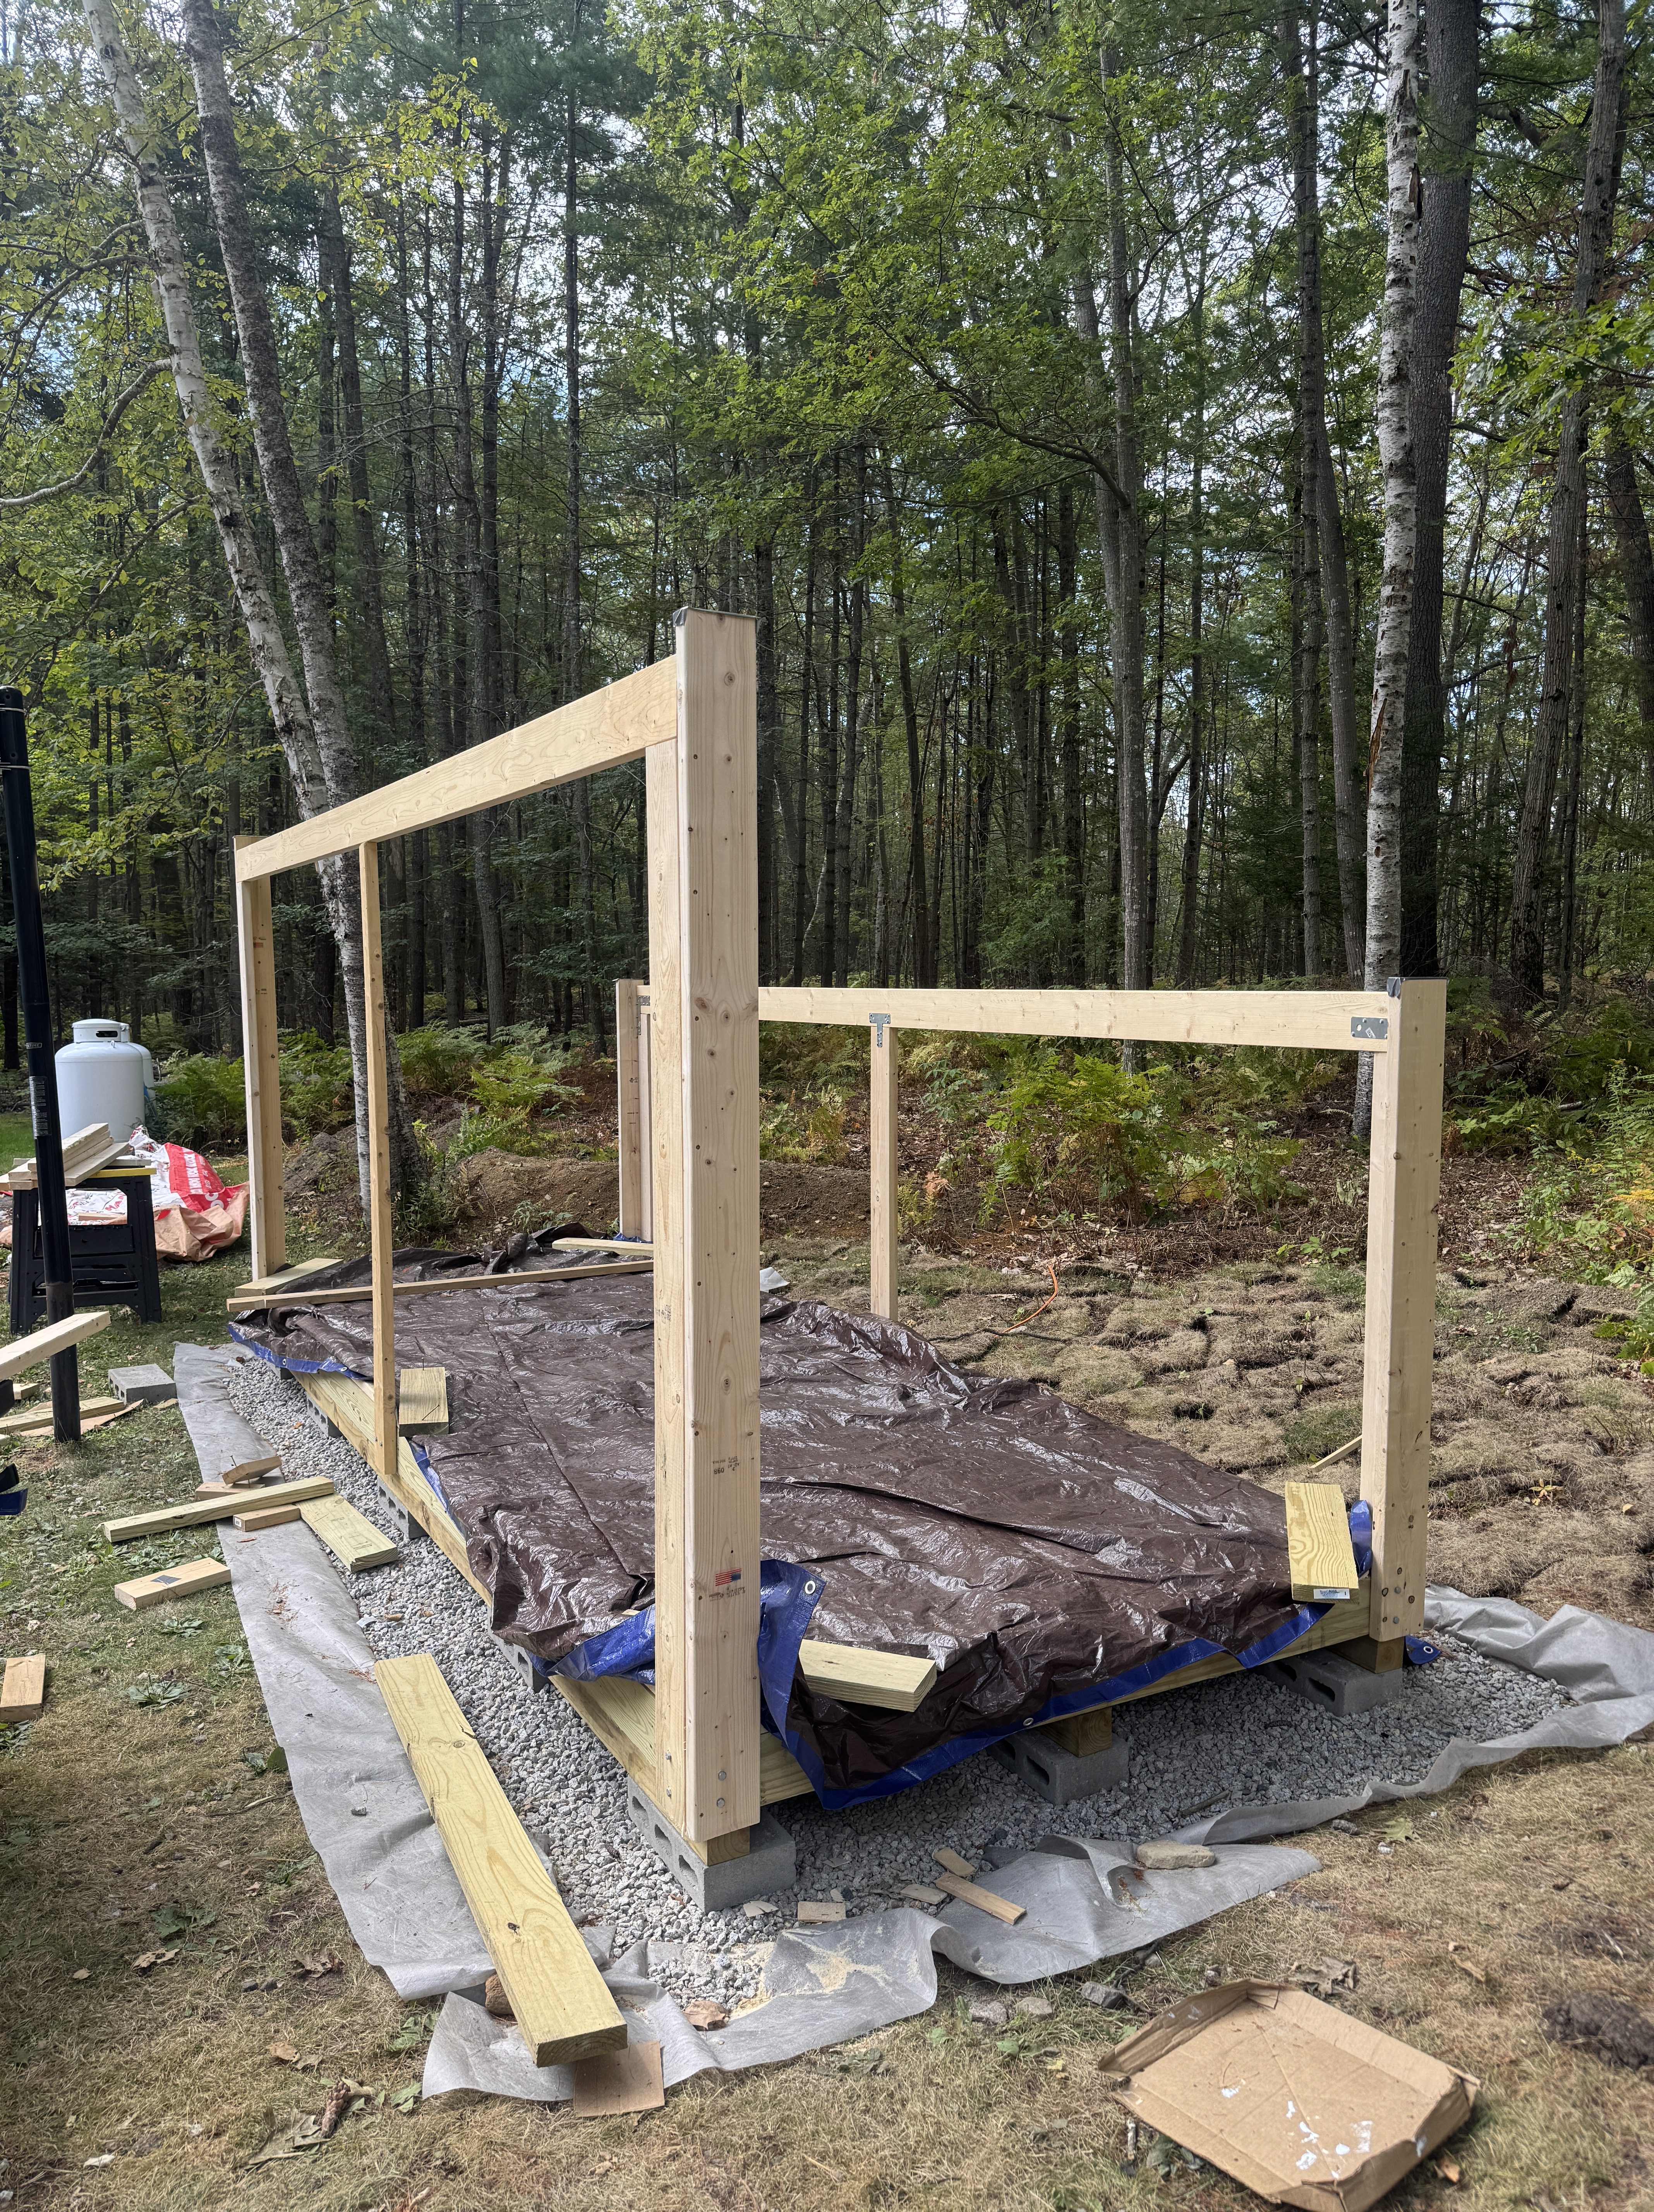
While the posts wrapped around the corners of the foundation as two 2×6’s joined as an L, they didn’t offer much strength front to back. So it was time for rafters.
Rafters
Before building, I had Claude look at the plans and it told me the pitch for the rafters should be 4 to 1. Measuring out the instructions using a speed square, it was 5 to 1. Not sure which to go with, I defaulted to the original plans over AI’s interpretation of them and it worked.
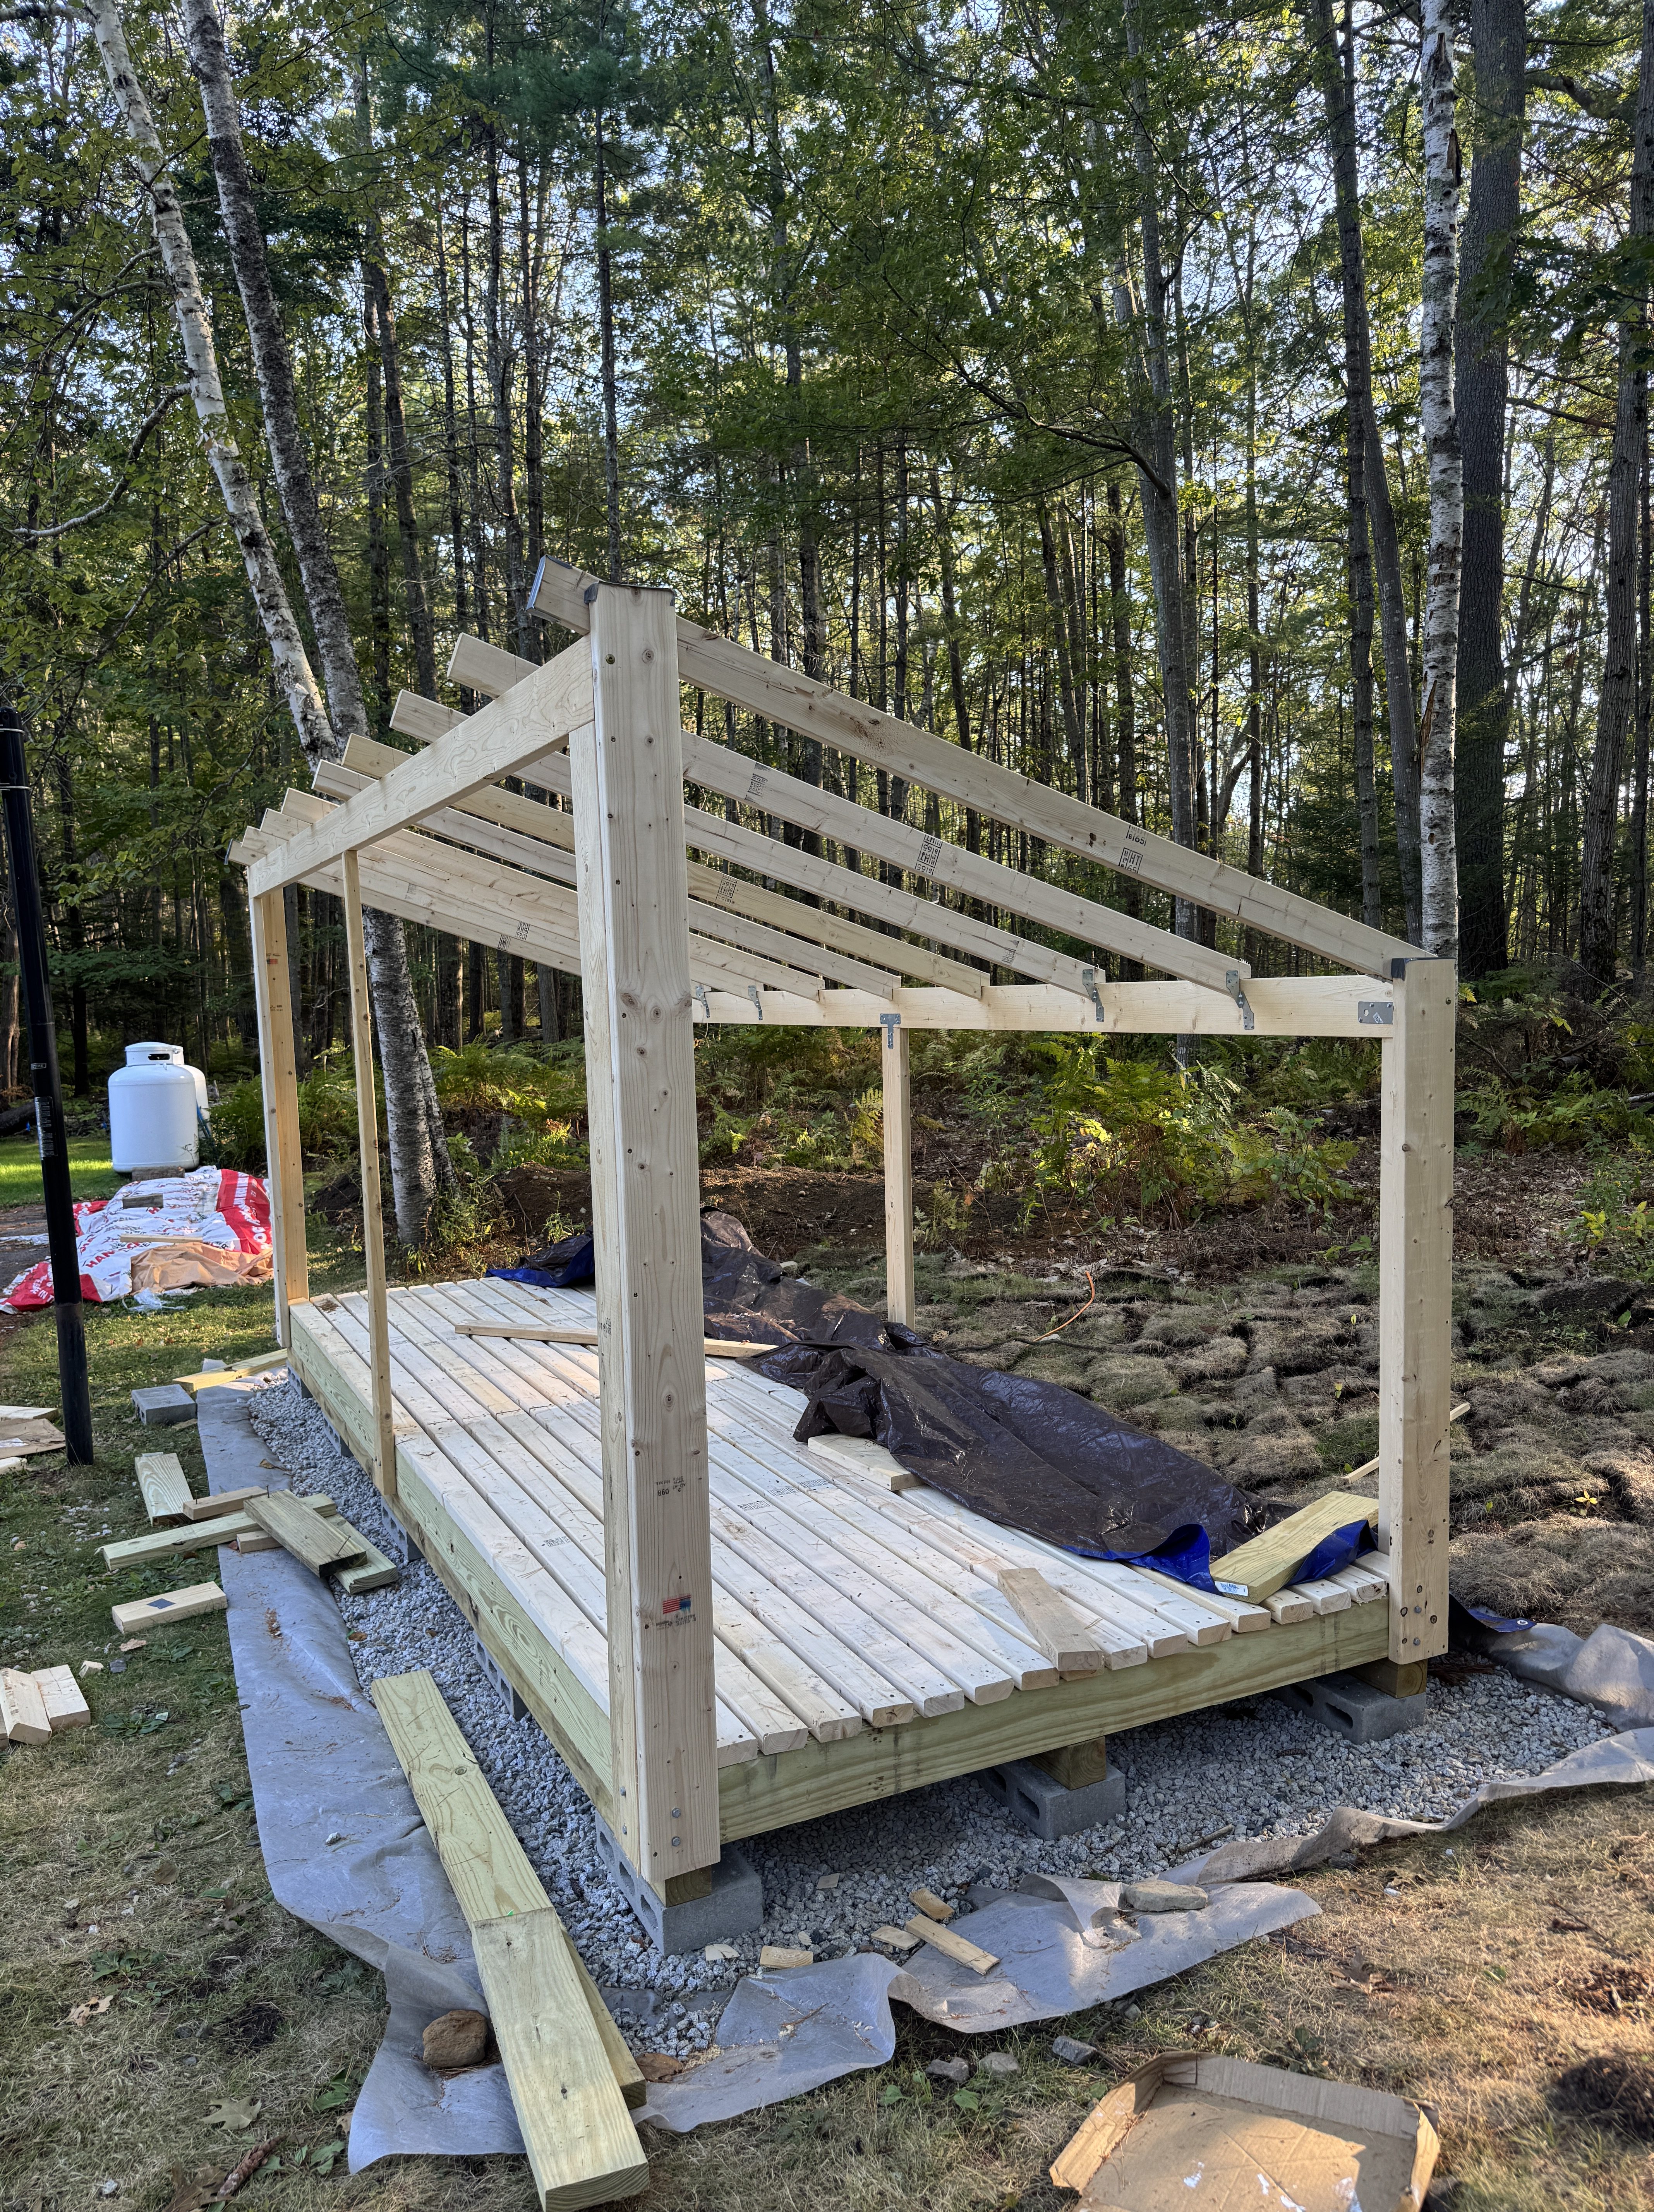
In the last eleven years, however, I have not gotten a lot better at cutting out bird’s mouths for rafters and they were a bit rough. (Side note for future me: don’t use the circular saw, go with a jig saw – and try not to snap its blade off mid-process). The warp on several of the rafters didn’t help either. But eventually I got all the rafters up. And the purlins on top of them running perpendicular.
And then it was time for siding, and that’s when things got interesting.
Yakisugi / Shou Sugi Ban
In my last shed, the siding was all cedar for its weather resistant qualities. A decade later, with a much larger shed, that lumber would run 2-4X the cost of the more basic pine. But the pine would rot much more quickly – unless, that is, it could be made weather resistant via the Japanese technique known as yakisugi or more commonly shou sugi ban here in the US.
Basically, this means burning the exterior of the wood to render the charred surface much more resistant to weathering.
The traditional method for this is using three planks to form a triangle, and burning the middle, rotating the triangle up and down to allow the fire to burn the length of each plank. This requires skill, technique and experience that I did not have. So instead I borrowed a flame thrower from one of Eleanor’s friend’s moms.
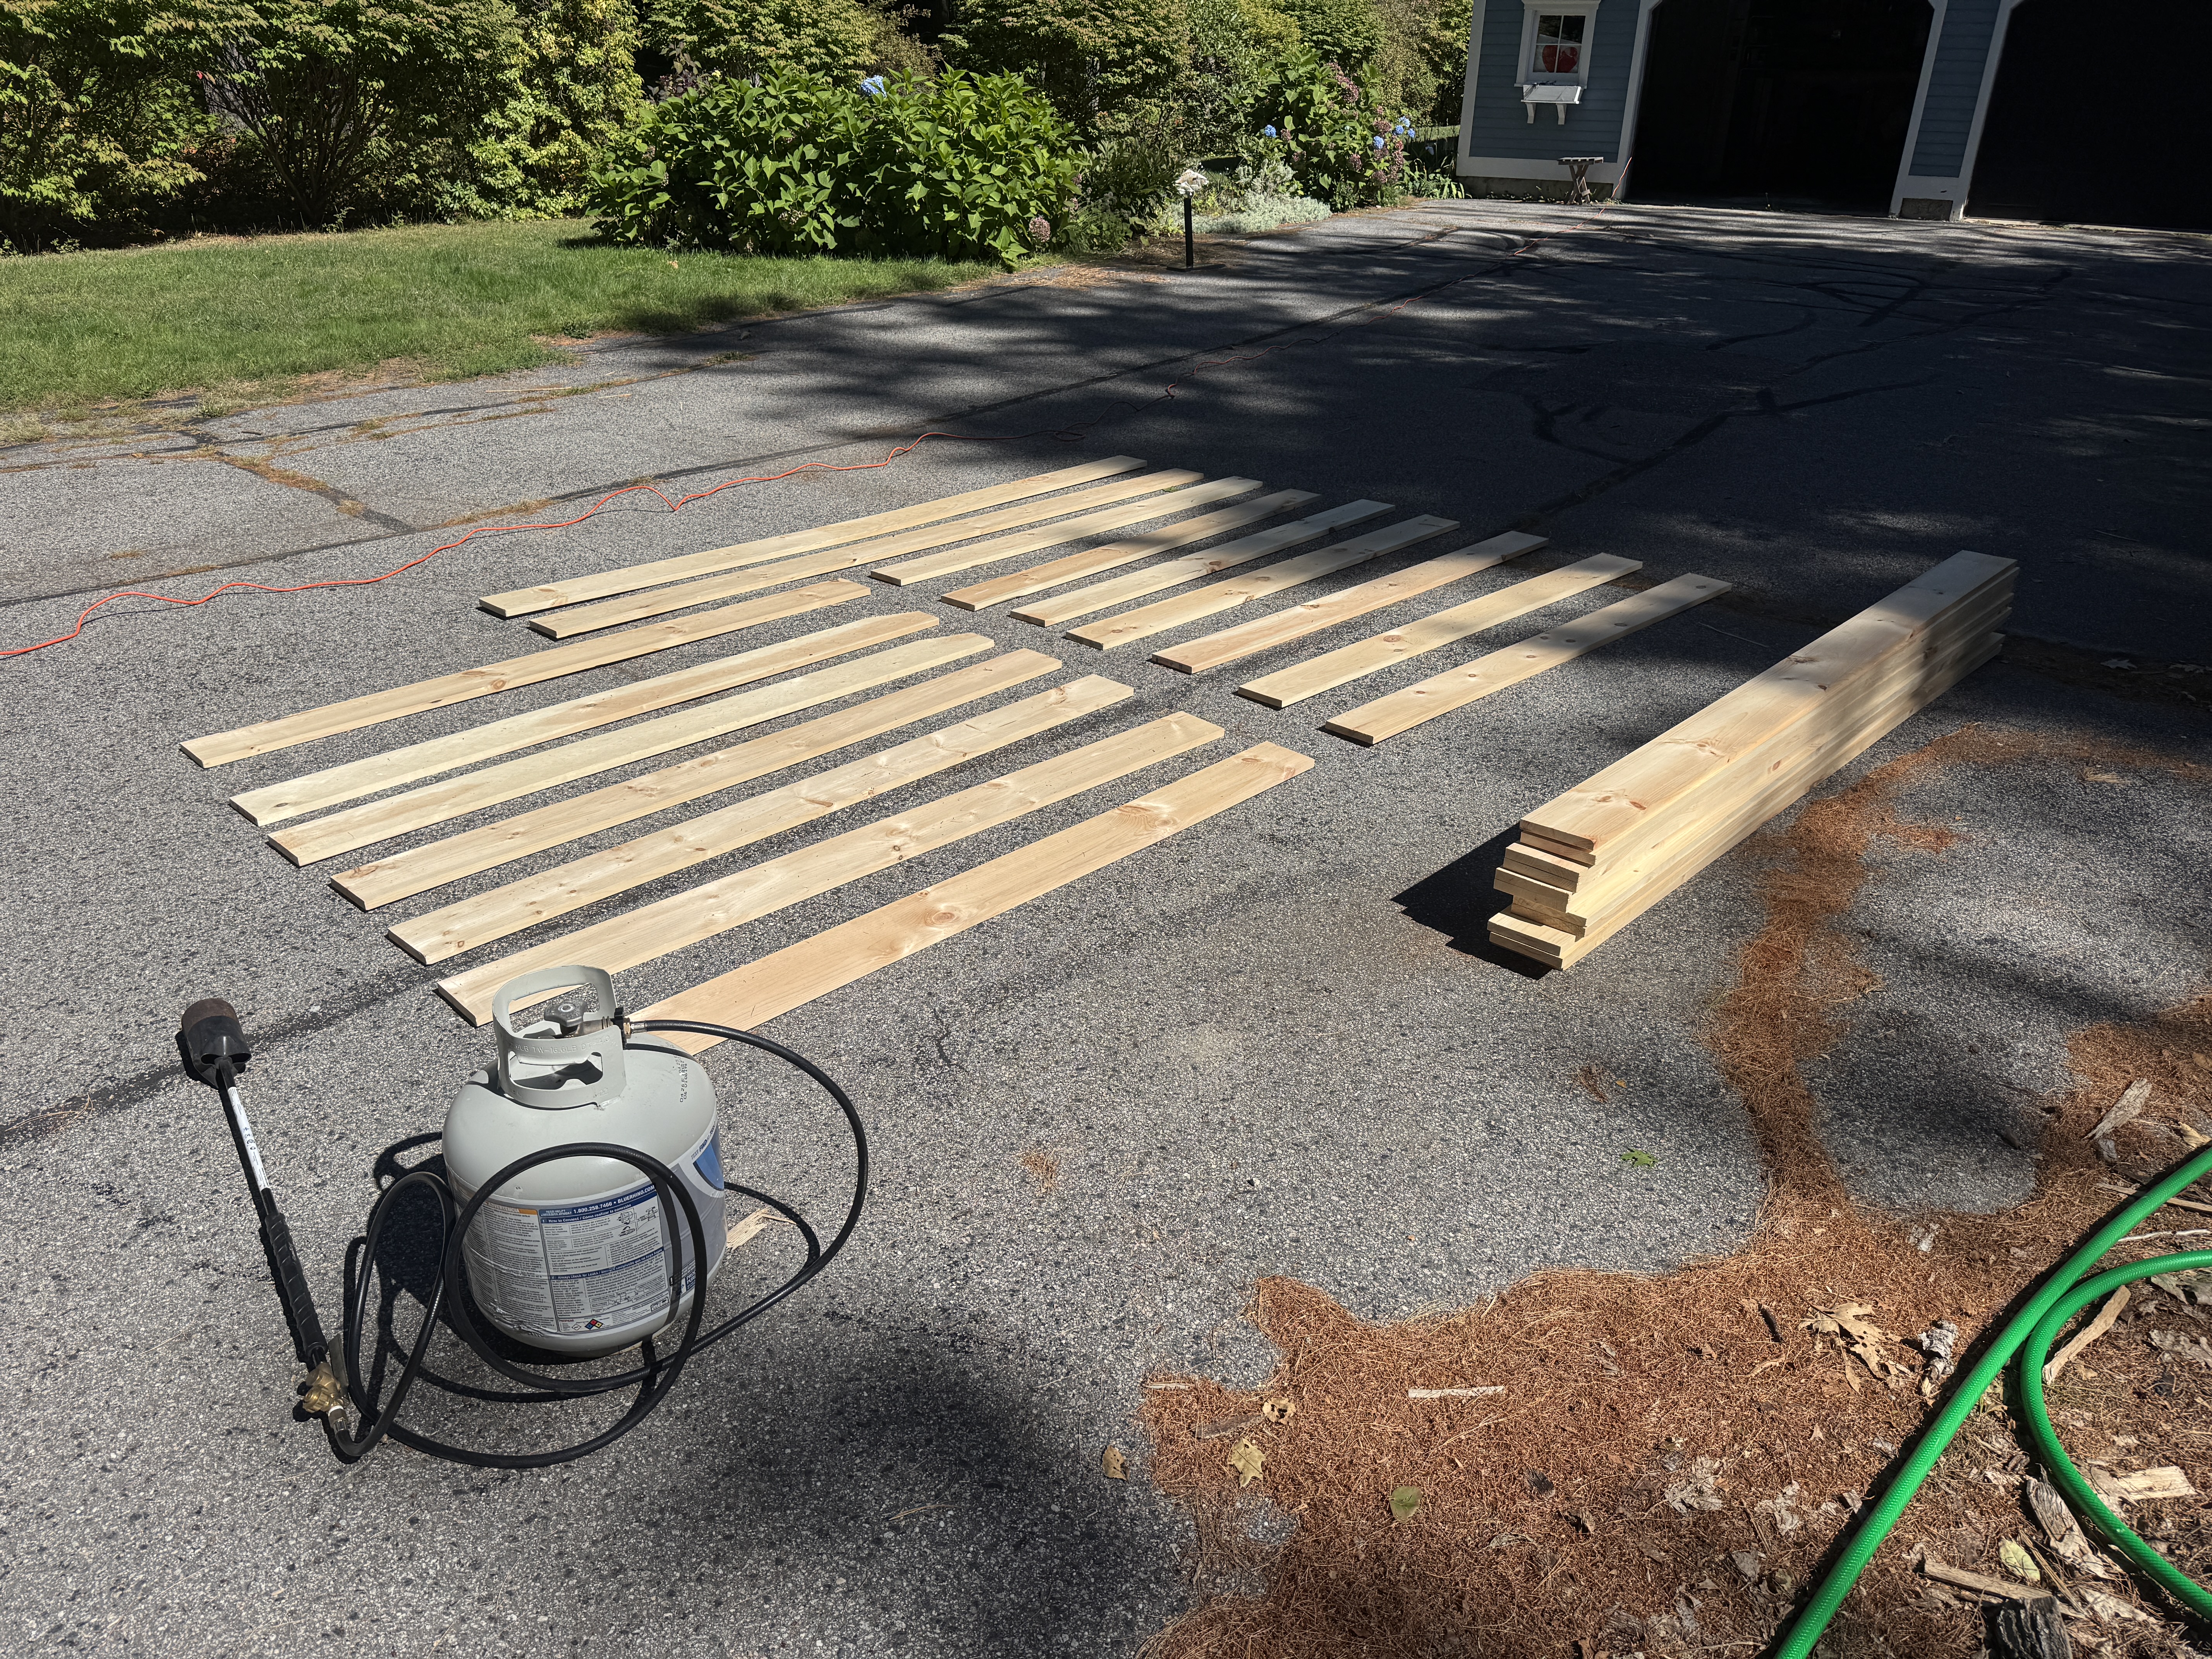
This past weekend, then, while the girls were away, I laid out all of the siding in the driveway, and systematically burned it all using the flame thrower. You can lightly burn wood, but in search of the best weather resistance and a preference for a darker shed, I opted for a much deeper level of char. Except for knots and some patterns in the wood, the siding is now a deep black.
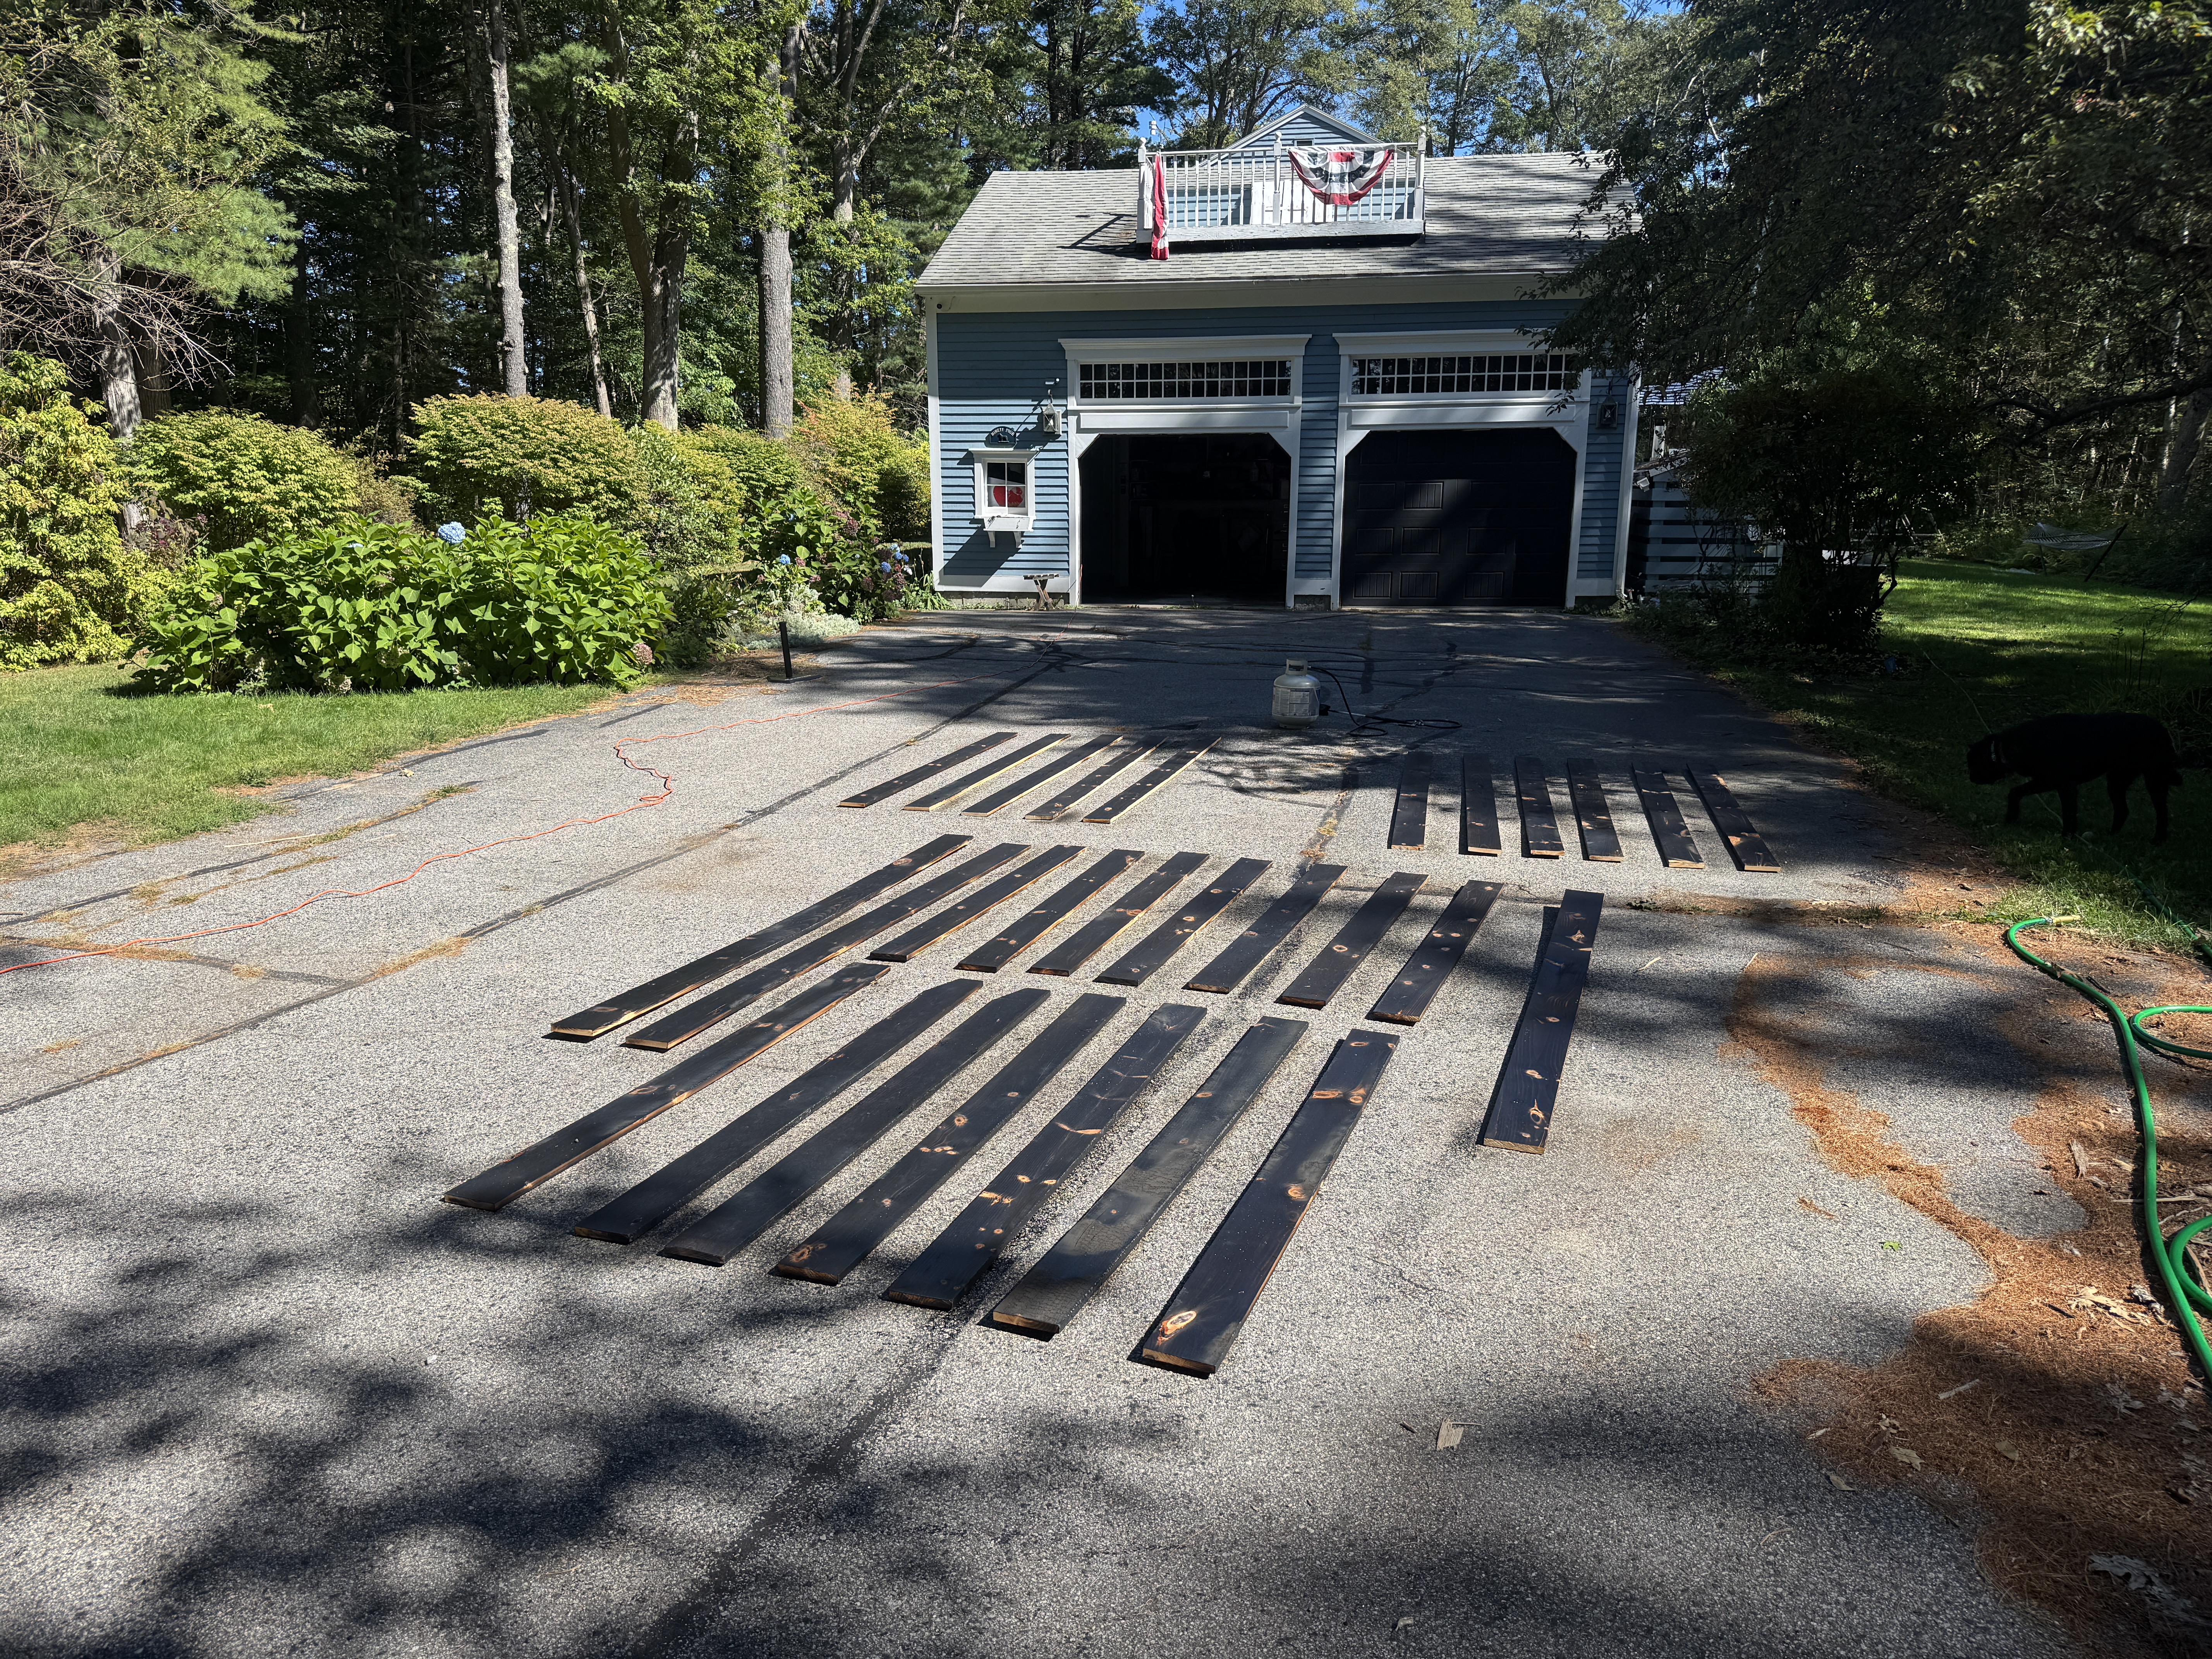
After doing the siding, I next took the flamethrower to the shed, burning the posts, the beams and all of the non-PT wood to protect it. This has led to some questions in the household about why the foundation isn’t black, but given that burning PT wood releases toxic fumes they’re not going to get the yakisugi treatment. Instead, I’ll probably turn to some sort of stain eventually to have the shed be more aesthetically consistent.
As not fun as leveling the pavers was, the act of burning this wood was a delight. Using a flamethrower on its own is entertaining, but seeing flame interact with the wood, revealing and then obscuring the grain was wild. Best part of building the shed by far.
As an aside, to the couple that walked by the top of the driveway and then more or less sprinted off when they saw me laying down swaths of fire, sorry if I freaked you out.
Roof
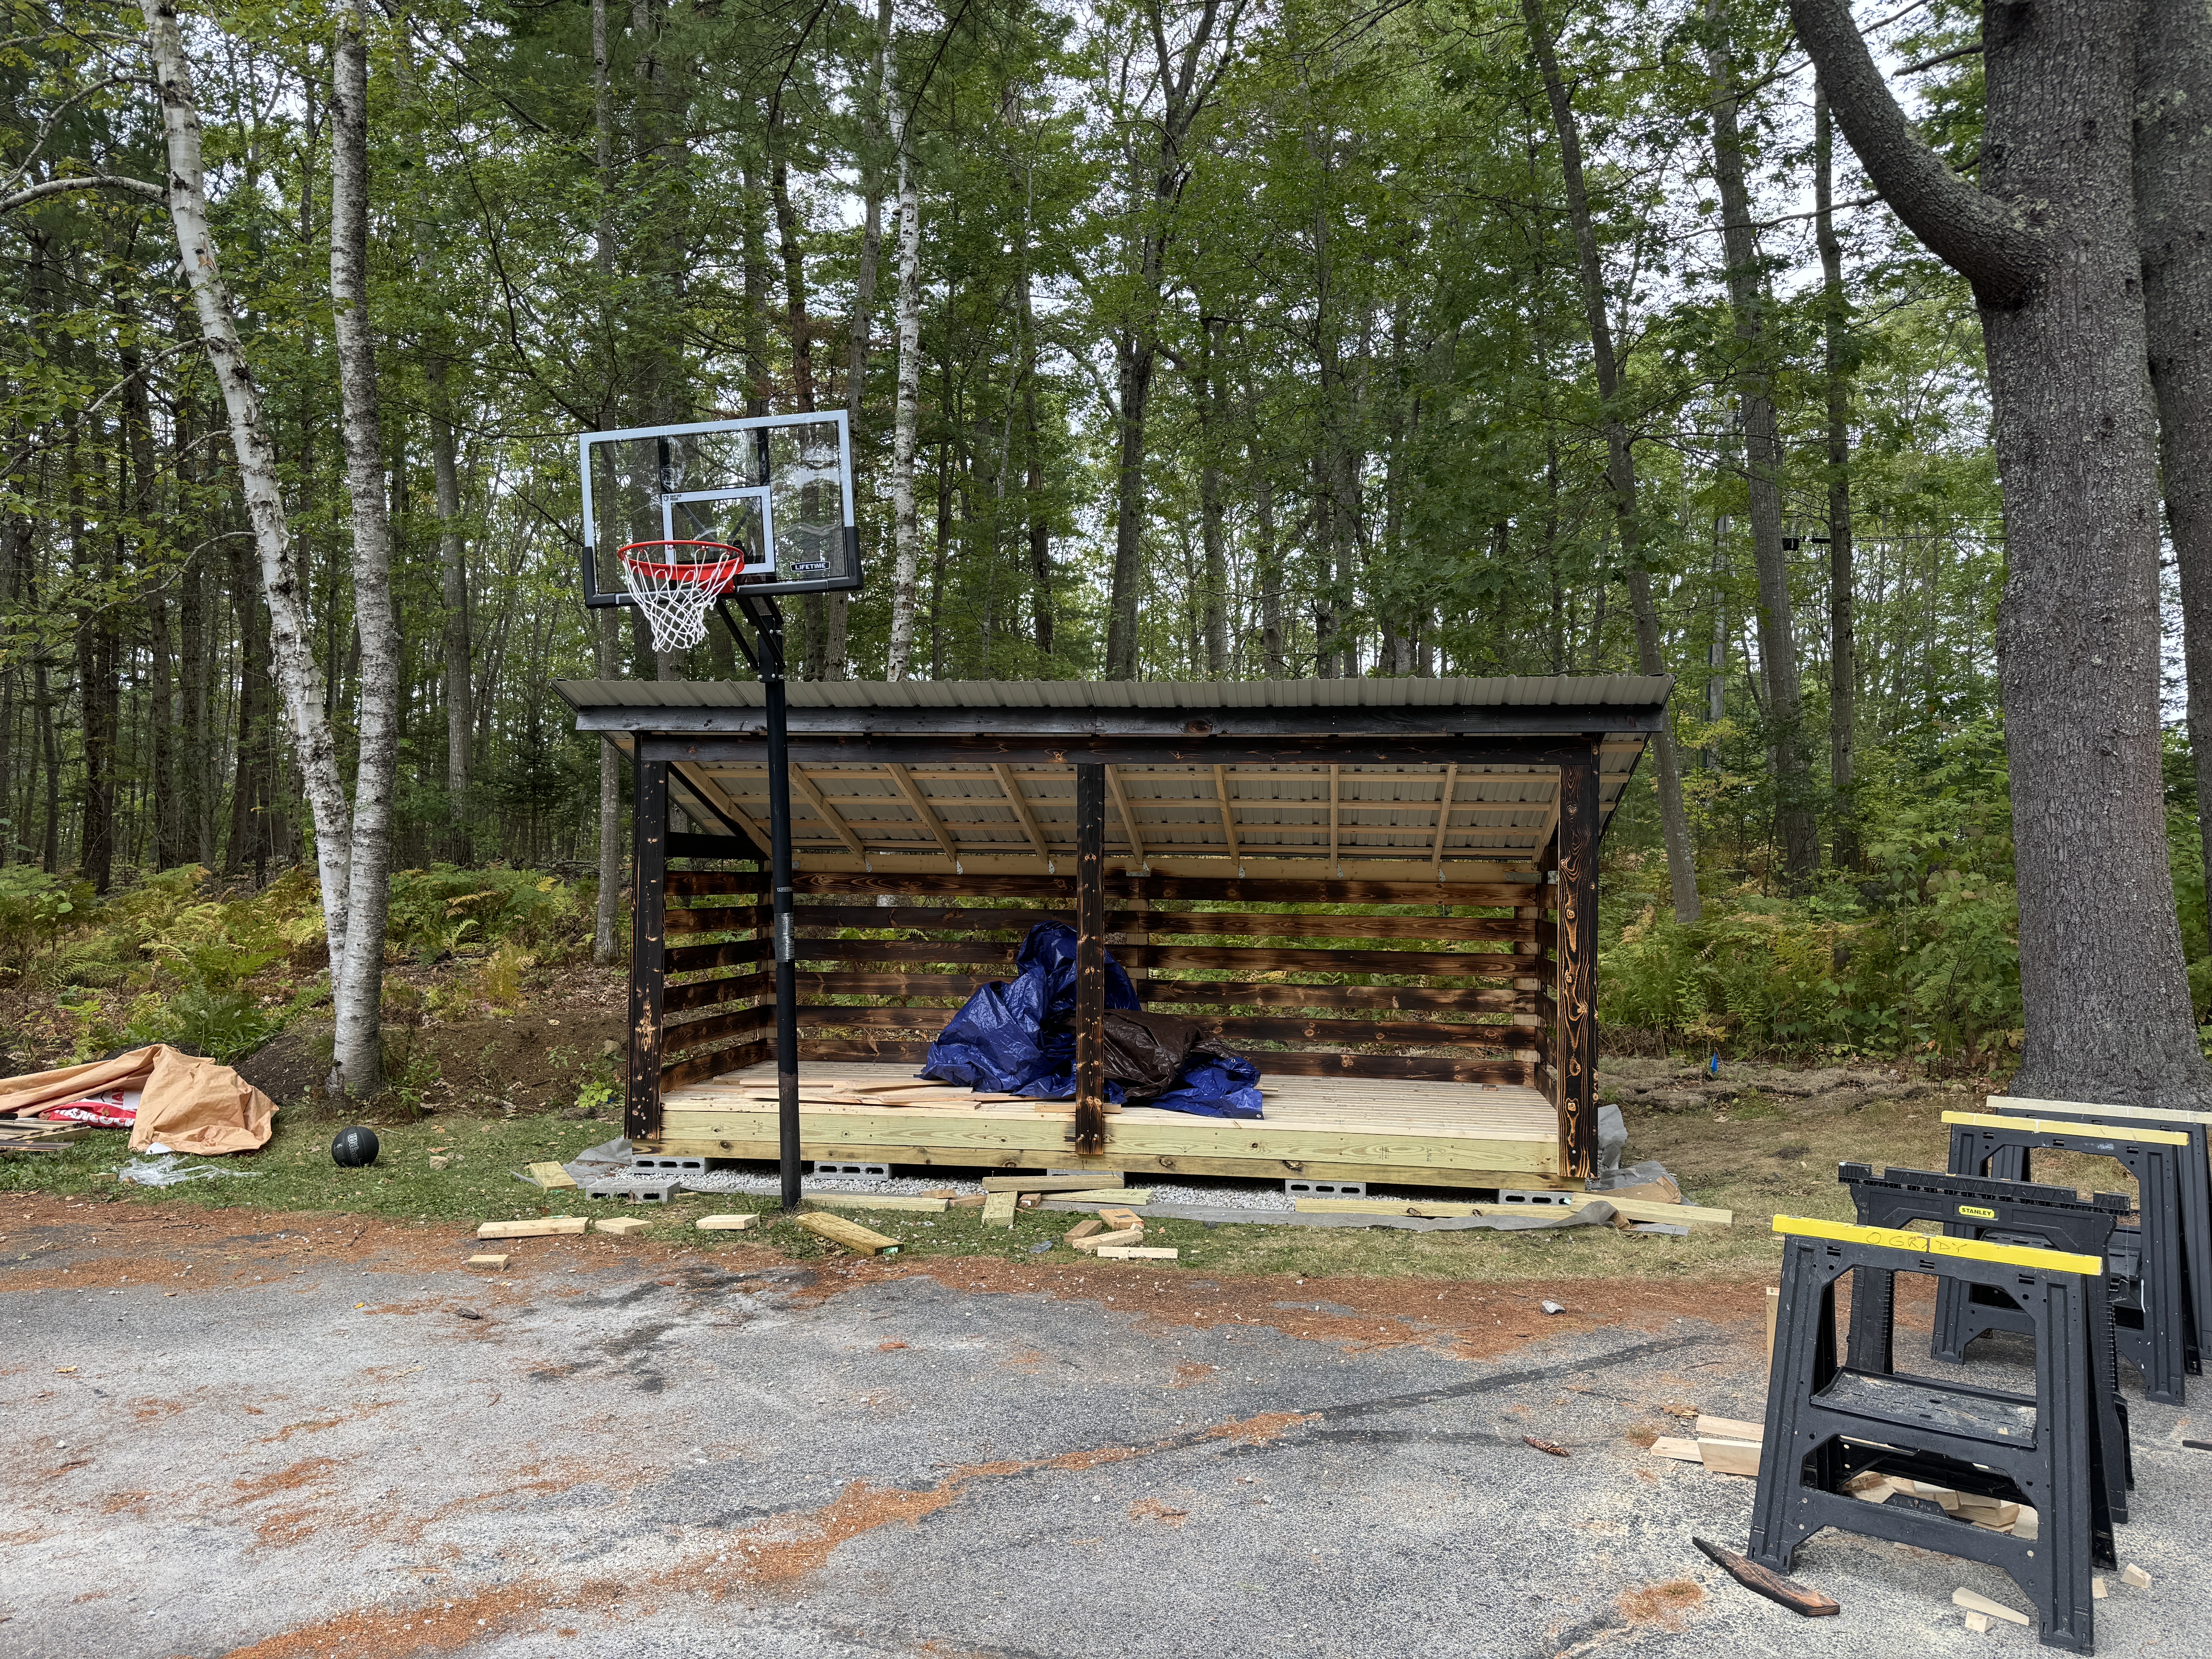
The only things left to do after applying the siding were fitting the drip edge and roof panels on. It took some persuading at home, but I eventually got the go ahead to use corrugated metal for the roof rather than plywood, felt paper and asphalt shingles. Given how terrible the experience of roofing was last time, this was a big win. I’ve even got extra panels if/when these get damaged. Other than putting in the top couple of rows of screws, which was at the very limit of my ladder, the roof wasn’t difficult to put on. We’ll see how it ages, but it is far easier to install than a traditional shingled roof.
Lessons Learned
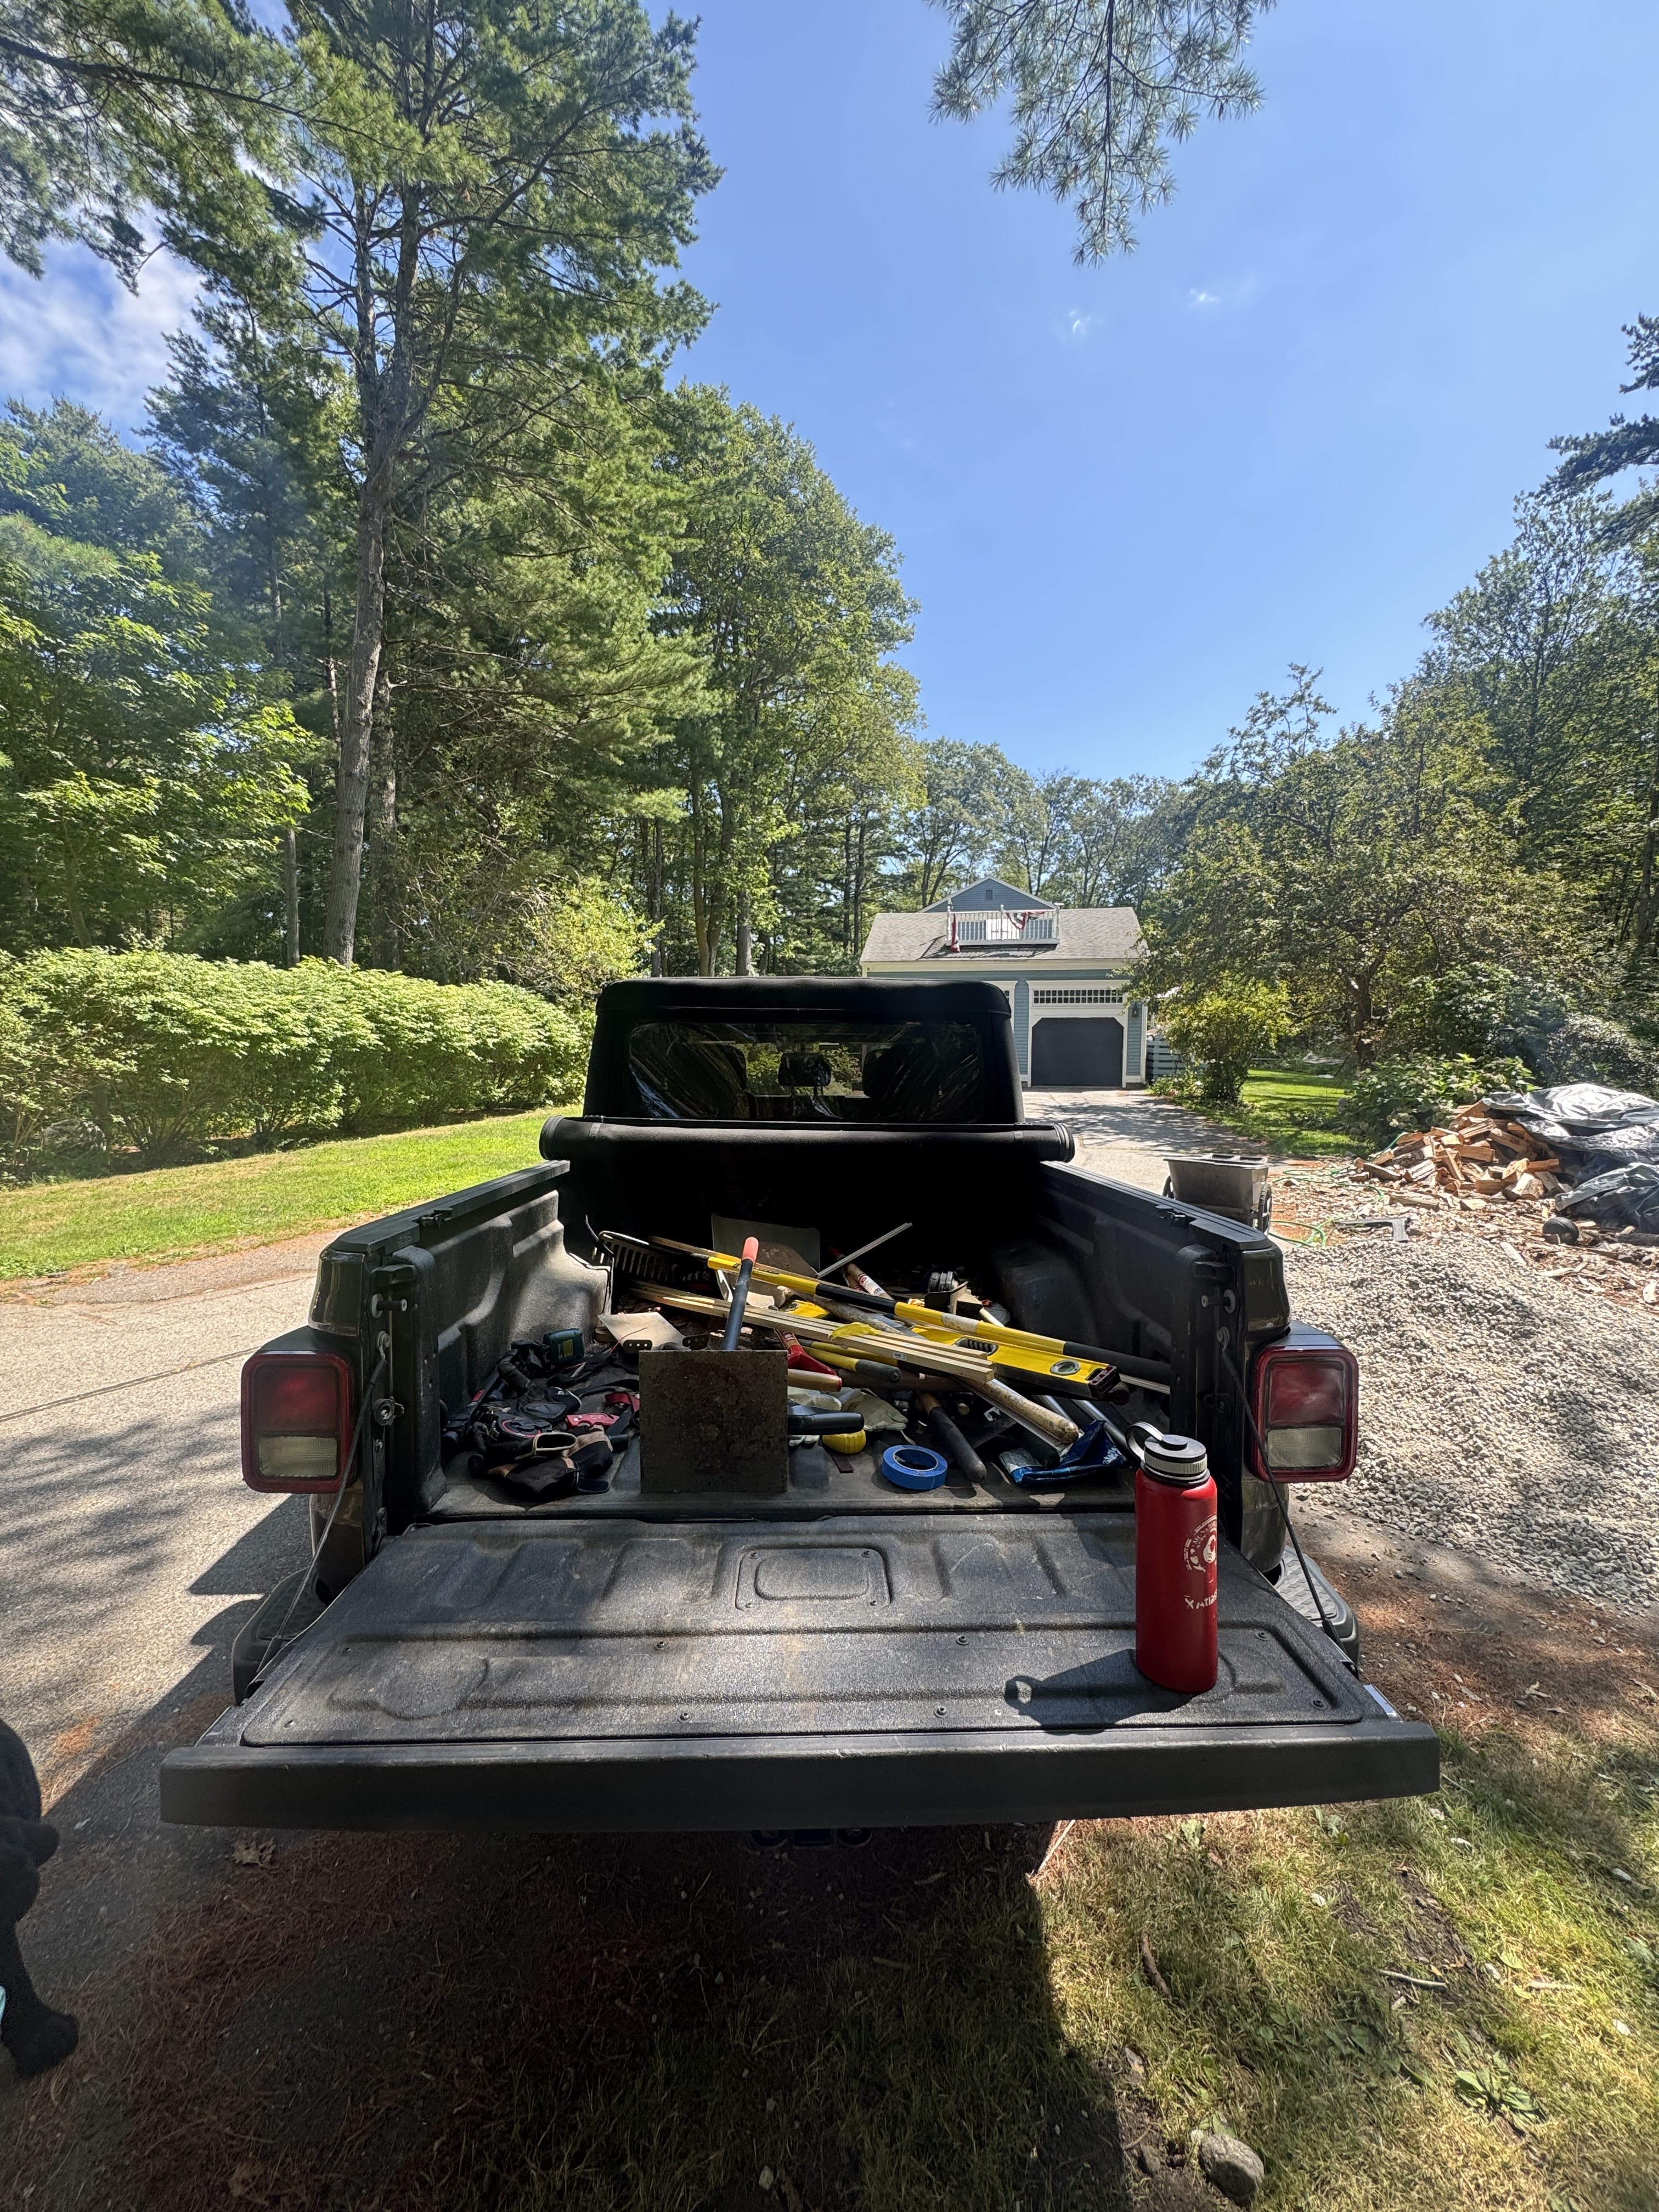
- A pickup bed makes a fantastic mobile equipment shed. Last time I took over our dining room table. This time around I just kept all of my tools in the back of the pickup, and backed it up to the worksite when it was time to build.
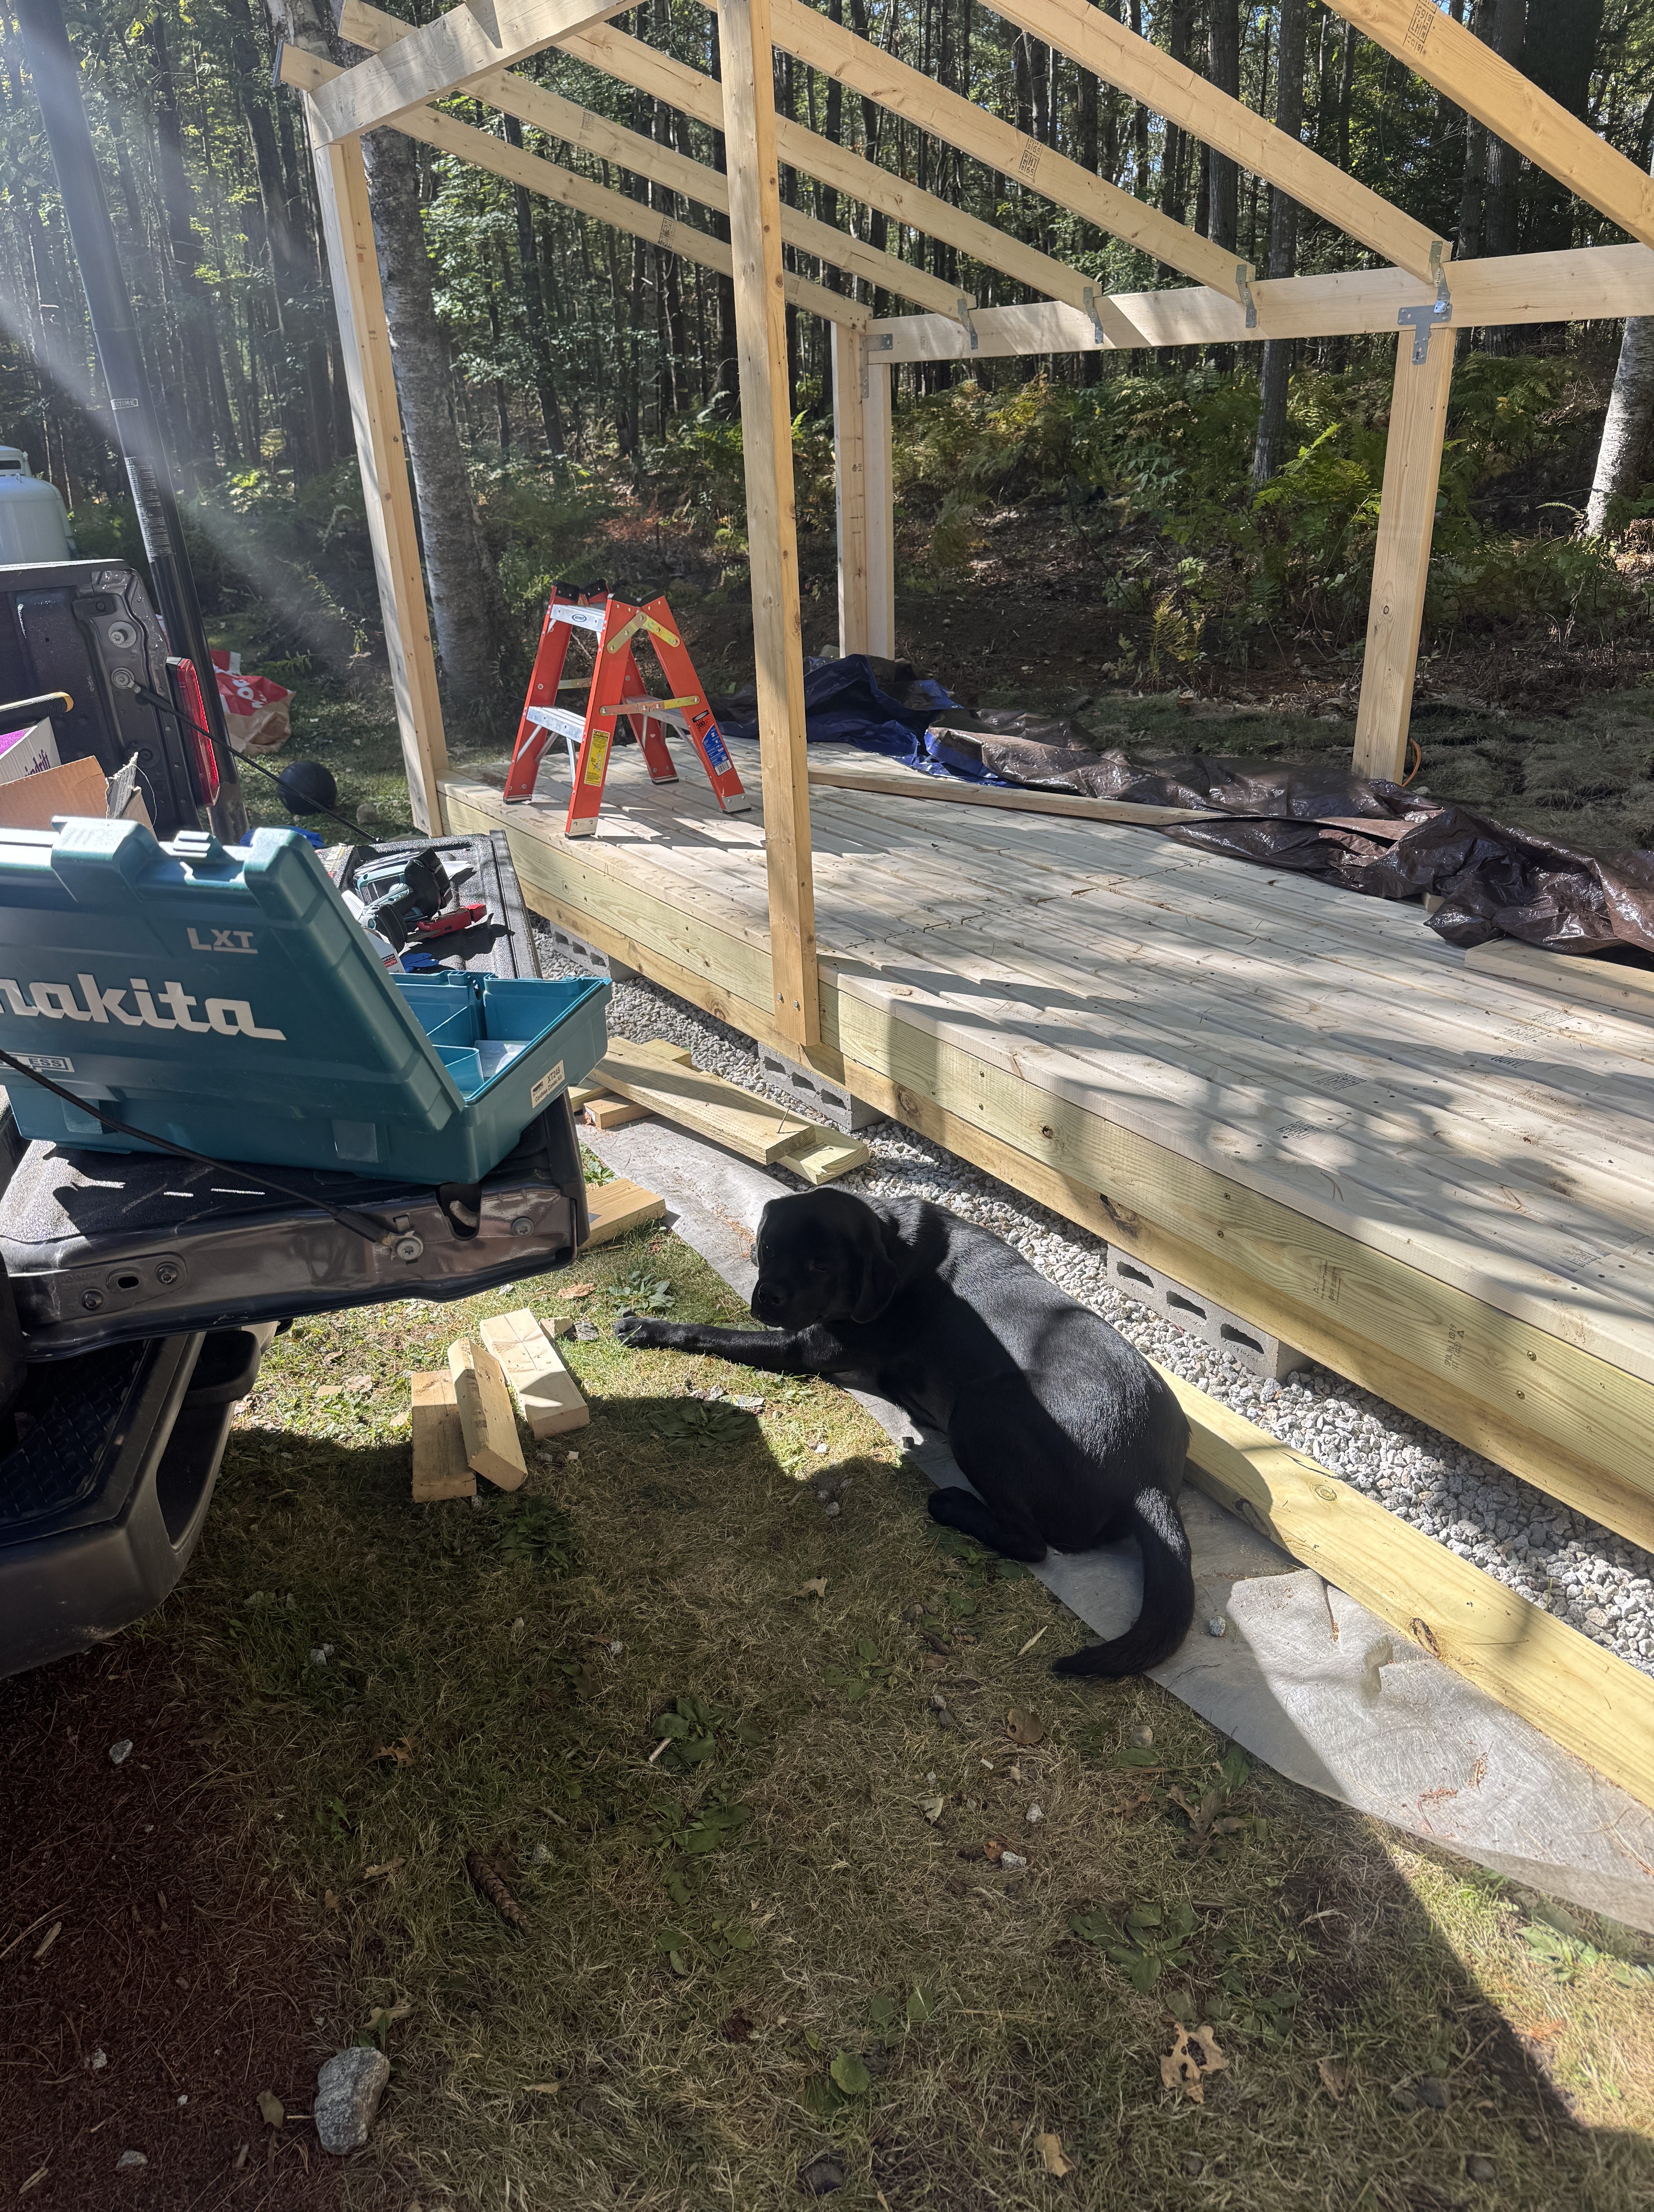
- Having help – particularly for moving thousands of pounds of dirt and crushed rock – is pretty great. Shout out to Eleanor and my nephew for their help. No shout out to Sully, who continued his standard practice of picking the least convenient place possible and lying down.
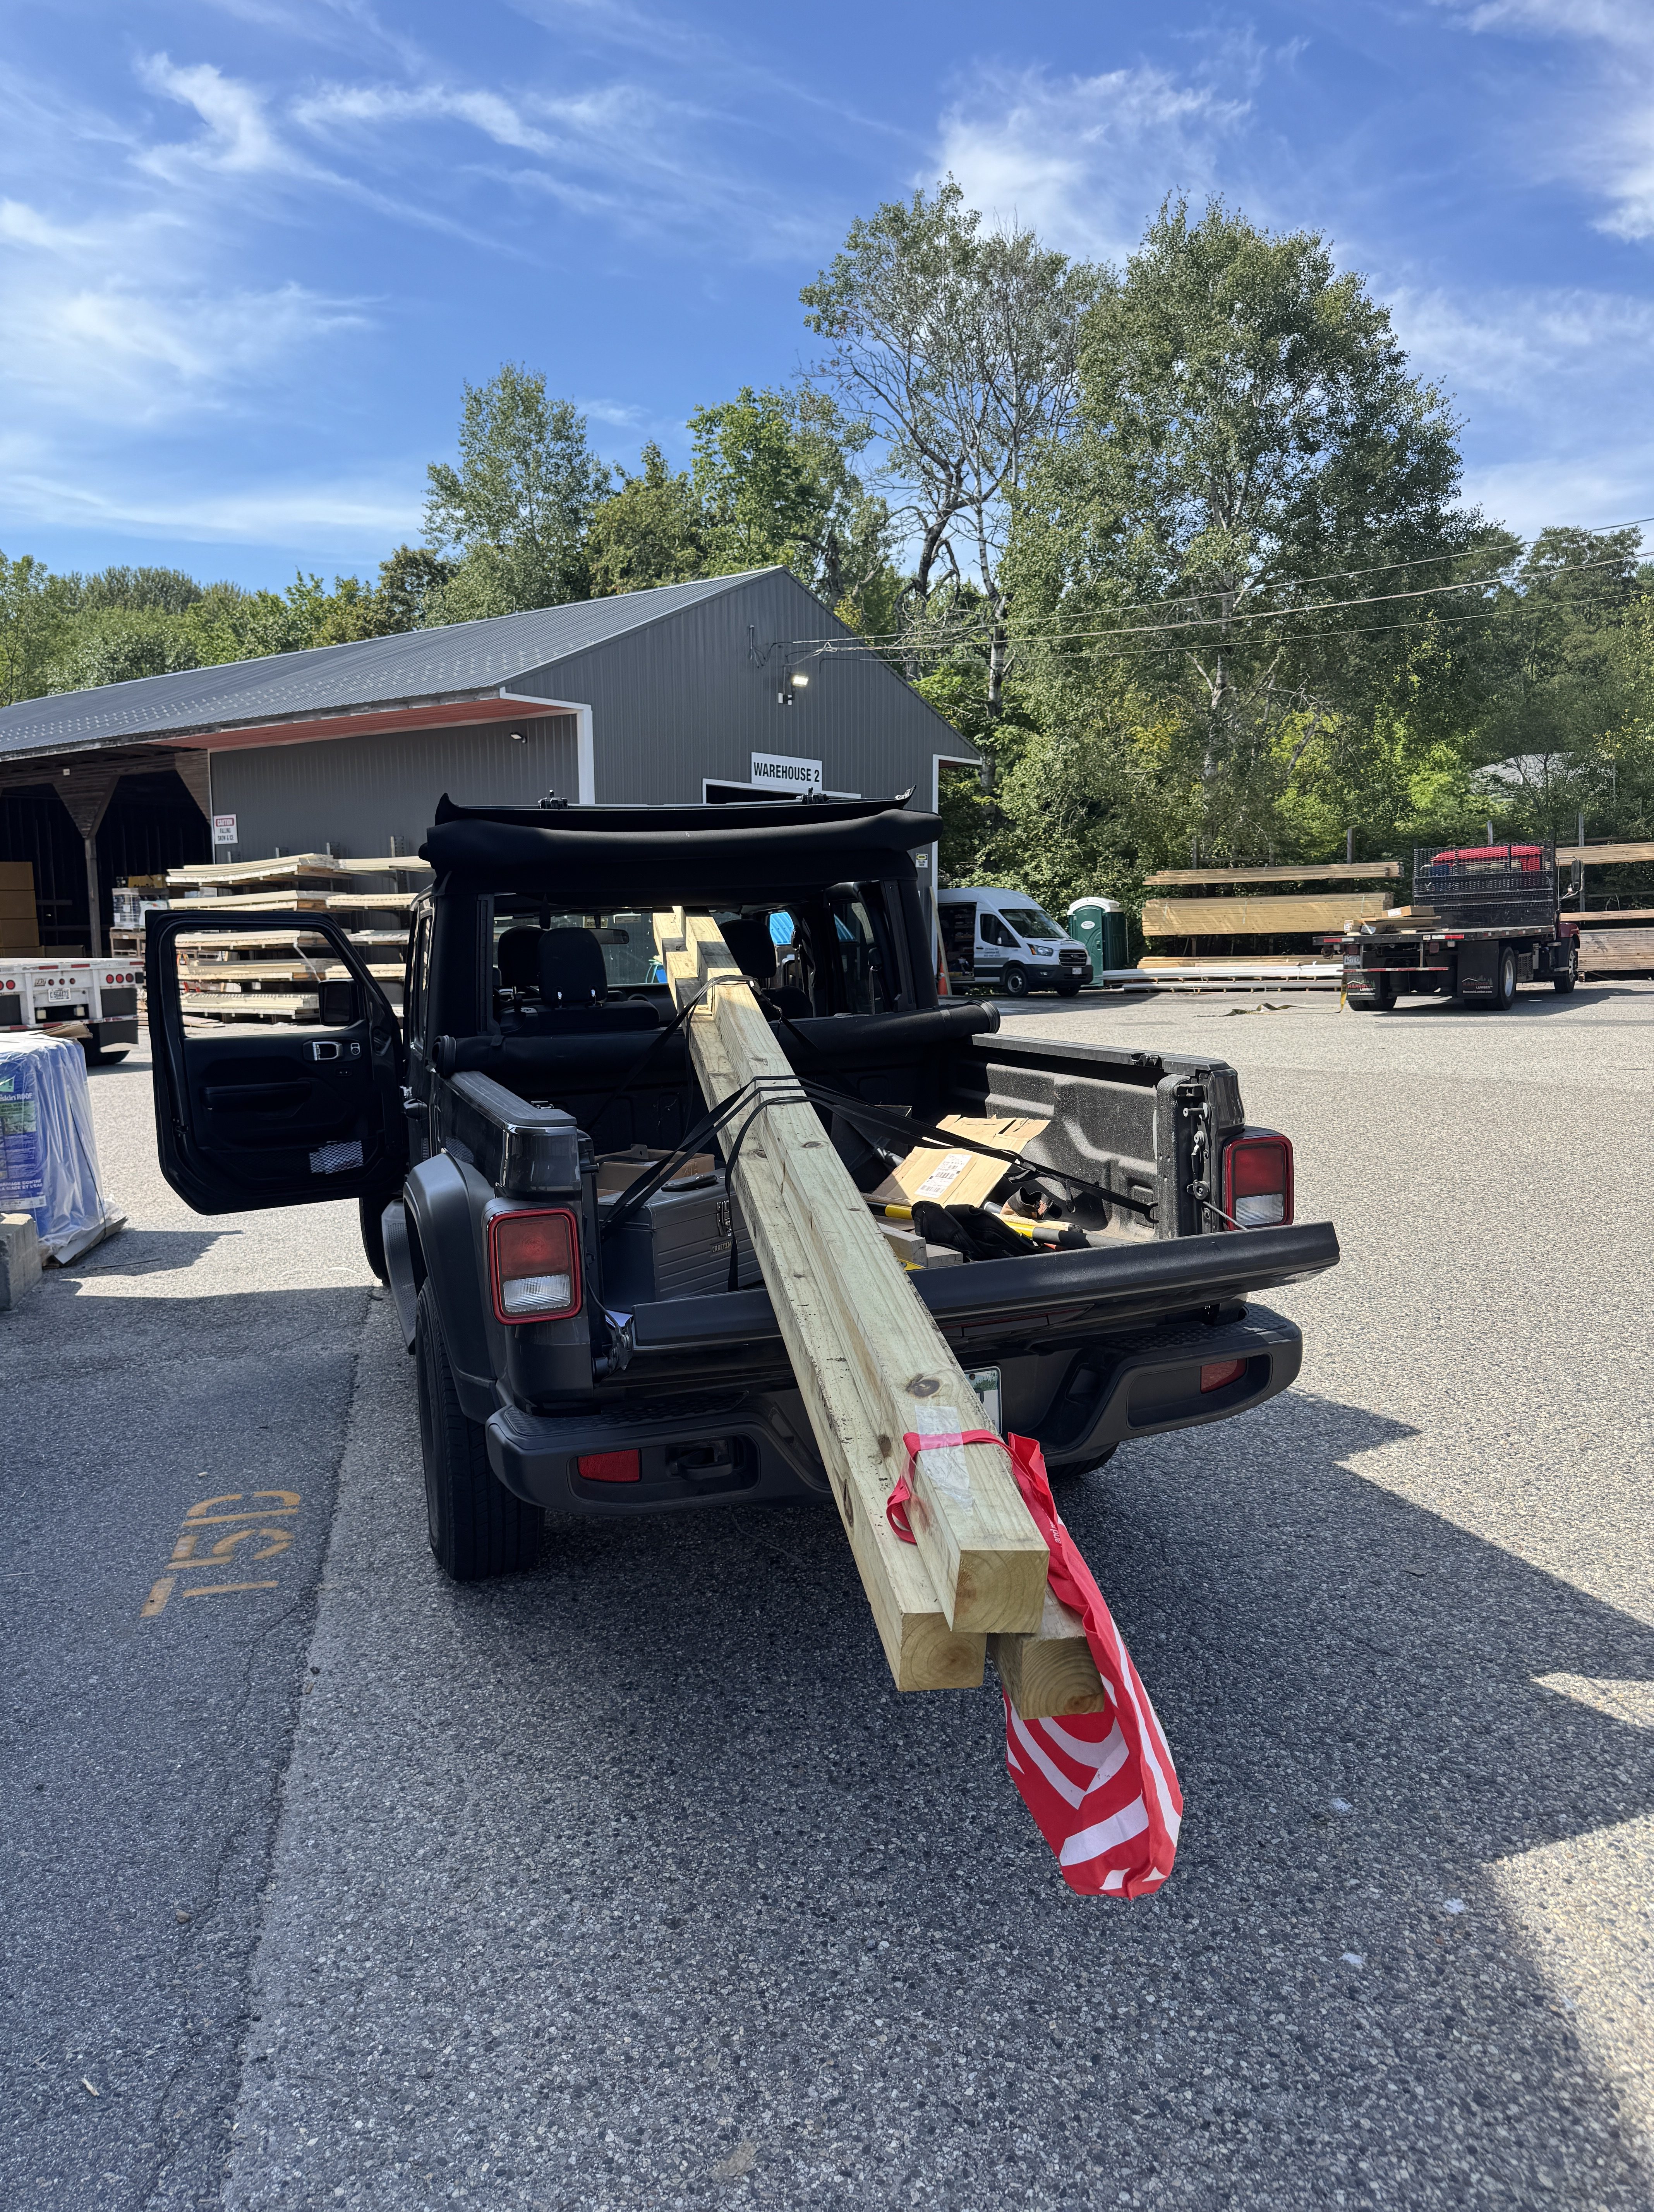
- I knew this going in, but it was even worse than expected, but budget extra time for extra trips to the hardware store. Even though Hancock delivered all of the necessary lumber and fasteners to the house, mistakes in ordering, mistakes in the cutlist or simply mistakes that break things mean extra trips to the store. I conservatively was in Ace Hardware half a dozen times, Hancock twice and Home Depot three or four – twice on Saturday alone.
- Internet woodshed plans are worth what you pay for them. I bought $20 plans and they were definitely worth $20. There were a few mistakes, instructions that were unclear and overall the plans were very basic. I tried to have AI upgrade them with a more detailed plan, but it just made different mistakes. In the end, it might have been simpler to adapt my own plans, but I really didn’t want to have to generate the cutlist from scratch for something this big and complicated.
- With dimensional lumber, warping is a fact of life. I would have been better off, however, if I identified the most warped pieces ahead of time, because for the foundation in particular having the middle joist – on which the floor framing rests – be warped almost an inch and a half out of square was not particularly helpful.
- Given that my day job is basically nothing but computers and video calls, building things with my hands offers an entirely different kind of satisfaction. Even if I spend half the time trying to recover from my own mistakes.
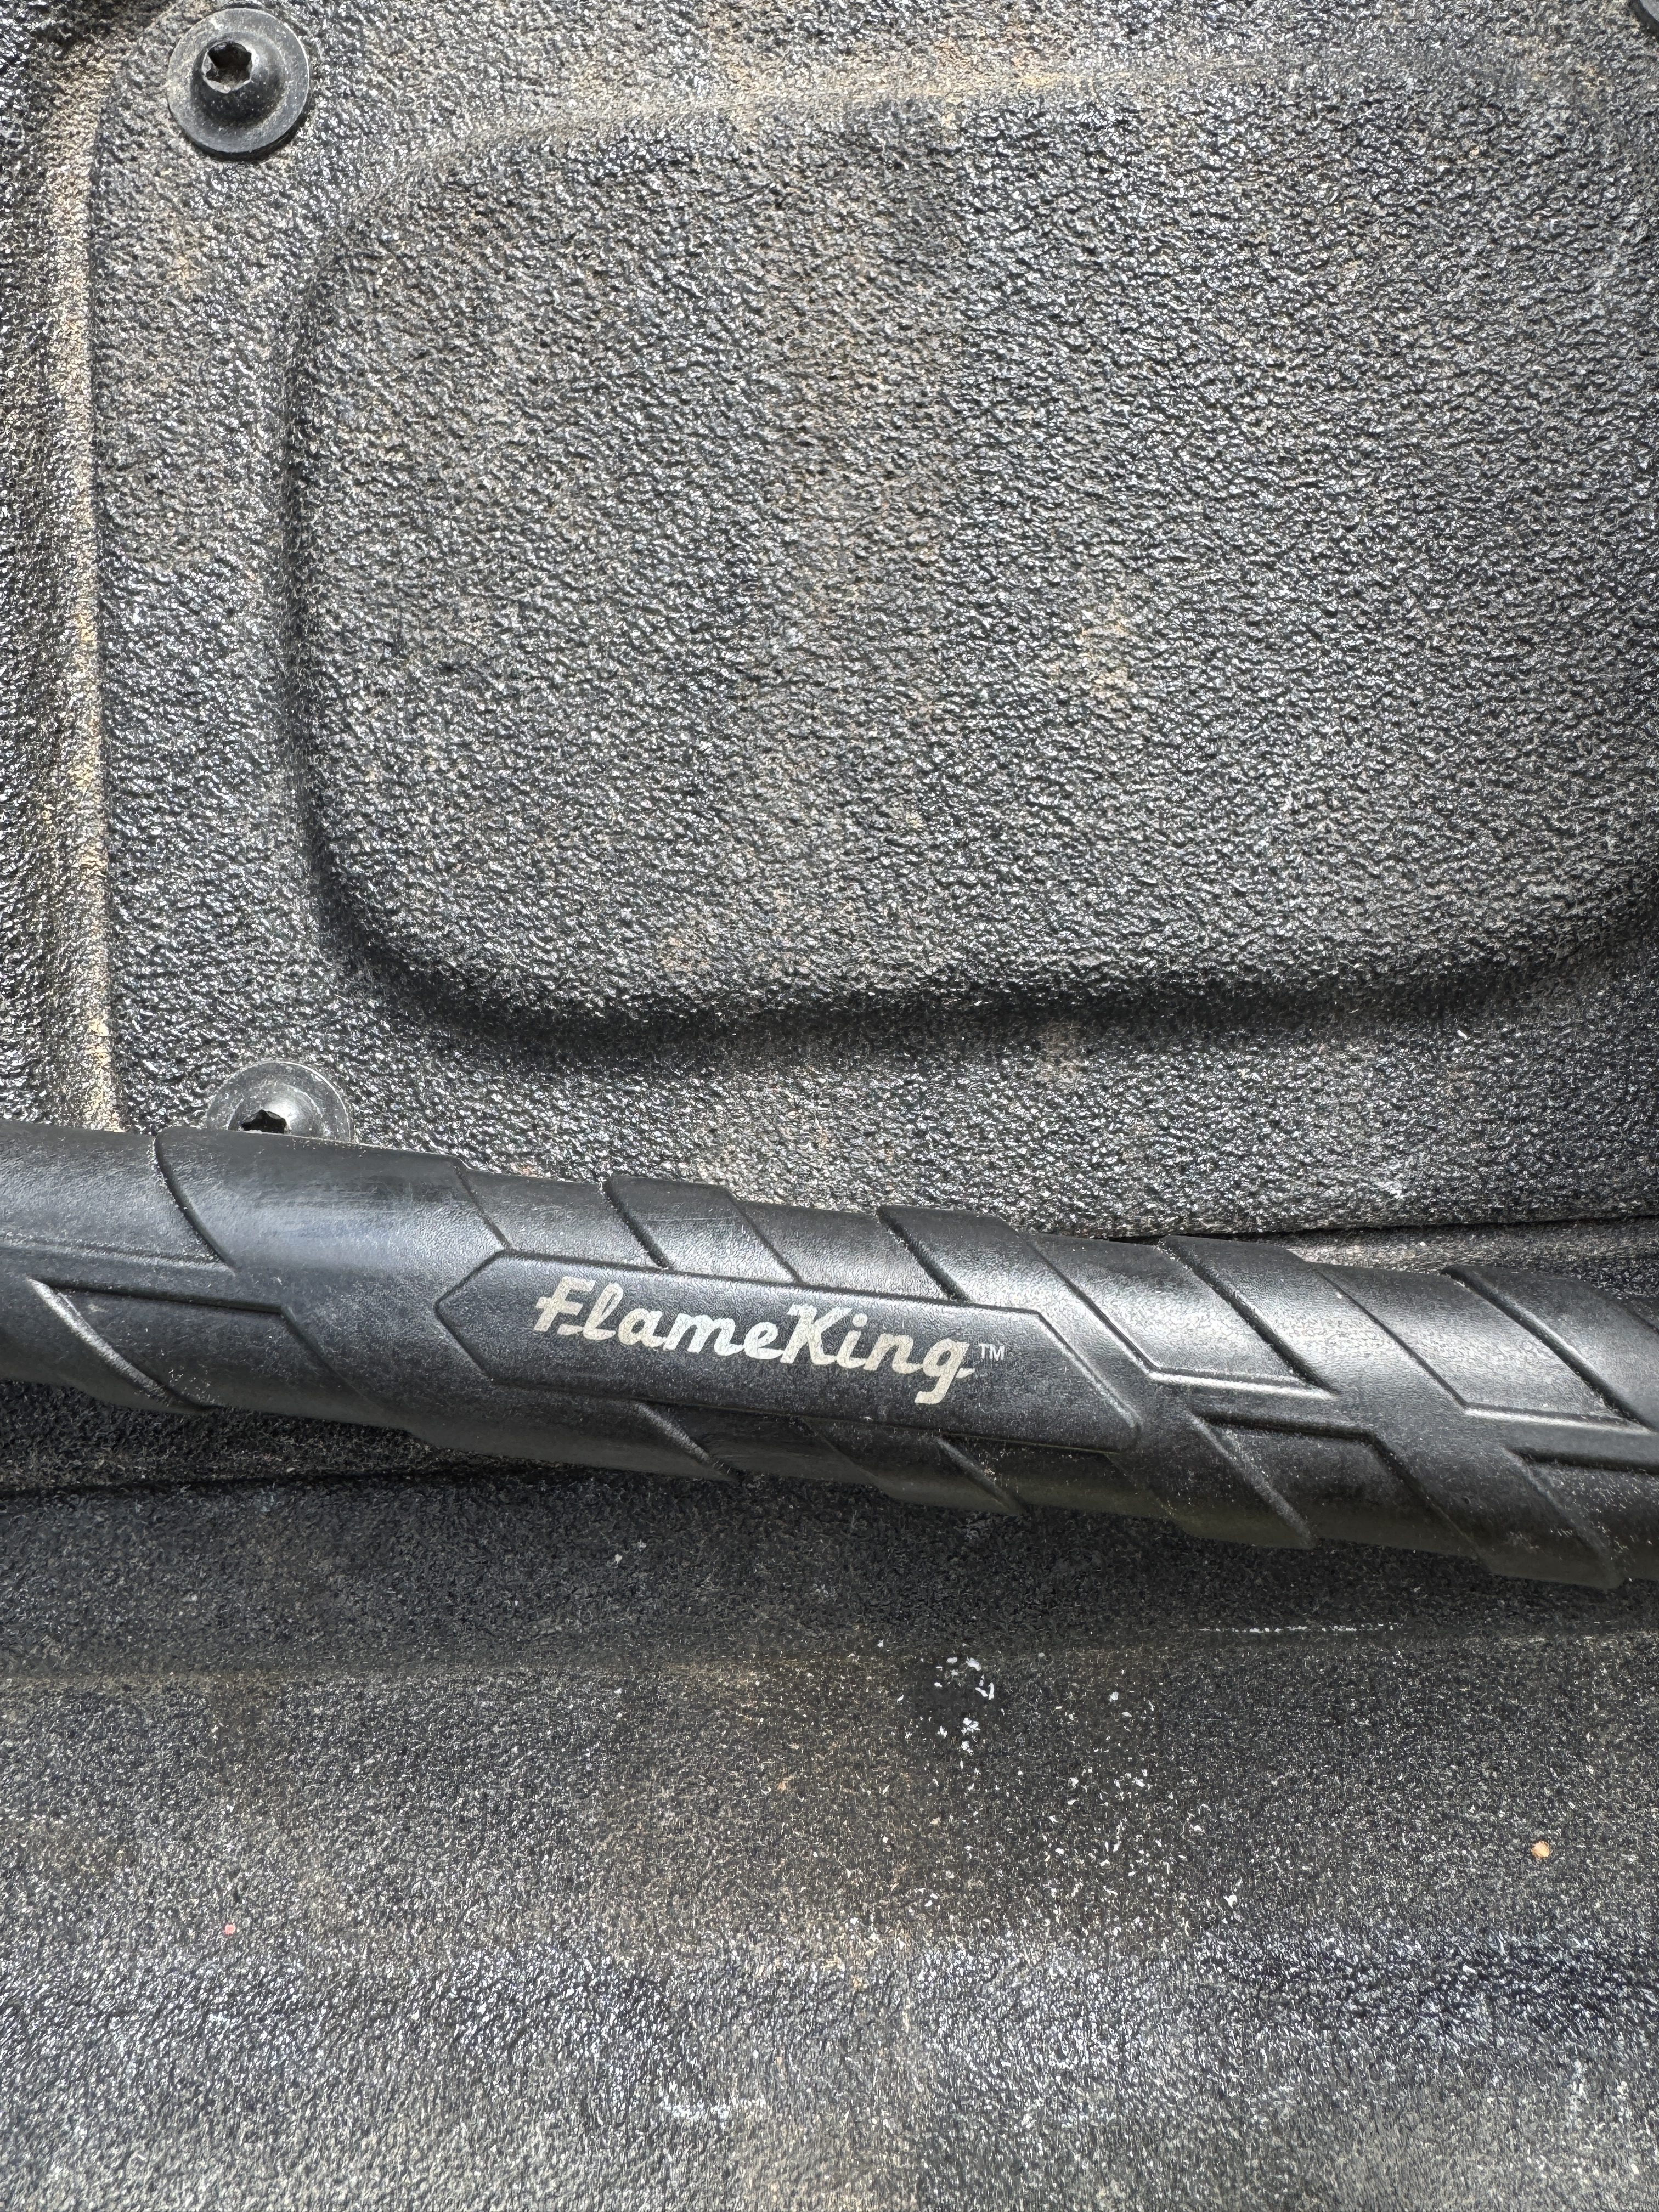
- Maybe the most important takeaway – having used a borrowed Flame King unit, I need to get my own. Every house should have a flamethrower.

