Because I like beer, I have over the years dabbled in trying to make it. At no point have I had much success. My first attempt came in college, where not having control over the temperature of the dorm, as it turns out, is a problem. Attempts to artificially create the correct temperature with a cracked window in winter led to two cases of frozen beer and very small glass shards everywhere. Subsequent efforts first in Maine and then in Denver were less destructive but best described as not provably toxic.
My willingness and ability to improve, however, was always limited by the soul-killing tedium of bottling. Each time I’d brew a batch, I’d remember why it had been so long since the last time: I absolutely hate bottling. It wasn’t until a conversation with Devin a month or two ago that I remembered that, as the owner of a kegerator, I had an option other than bottling: kegging.
Hence last weekend’s brew day:
The good news is that kegging is substantially lower effort than bottling. The bad news is that it comes with some additional costs in terms of maintenance. To assist with these as well as the brewing process itself, I decided to invest in an electrical pump. Here’s how we use it.
The Basics
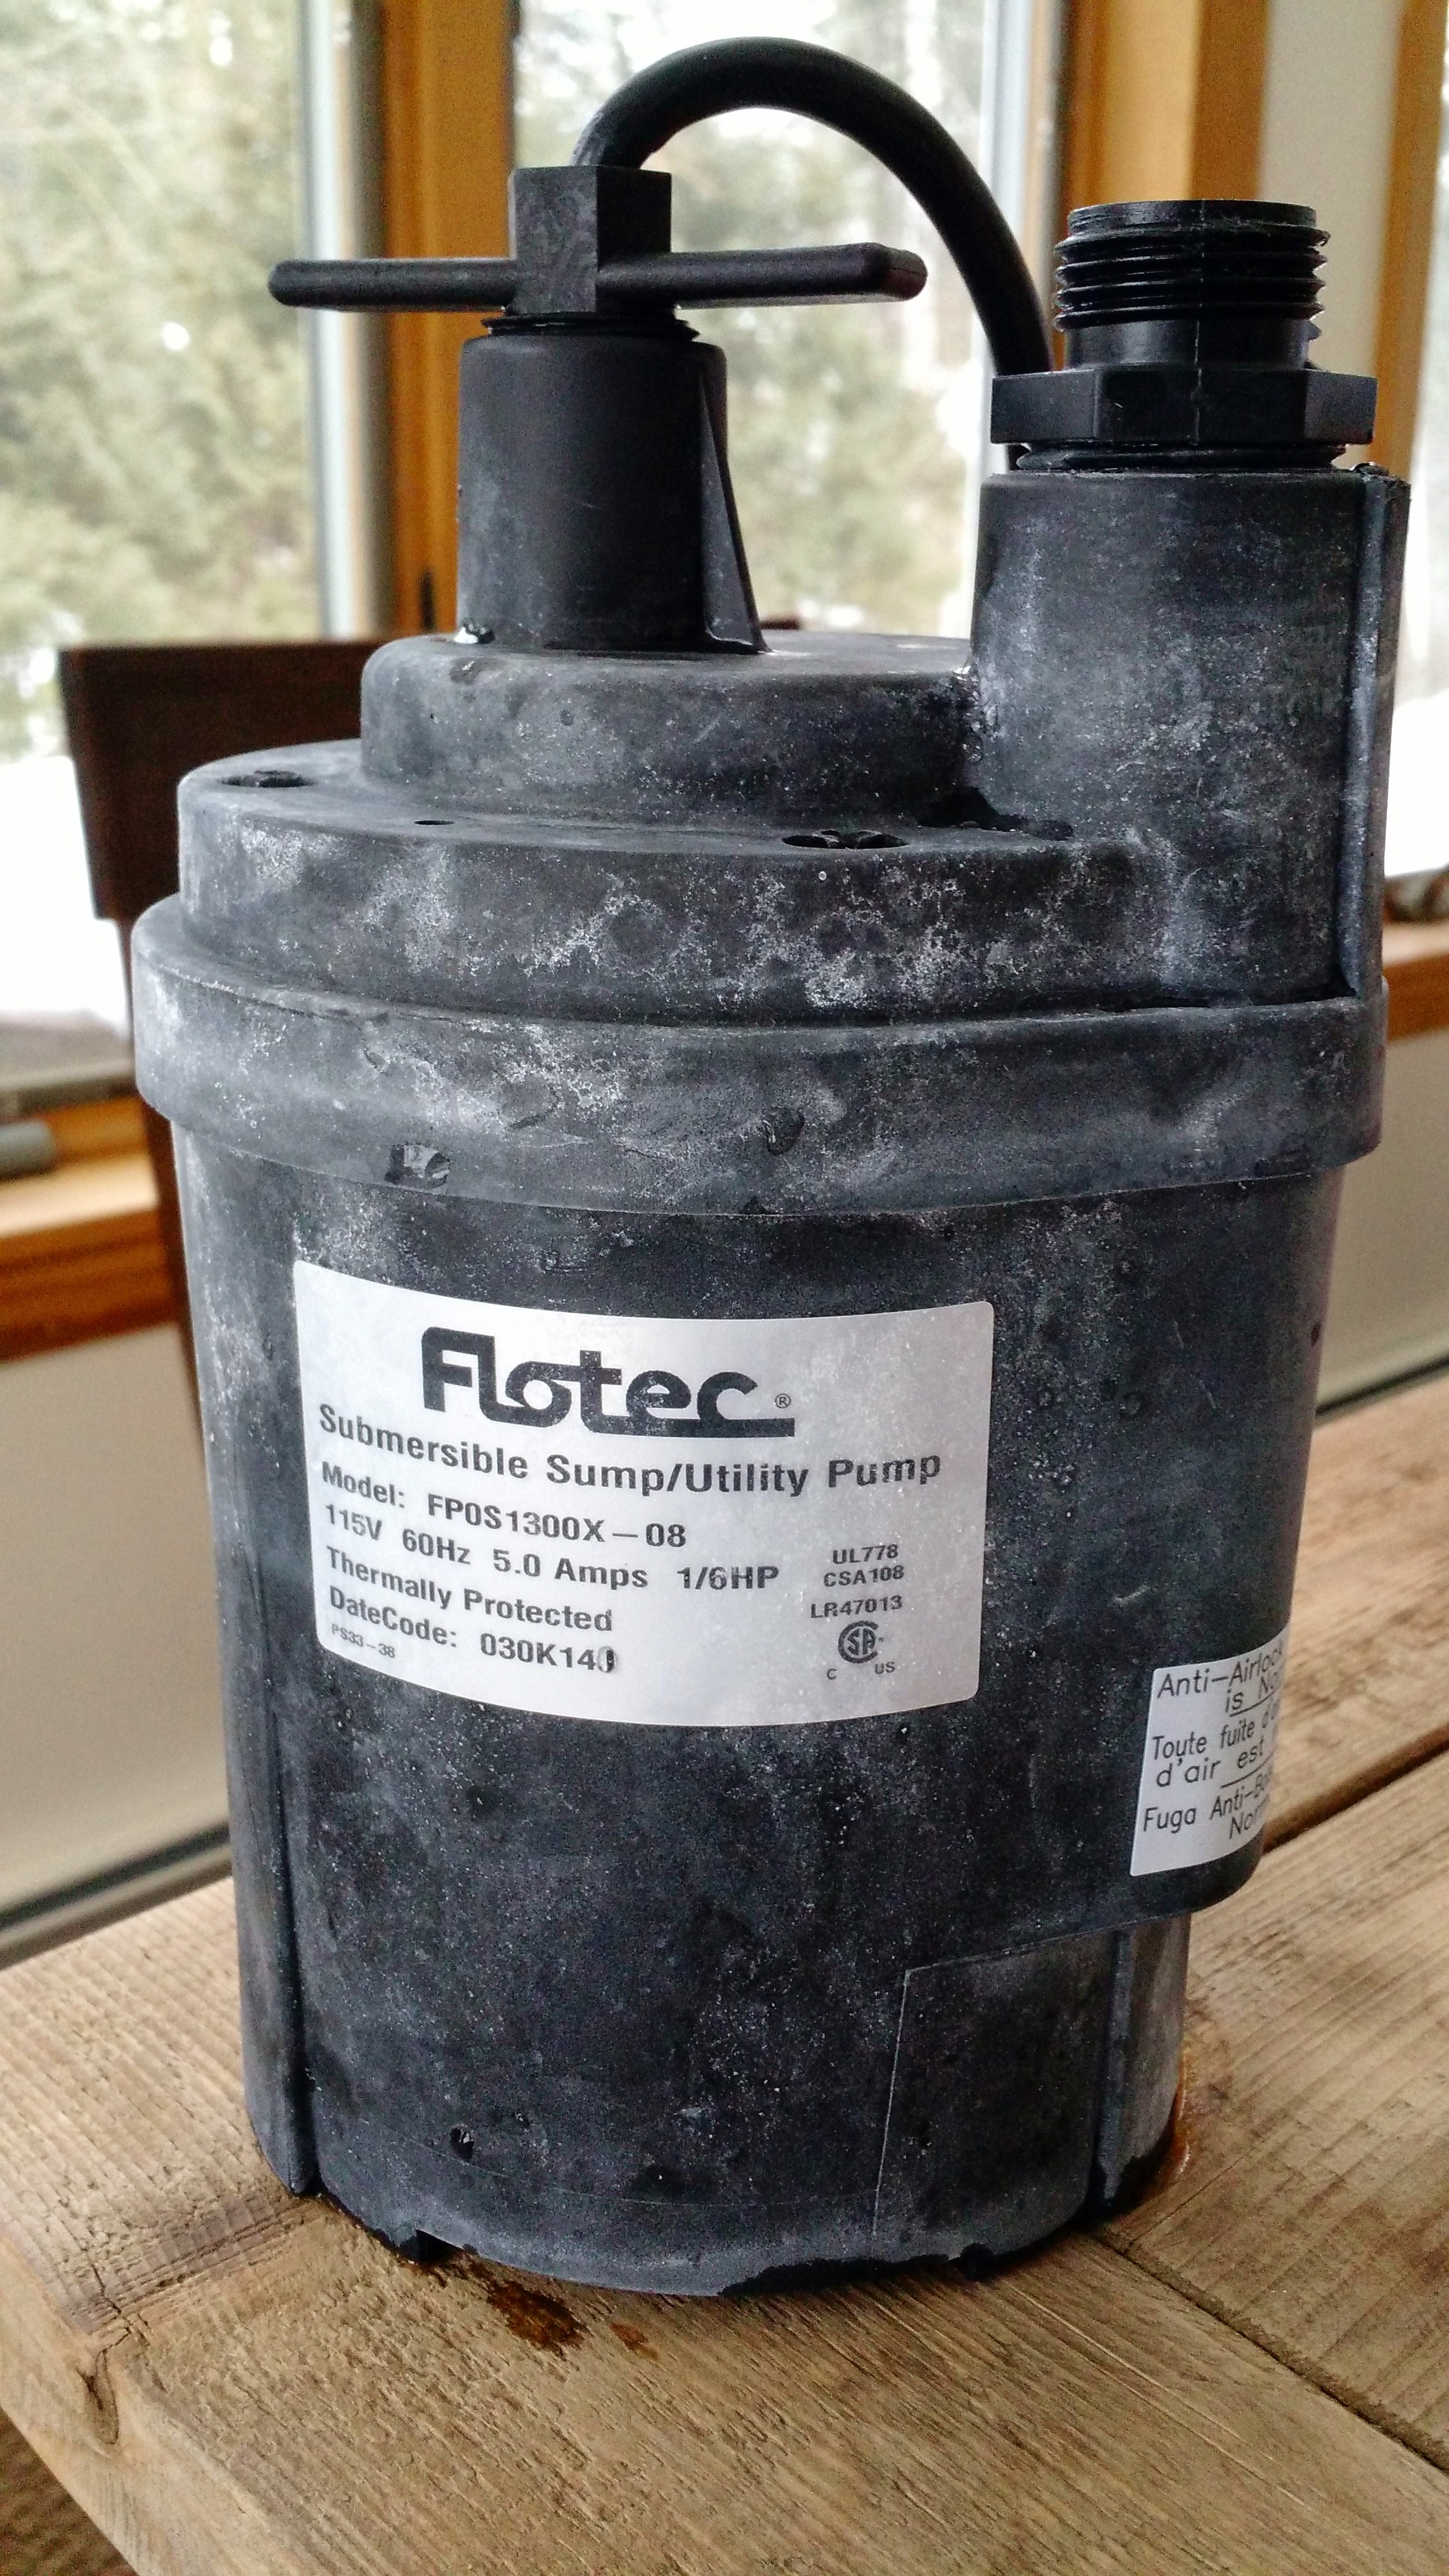
Are not very complicated. The basic idea is to use an electrical pump wherever moving water is required, whether for cleaning, cooling or both. After looking around, and one aborted selection of a non-submersible utility pump, with the assistance of homebrewtalk.com user @Mike_kever_kombi I settled on a Flotec 1/6 HP submersible utility pump, model # FP0S1300X. It’s available for $83.28 at Home Depot, which was considerably cheaper than the base ~$165 price I’d seen quoted for wort chilling pumps.
There aren’t too many rules associated with the pump; basically you drop it in, turn it on and it pumps water. But obviously be careful because you’re dealing with electricty and water, never a great combination. Besides the safety concerns, pay attention to the hose diameters on both sides. In my experience, the pump will not operate with 5/16″ tubing – common to many wort chillers – but is fine with slightly larger 3/8″ lines, in spite of what the user manual claims. It’s also critically important not to run the pump dry; pay very close attention, in other words, if you’re doing something other than recirculating water.
Other than that, it’s pretty straightforward. On to the specifics of how we use it.
Wort Chilling
Whenever I’ve used our copper wort chiller in the past, I’ve always plugged it into a standard garden hose spigot and used your basic cold tap water to bring down the temperature of the wort after a boil. In Maine, in the winter, this is less practical, particularly during brew days like ours where the outside temperature is twenty degrees below freezing. Which is where the pump comes in.
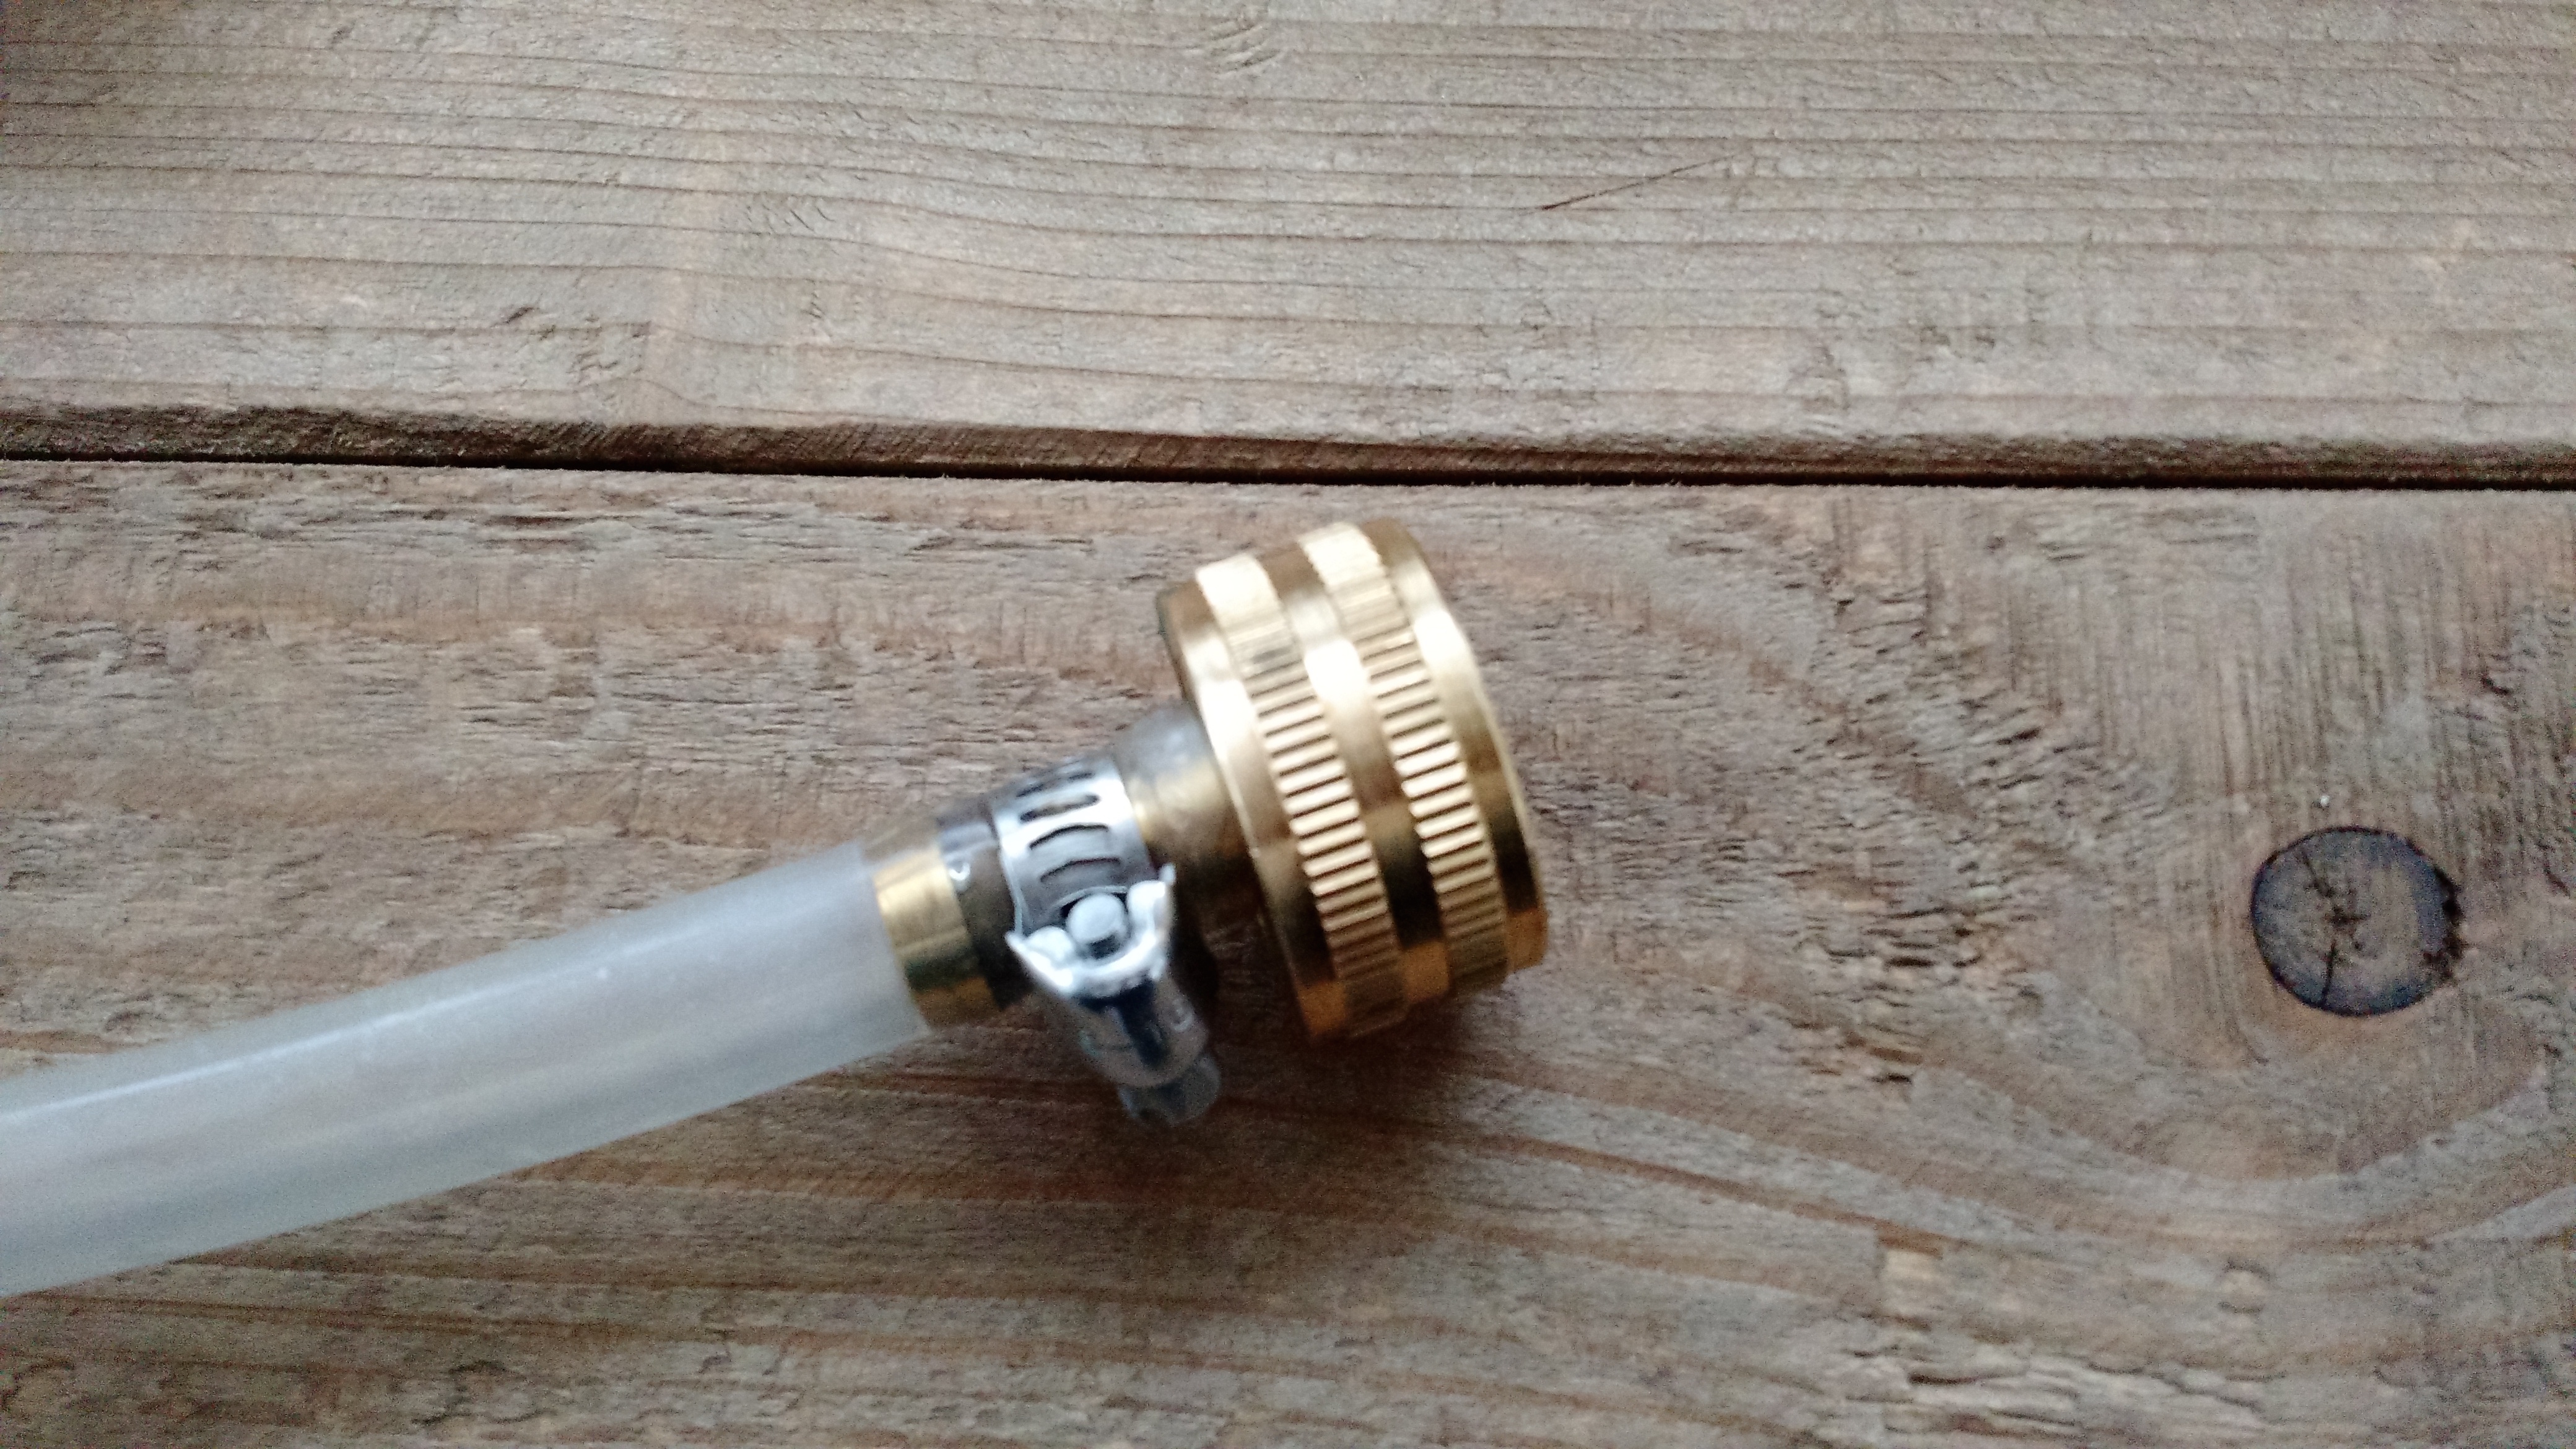
In order to chill the wort, I take a piece of 3/8″ line and connect a standard garden hose connection (see above) to one end, hose clamp it, and clamp the other end to input of the wort chiller. A second 3/8″ line, meanwhile, is clamped to the output. The standard garden hose connection is then attached to the Flotec pump, and pump and output line from the chiller are both added to a six gallon bucket filled with cold water and a ten pound bag of ice.
Fifteen minutes or so before then end of your boil, you add the chiller to your brew kettle to sanitize it as usual. When it’s time to chill the wort, then, you merely plug the pump in. More or less instantly the ice cold water will be pumped into the chiller, which absorbs the heat and recirculates the heated waste water back into the bucket full of ice water. As a closed system, there’s not much to worry about here, and it works very well. We cooled our boiled wort down to the pitch temp in less than twenty minutes thanks to the pump.
When you’re done, simply unhook the garden hose connection, drain the pump, and you’re ready to use it for cleaning.
Kegerator or Jockey Box Cleaning
In addition to using the pump to chill wort, it’s highly useful in cleaning the lines of whatever you’re using to serve your kegs. Basically, I do this in three stages. The idea is to clean the lines, rinse them, then rinse them again.
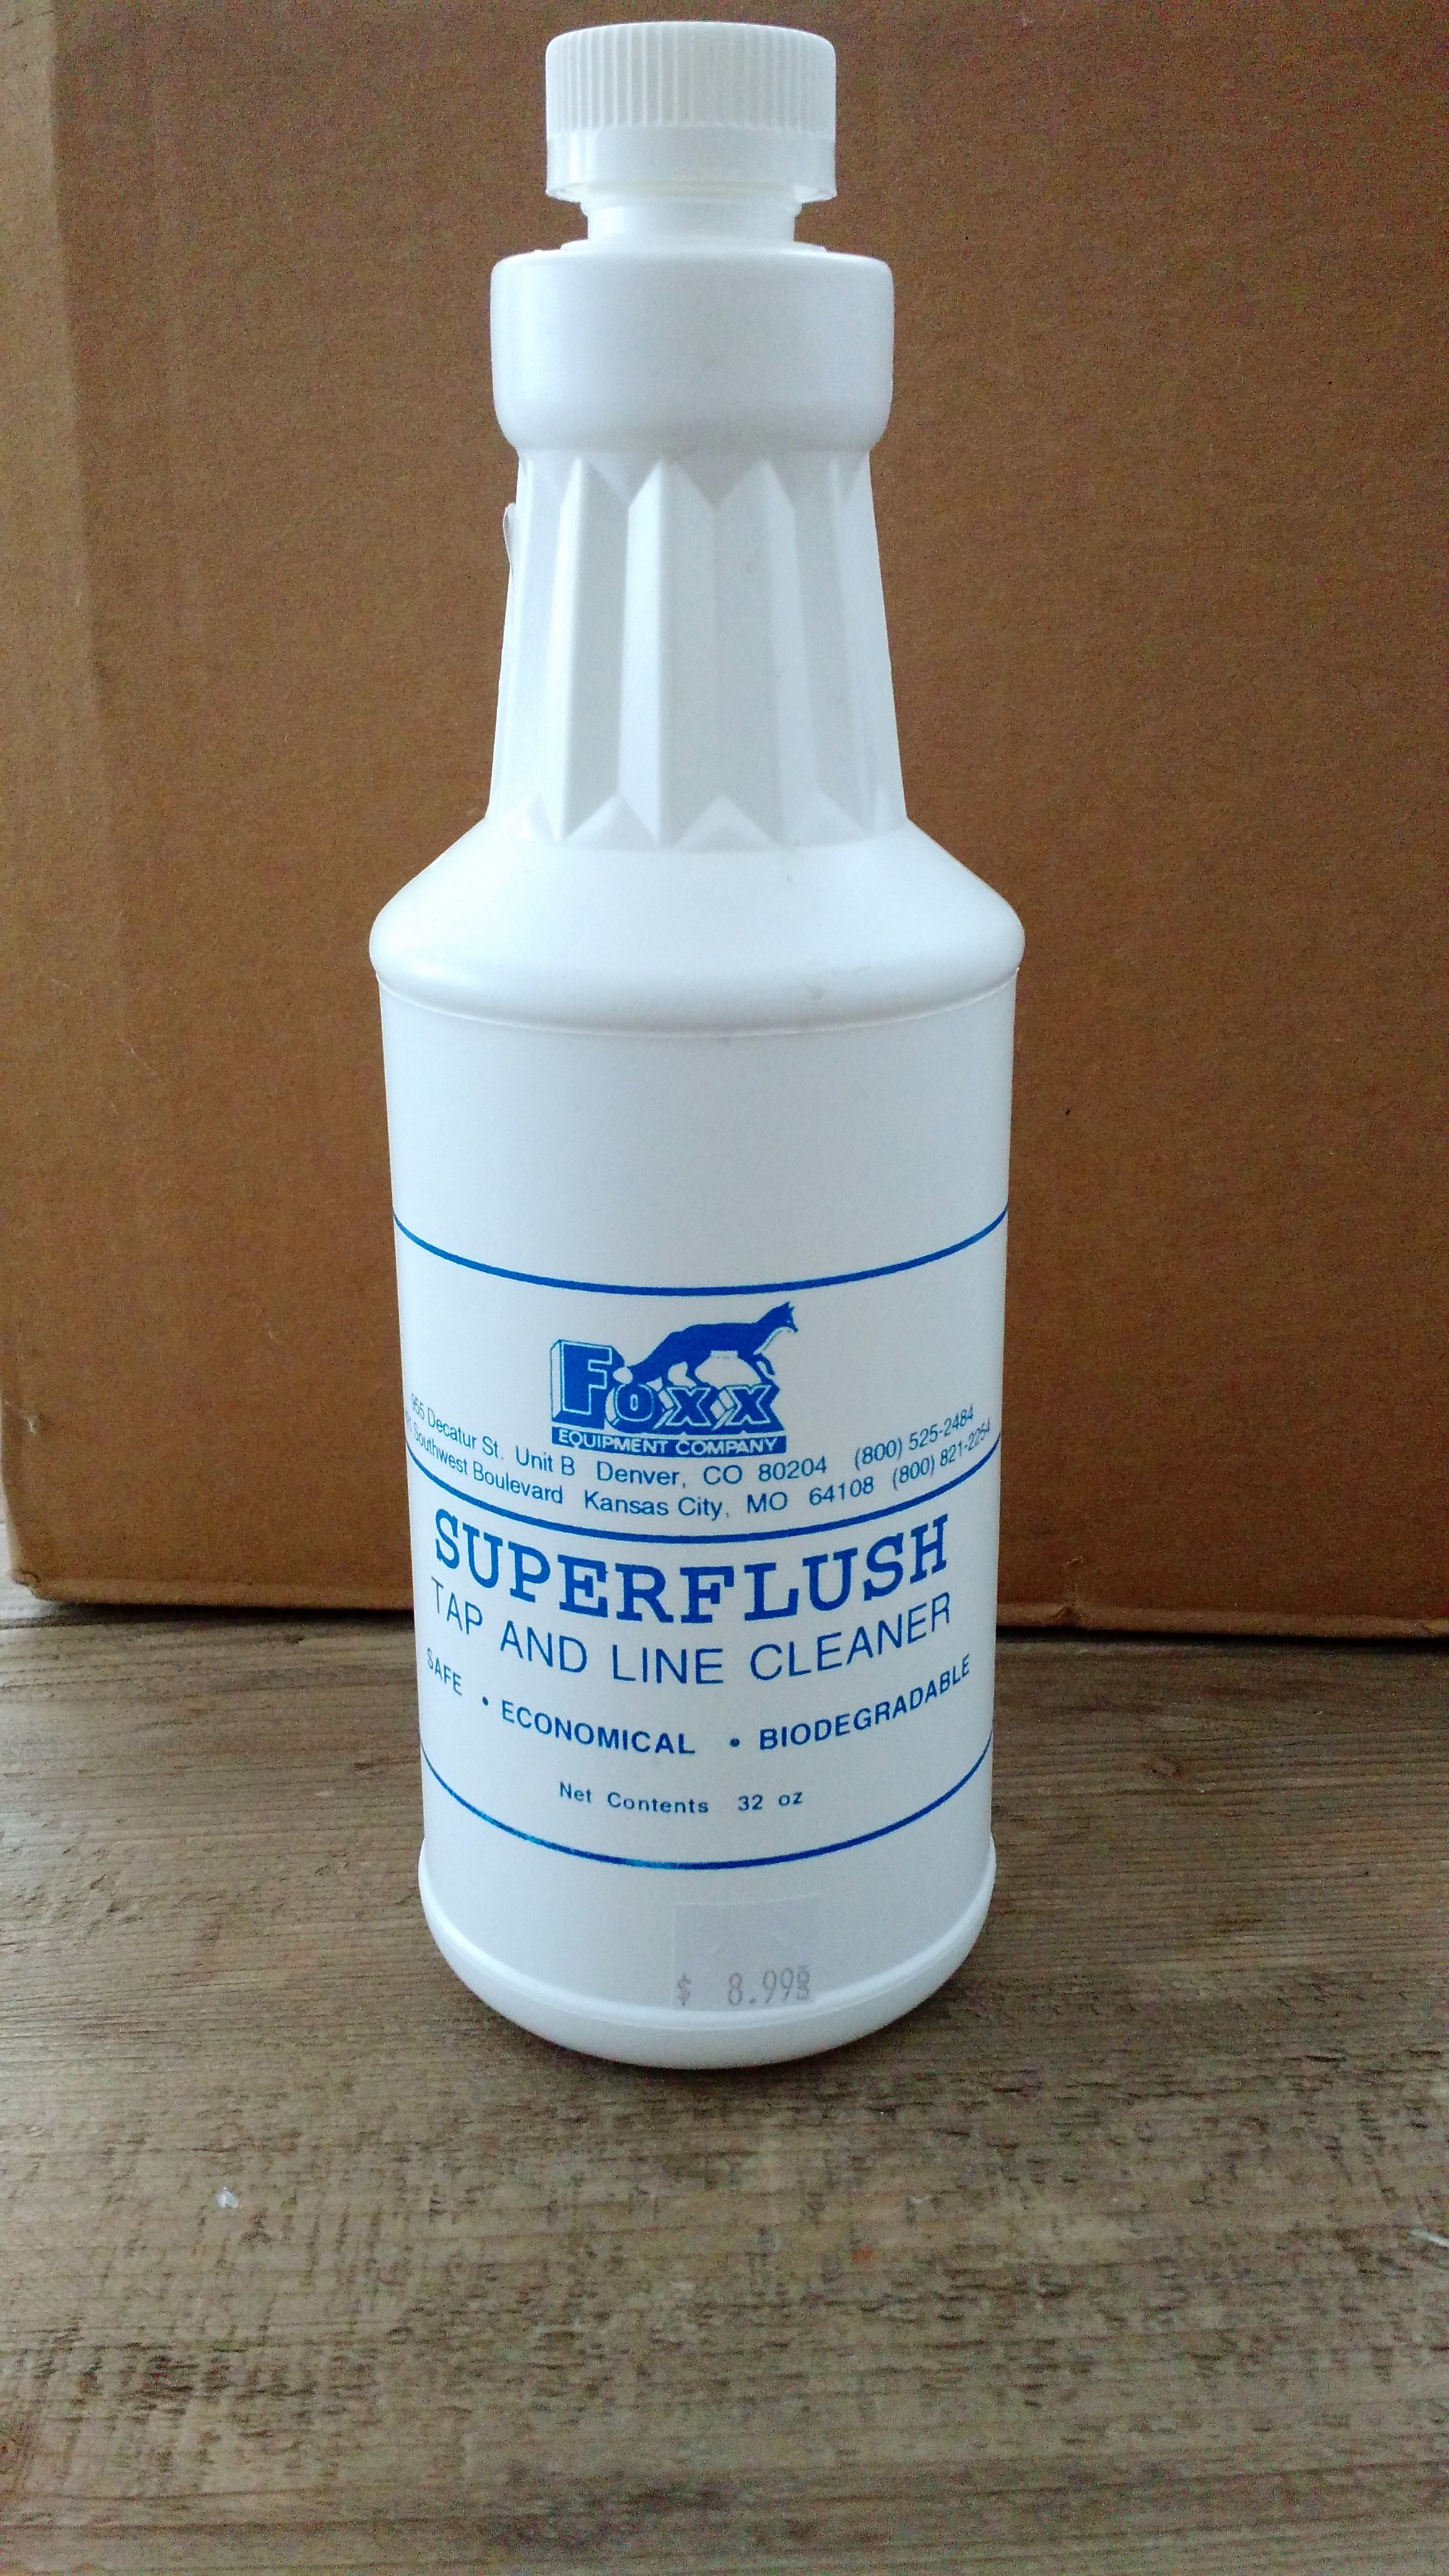
- Detergent Clean: Mix 4 tablespoons with 2 gallons hot water in five gallon bucket (~$3 at Home Depot), recirculate (input and output lines both in the same bucket) through lines for 3-5 minutes. When complete, dump mixture and drain pump.
- Recirculating Rinse: In empty bucket, add two gallons of hot clean water. Recirculate this through the lines for 3-5 minutes. When complete, dump mixture and drain pump.
- Cleansing Rinse: In empty bucket, add one gallon hot clean water. Pump through lines outputting to sink or other drain until complete, watching carefully not to allow pump to run dry.
What You Need
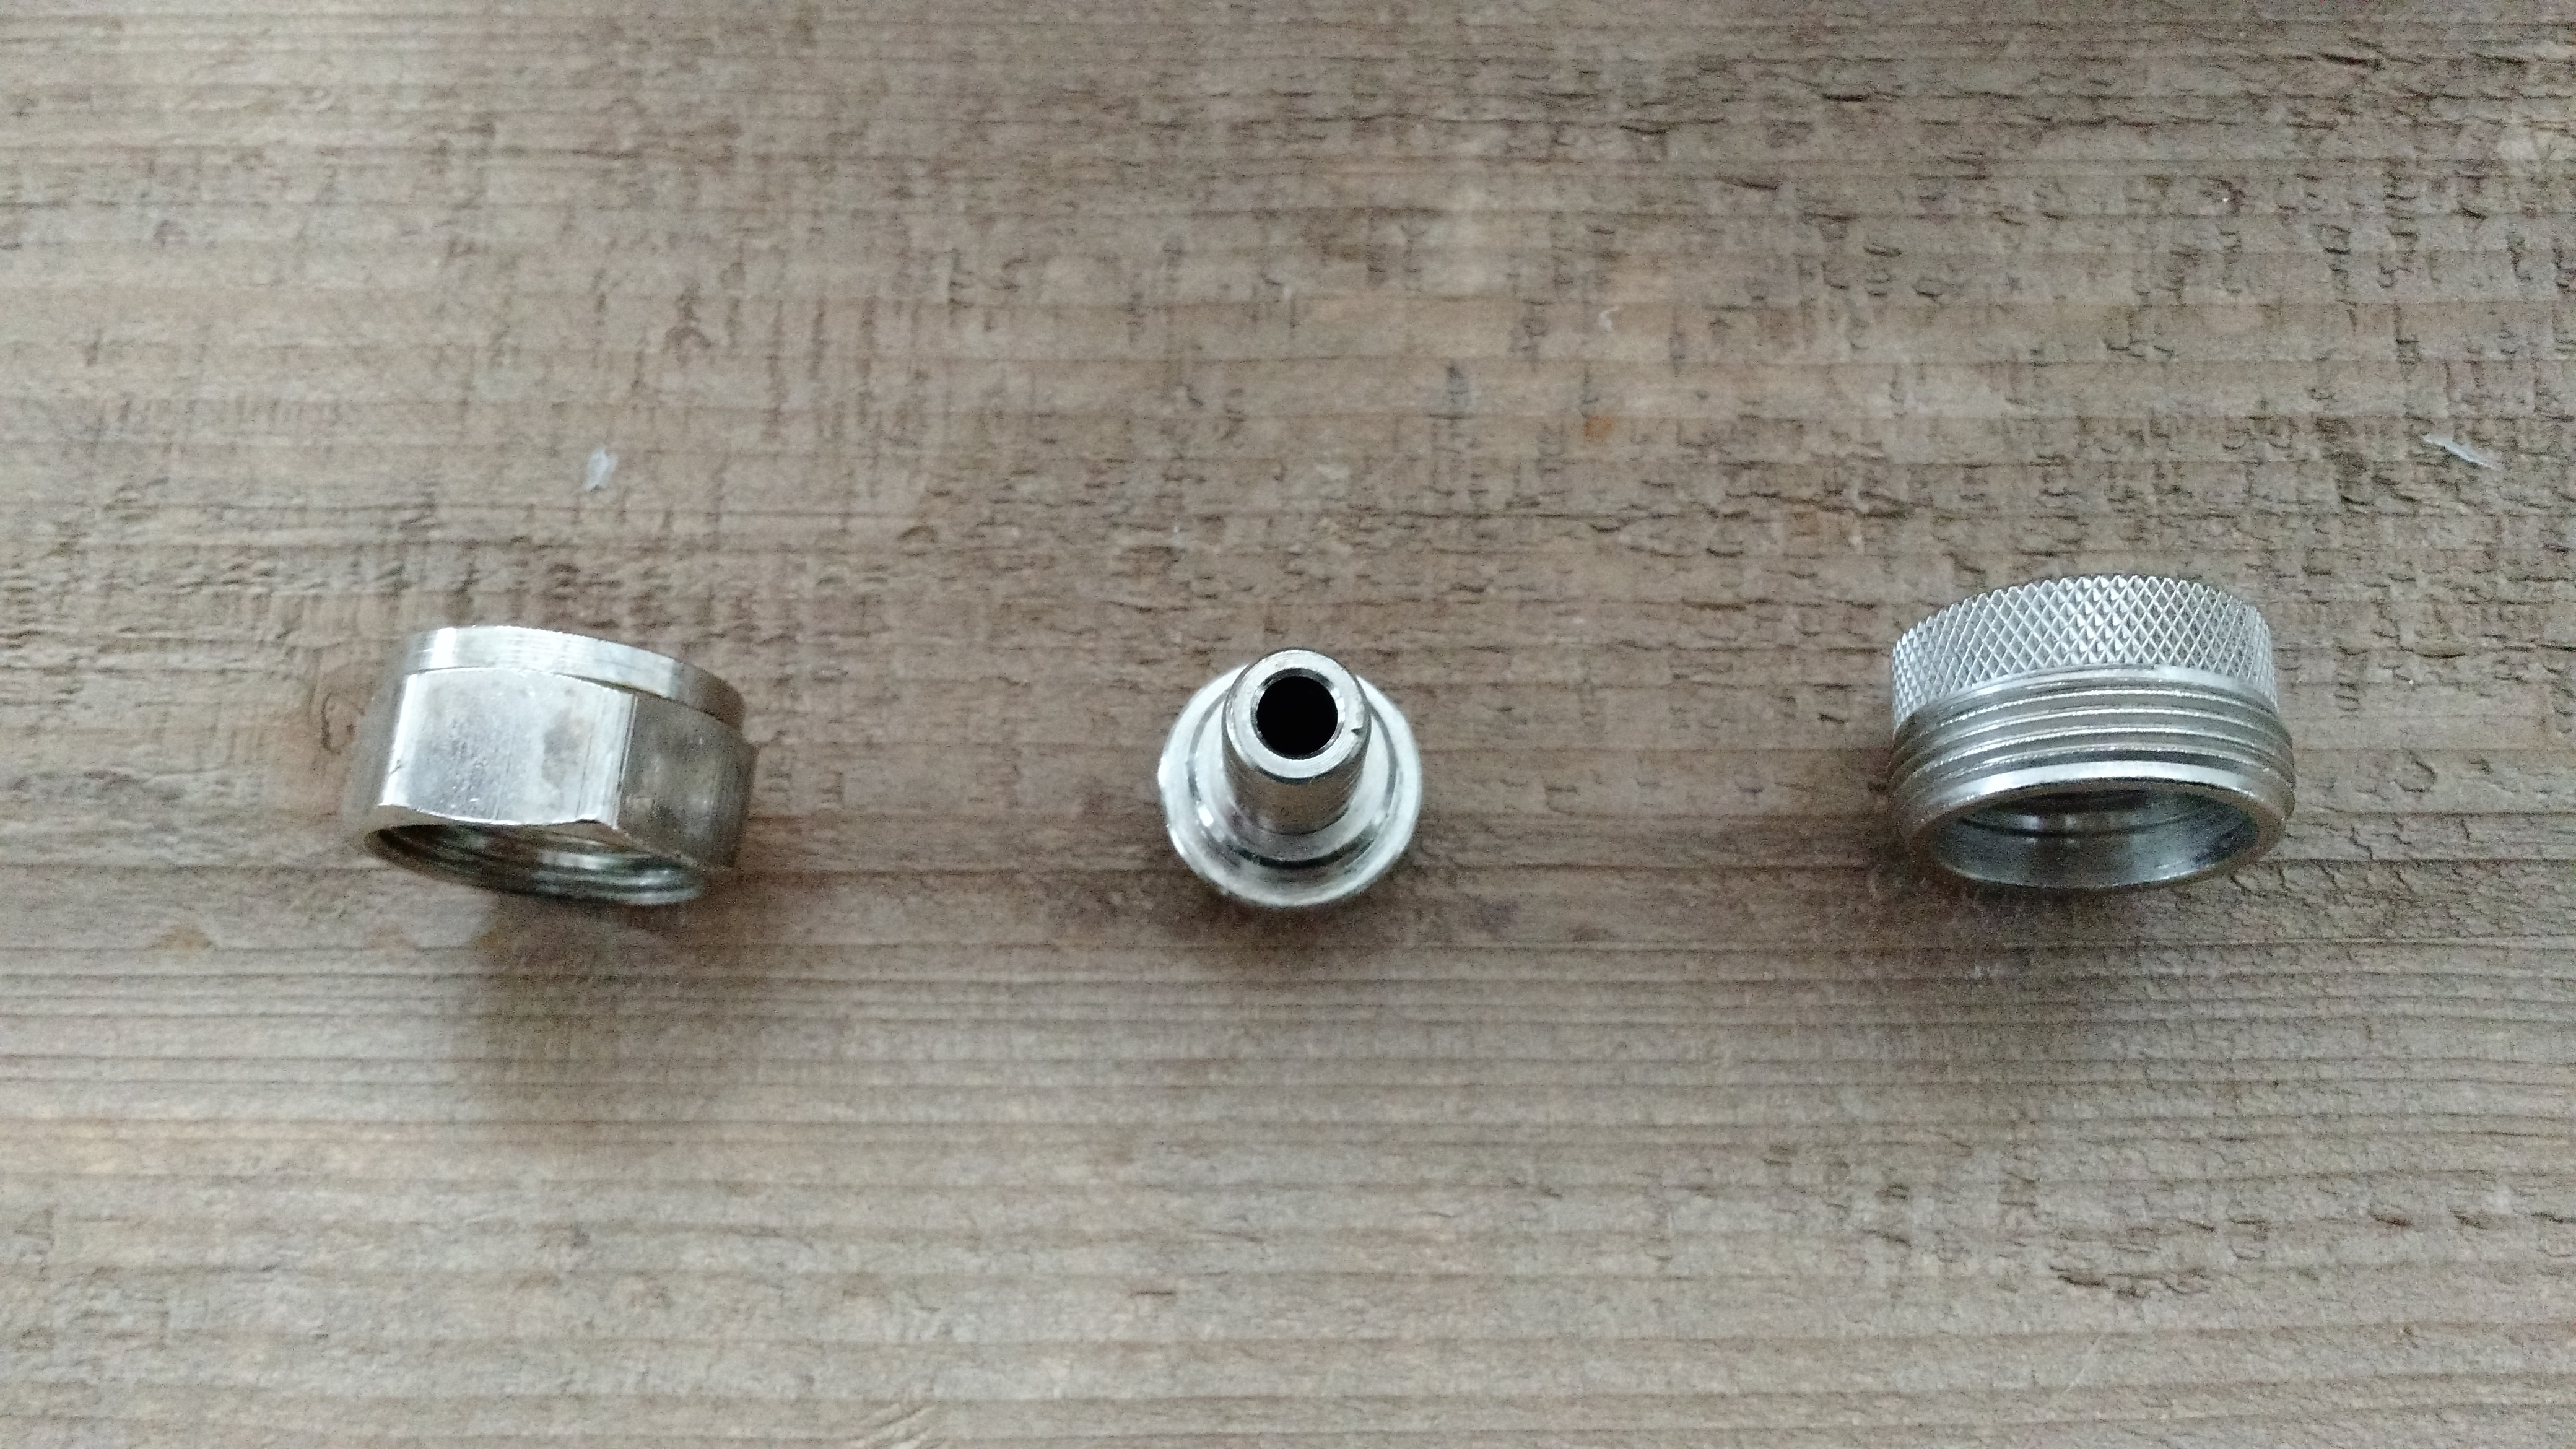
To make all of the above work, you’ll need a different connector depending on what you’re cleaning. One end of your input line should keep the garden hose connection mentioned above to connect to the pump. If you’re cleaning a jockey box, then, you’ll simply need a 3/8″ barb (middle above) along with a standard 7/8″ hex nut coupler (left above) – the same one you use for keg couplers. Attach and clamp this to your hose, then screw it on to the back of your jockey box as if it was a beer input line.
If you’re cleaning kegerator lines, it may or may not be the same setup. For our usage, we use a male fitting that is the same threading as the tap mechanism (right above). This is fitted to the 3/8″ barb and attached to the other end of the line with the garden hose attachment. We then unscrew our tap assembly using a tap wrench like this one:
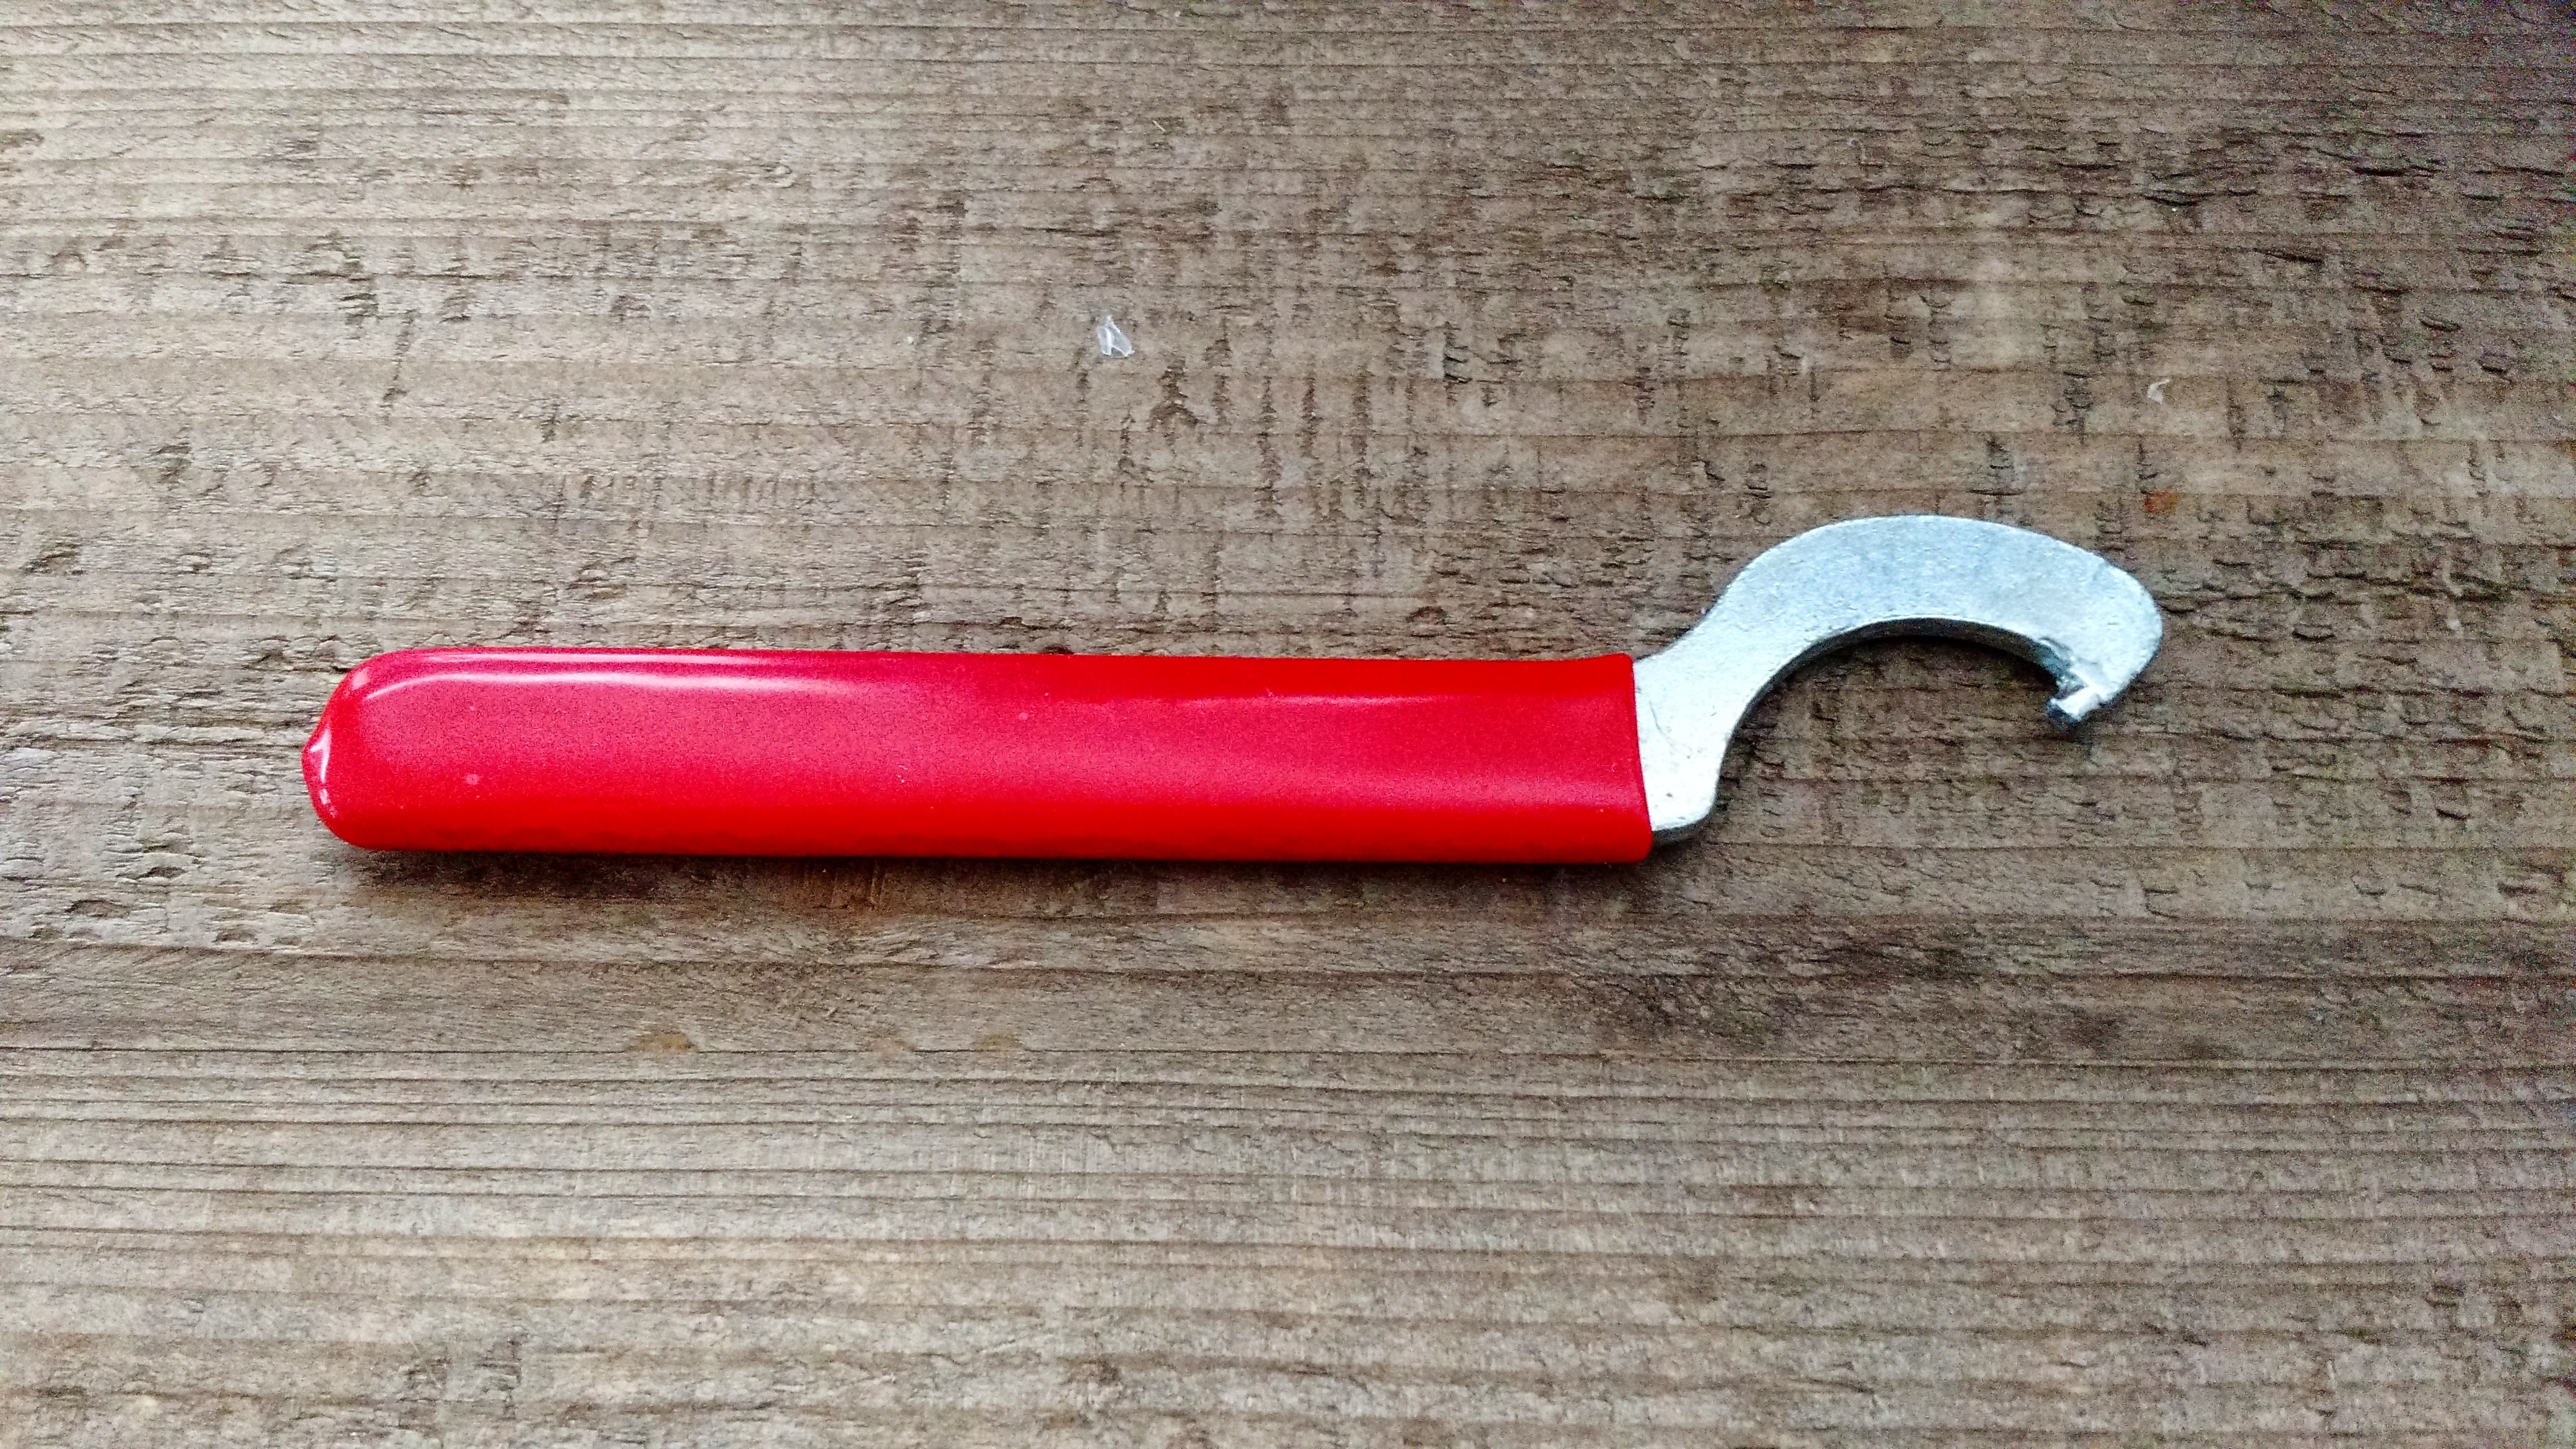
With that off, we use the above fitting to attach the tap tower to the pump, and proceed through the steps mentioned above. Apart from the different fittings, the process is essentially identical.
Caveats
In general using a pump is fairly straightforward. Remember, however, that the pump valve is open at all times, and can act as a siphon even when powered off. Be careful of accidentally draining the pump bucket if your lines are hanging down lower than the bucket, in other words.
Also, use the provided handles to lift and move the pump; do not lift it by its electrical cord.
Questions? Make sense?

I also use ice to chill my wort, but in the Hot Liquor Tank/heat exchanger (copper coil inside). Pumping the hot wort through the coil and back into the boil kettle for a whirlpool that puts the Trub in a nice pile in the middle.
I’m hanging out for a pump too atm, especially because it means you can brew in bigger batches than your typical 5 gallon starter. I’d probably go for a standard March style pump (or similar) because I’d like a pump to be able to do the vorlauf (as well as wort chilling and whirlpooling) – a submersible would be great for cleaning out the kegs and carboys (covered online in many places).